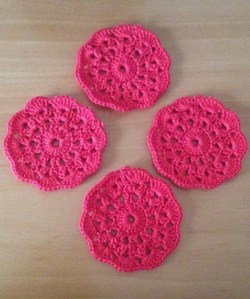
Hello friends , here is a beautiful crochet diamond lace pattern which can be used in projects like scarf, rectangular shawl, summer top, baby blanket, curtain, pillow covers , table cloth etc. its very easy to make and looks great.
Nidhi Fashions
Wednesday, 6 March 2019
Sunday, 26 July 2015
quick and easy baby bonnet
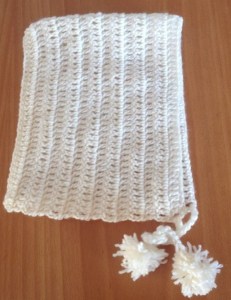
Hello friends, today I am here with a new tutorial. This tutorial is about how to crochet a baby bonnet. Very simple, easy and quick to make tutorial. This pattern can be made even by the beginners.
Make a chain stitch base measuring from one jaw to the other jaw
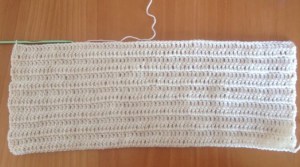
row 1 - Ch3 and dc into every st till the end of the row.
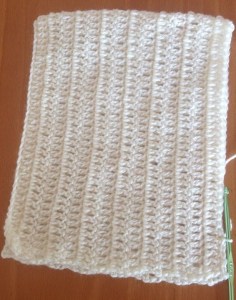
continue row 1 till the pattern reaches till the crown of the head .
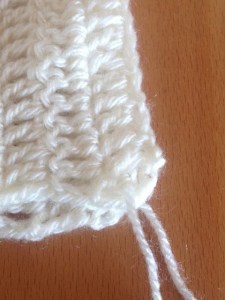
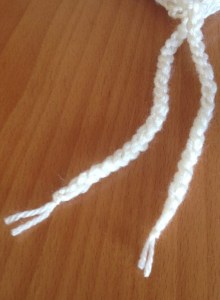
reverse the pattern and on the otherside, to both end insert about 1 meter yarn on each side as shown in the picture below
make ch sts holding both the strings and fasten off at the end .
make 2 small pom poms and sew it to the end of the string. Now the easy baby bonnet is ready.
Note: If you wish you can also add 1 pom pom on the top also.
You can also use any stitch pattern of your choice and make in the same method.
You can also use any stitch pattern of your choice and make in the same method.
Hope the tutorial was easy and helpful. Please feel free to share your views with me in the comment box below. I am very happy to hear from you.
Happy crocheting
Tuesday, 21 July 2015
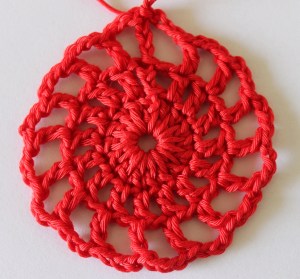
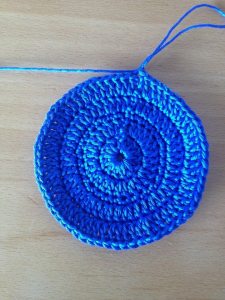
Round Wheel coaster
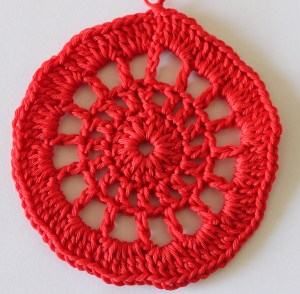
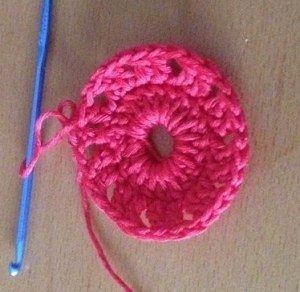
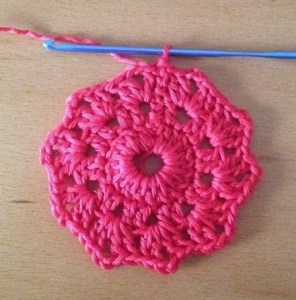
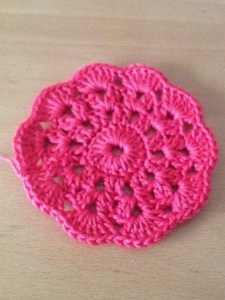
Hello Friends this a tutorial of Round wheel coaster, this a simple, easy and quick pattern to work.
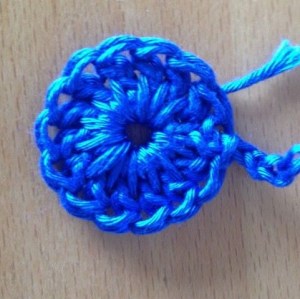
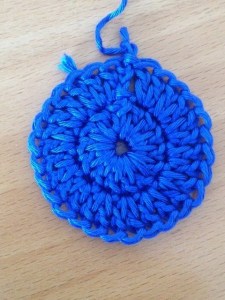
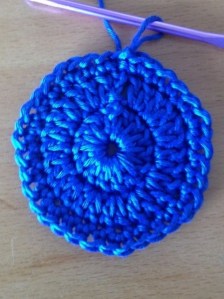
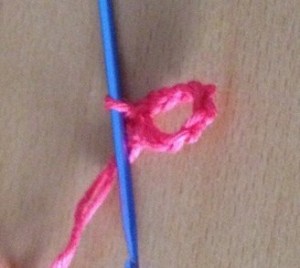
ch5 and sl st into the 1st ch to form a ring
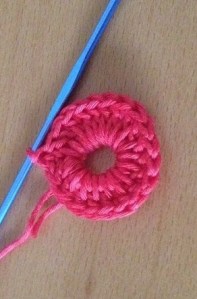
Round 1 - ch3 + 15dc into the loop = 16dc join the round with a sl st into the 3rd ch of the beginning stitch.
Round 2 - Ch4, 1dc+ch1 into every st. and join the round with a sl st
Round 3 - ch5, 1dc+ch2 into every stictch. join the round with a sl st,
Round 4: ch3 and 4dc into 1st ch2 space, 5dc into every ch2 space. and join the round with a sl st and fasten off.
hope the tutorial was useful. please share your views in the comment box below.
Happy crocheting
Friday, 17 July 2015
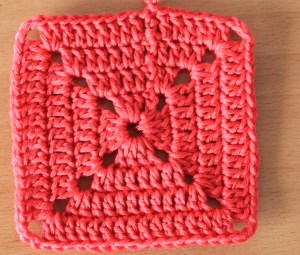
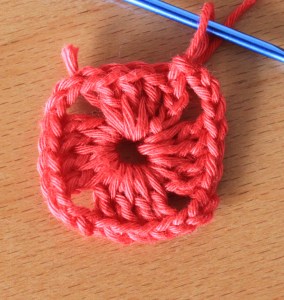
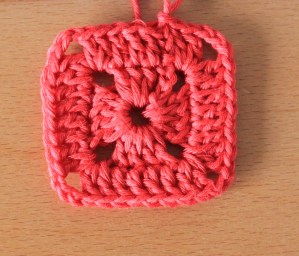
Solid Granny Square
This is a tutorial of one more variation of granny square called solid granny which is one of my favourite. so today i would like to share the tutorial of it ,so that it can help you to use in many of the projects.
Abbreviations:
Ch – chain
dc – double crochet
sl st - slip stitch
ch5 and sl st into the 1st ch to form a ring.
Round 1 - ch3 + 3dc into the loop, ch2 4dc into the loop and repeat it for 2 more times and join with a sl st to finish the round
Round 2- ch3, make 1dc on each stitch and into the ch2 space 2dc-ch3-2dc, continue till the end of the round and join with a sl st.
repeat round 2 till you reach a required measurement.
You can use this pattern to make Baby blankets, coasters, tops, bags, purses and many more. hope you like the tutorial. Any queries please feel free to ask me. and also share your views in the comment box below.
Happy crocheting
Wednesday, 15 July 2015
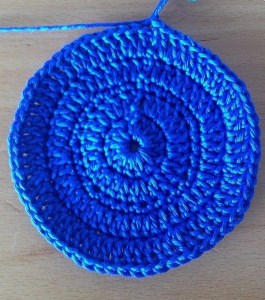
Round coaster
Here is one more tutorial of coaster, this is also a very simple and easy project to make.
Abbreviations:
Ch - chain
Sl St - slip stitch
Sc - single crochet
Dc - double crochet
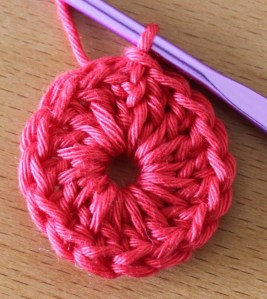
make a ch6 and sl st into the 1st ch to form a ring
Round 1- ch3 and 13 dc into the loop and join the round with a sl st into the 3rd ch of the beginning st.
Round 2 - ch3, 1dc into the same st , 2dc into every st till the end of the round and join with a sl st.
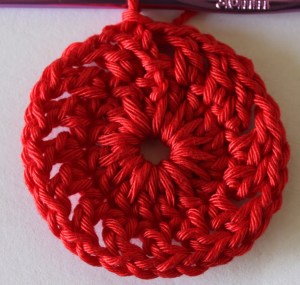
Round 3 - ch1 1dc into next 2 sts 2sc into next st ,(1sc-1sc-1sc-2sc) i.e into every 4th st 2sc and 1sc into all other sts, till the end of the round and join with a sl st.
Round 4- ch3 and 1dc into the st , 1dc into next st, 2dc into the next st. 1dc into next 2 sts and 2dc into next st. i.e. (2dc,1dc,2dc,1dc,1dc,2dc.this is the series) continue till the end of the round and join with a sl st.
Round 5 - ch3 , (1dc, 1dc,2dc,1dc,1dc,1dc,2dc is the series )continue till the end of the round and join with a sl st. ch1 and fasten off.
Hope the tutorial was helpful, please share your views with me in the comment box below.
Happy crocheting
Flower coaster
Hello Friends, Today I am here with a new tutorial of a flower coaster which is simple, easy and useful for your house. You can make this for self use or to gift your loved ones.
Abbreviations:
Ch - chain
Sl St - slip stitch
Dc - double crochet
make a ch6 and sl st into the 1st ch to form a ring
Round 1 - ch3 + 19dc into the loop = 20dc and join the round with a sl st into the 3rd ch of the beginning st.
Round 2 - ch3, 1 dc into the next st, ch2, 1dc into next 2 sts and continue till the end of the round and join with a sl st.
Round 3 - ch3-1dc-ch2-2dc into the ch2 space, 2dc-ch2- 2dc into every ch2 spaces and join the round with a sl st.
Round 4 - ch3, 6dc into the ch2 space, 7dc into every ch2 space till the end of the round, join the round with a sl st, ch1 and fasten off.
Hope you like the tutorial. Please share your views in the comment box and share it .
Happy crocheting
Monday, 6 July 2015
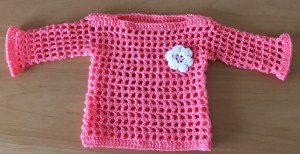
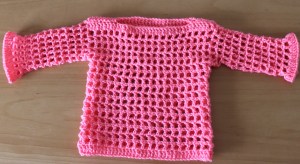
Netted Summer top for all ages
Hi friends, here I come with a new tutorial. This is a very simple and easy top for all ages. Tutorial is in measurements not in numbers. This pattern can be made even by beginners. Hope you all enjoy the tutorial.
I have used 5mm hook and a 4 ply yarn
here i have made this top my 2yr old daughter.
Abbreviation:-
Ch - chain
Dc - double crochet
Sl st - slip stitch
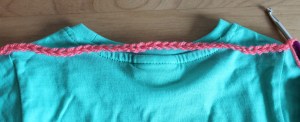
Take a T- shirt for the measurement. measure from shoulder to shoulder. This pattern is multiples of 2chs + 2chs
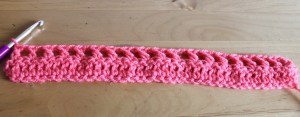
Row 1 - Dc into the 4th ch from the hook. Dc into every ch till the end of the row.
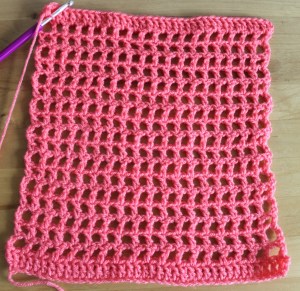
Row 2 - ch4 skip 1 ch dc into the next ch, ch1 skip 1 ch and dc into the next ch, continue till the end of the row.
Repeat row 2 till you reach the required measurement.
Last row: repeat row 1
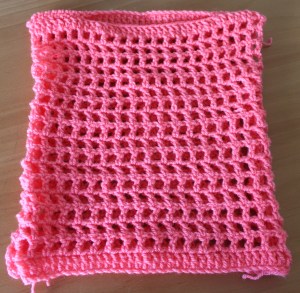
Make 2 such pieces, join the sides leaving arm hole, and shoulder leaving neck space.
If you want sleeveless you can fasten off at this point and add a flower to it or attach sleeves
Sleeve : Repeat row 2 and join the round with a slip stitch into the 3rd ch of the beginning stitch,continue till you reach the required measurement.
Edging: ch3, 2dc into each ch1 space, 3dc into every ch1 space till the end of the round.
If you want plain top you can fasten off at this point or else you can also add some flower to it.
Hope the tutorial was helpful, please share your views with me in the comment box below.
Happy crocheting
Subscribe to:
Comments (Atom)
