Sunday 26 July 2015

quick and easy baby bonnet

11707734_1604724959784239_5132956548515757218_n
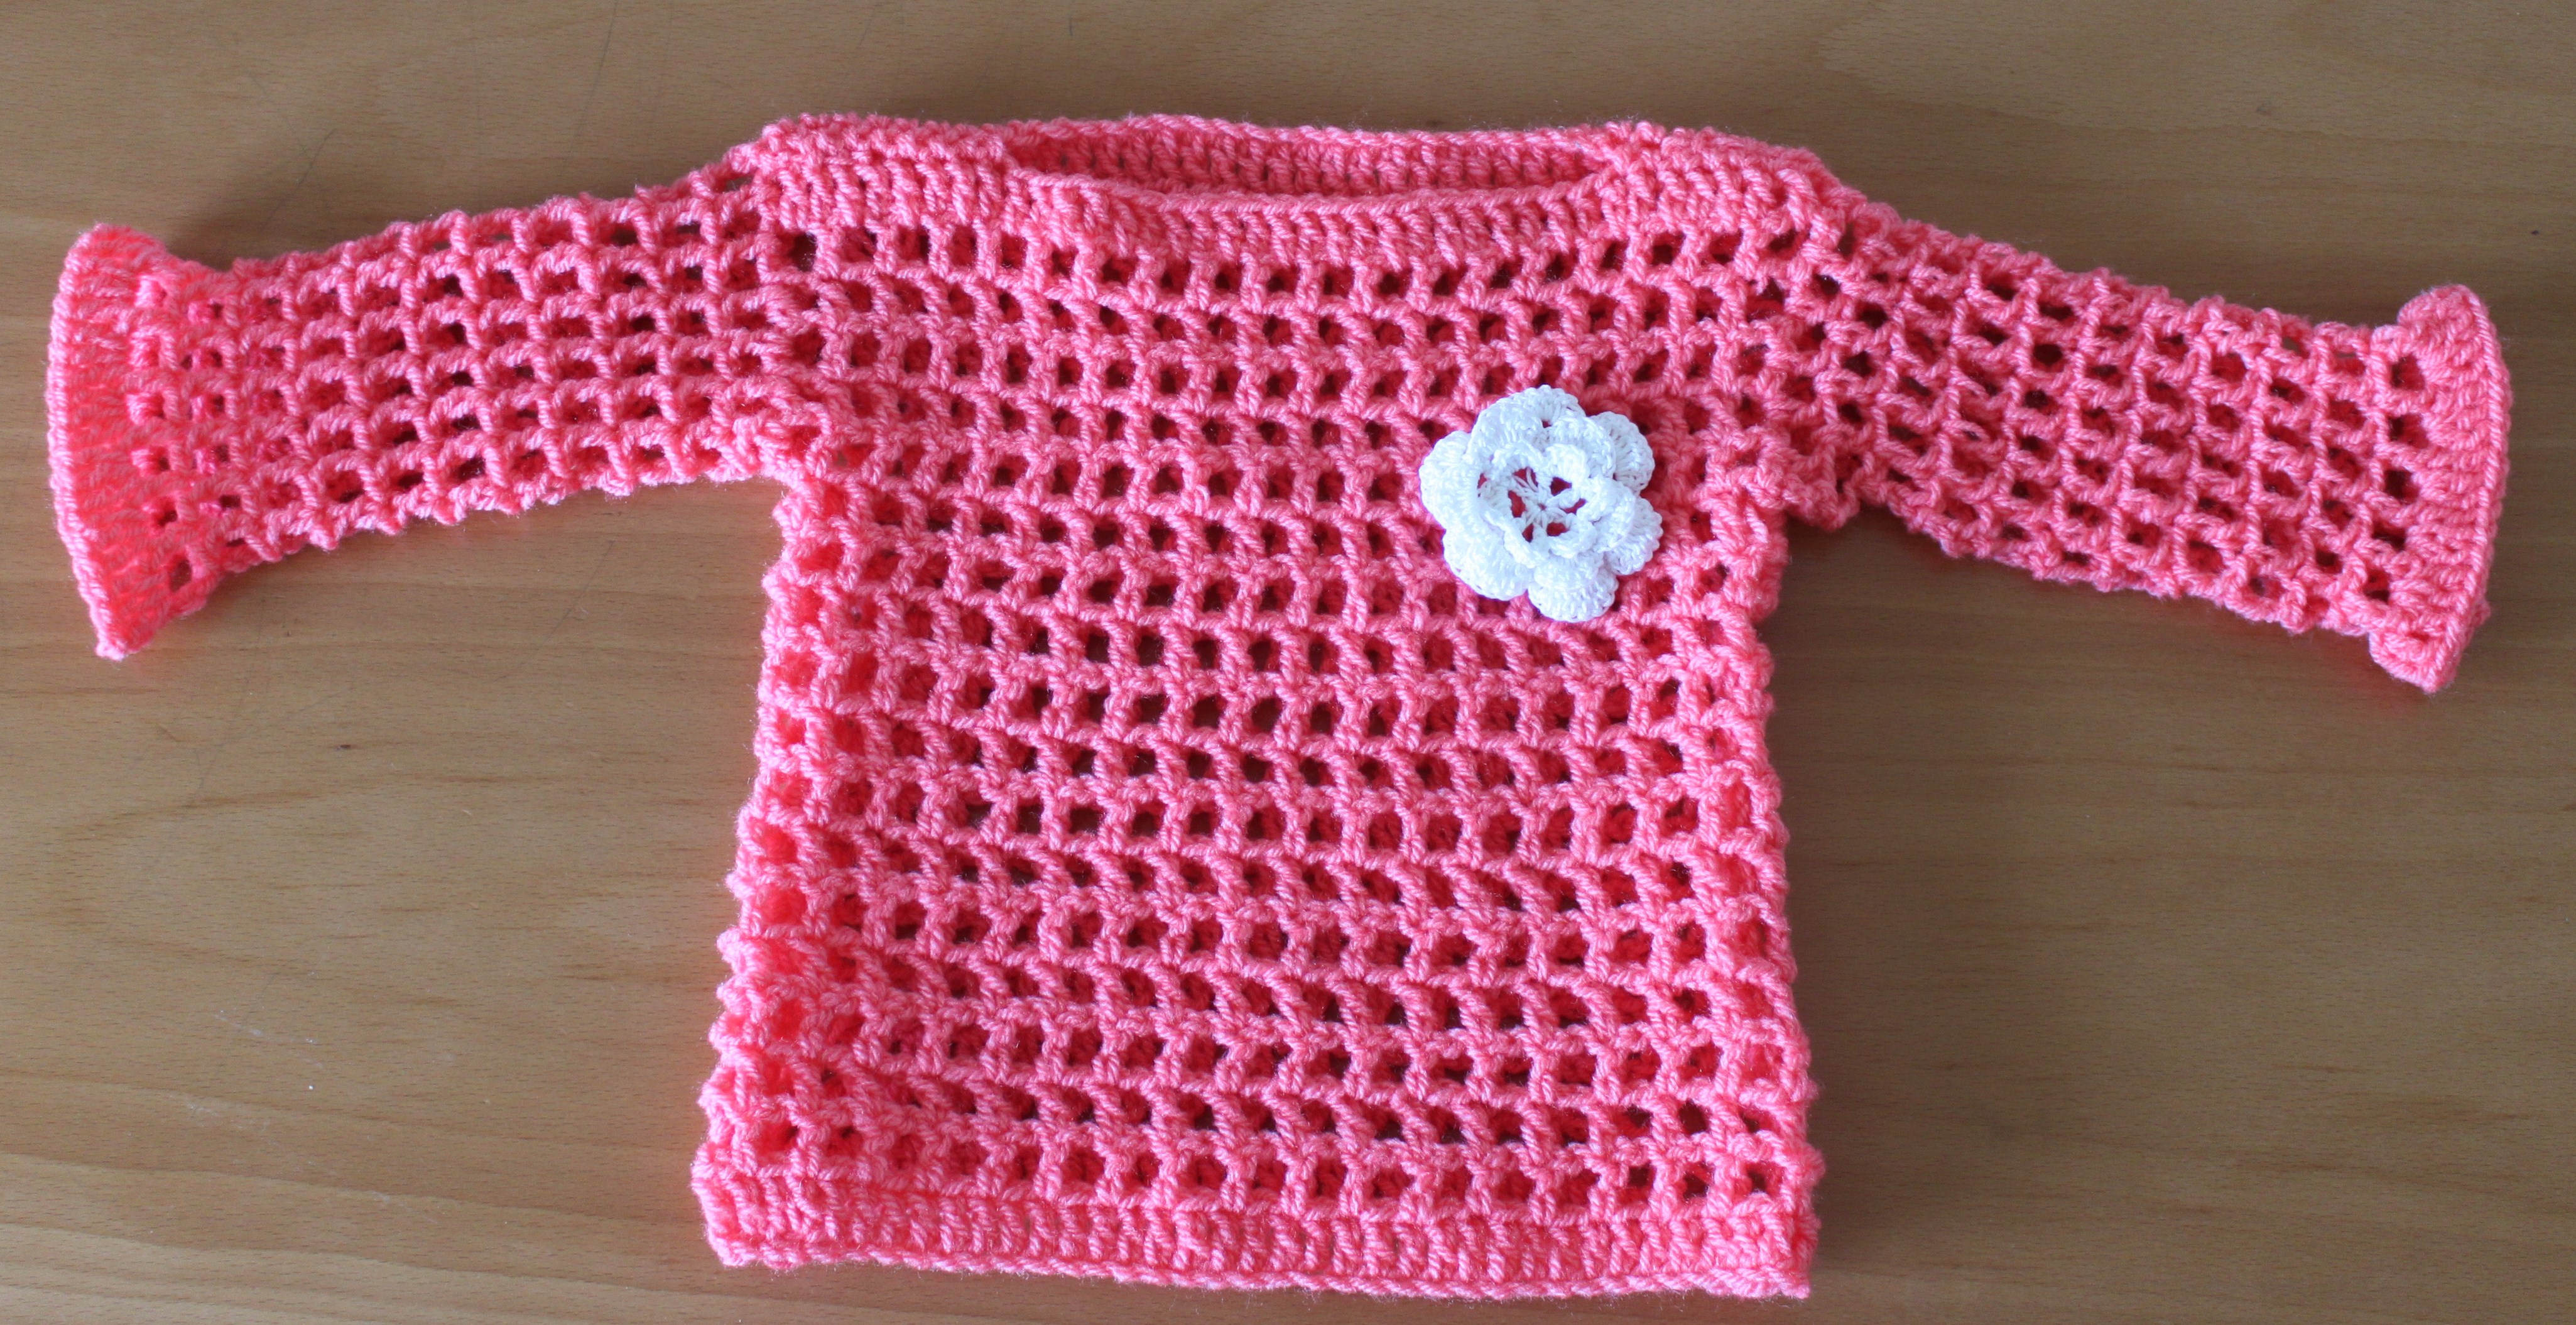
Hello friends, today I am here with a new tutorial. This tutorial is about how to crochet a baby bonnet. Very simple, easy and quick to make tutorial. This pattern can be made even by the beginners.
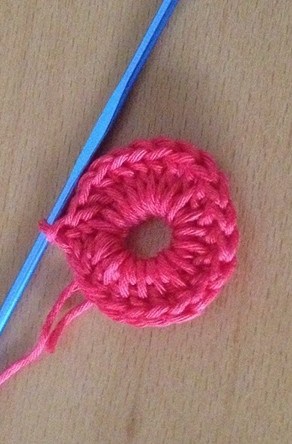
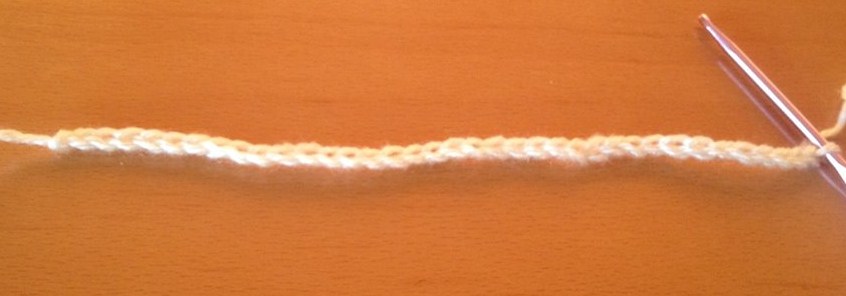
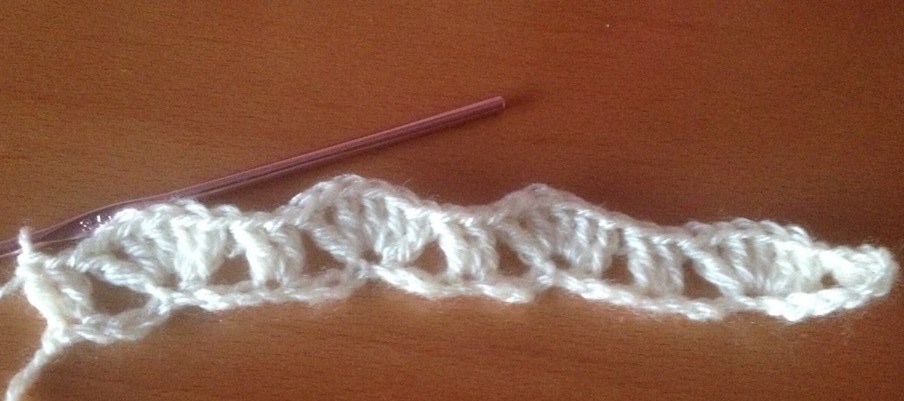
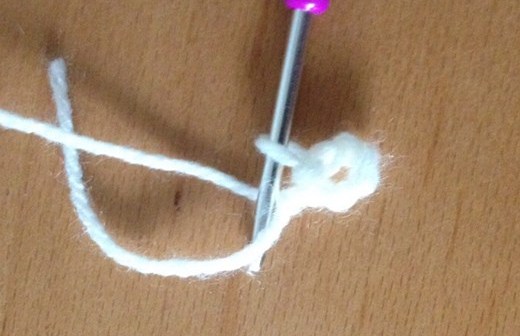
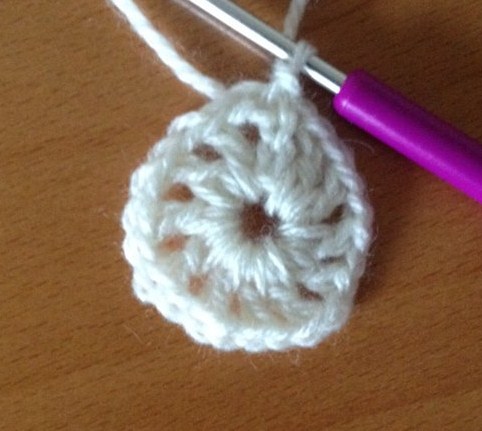
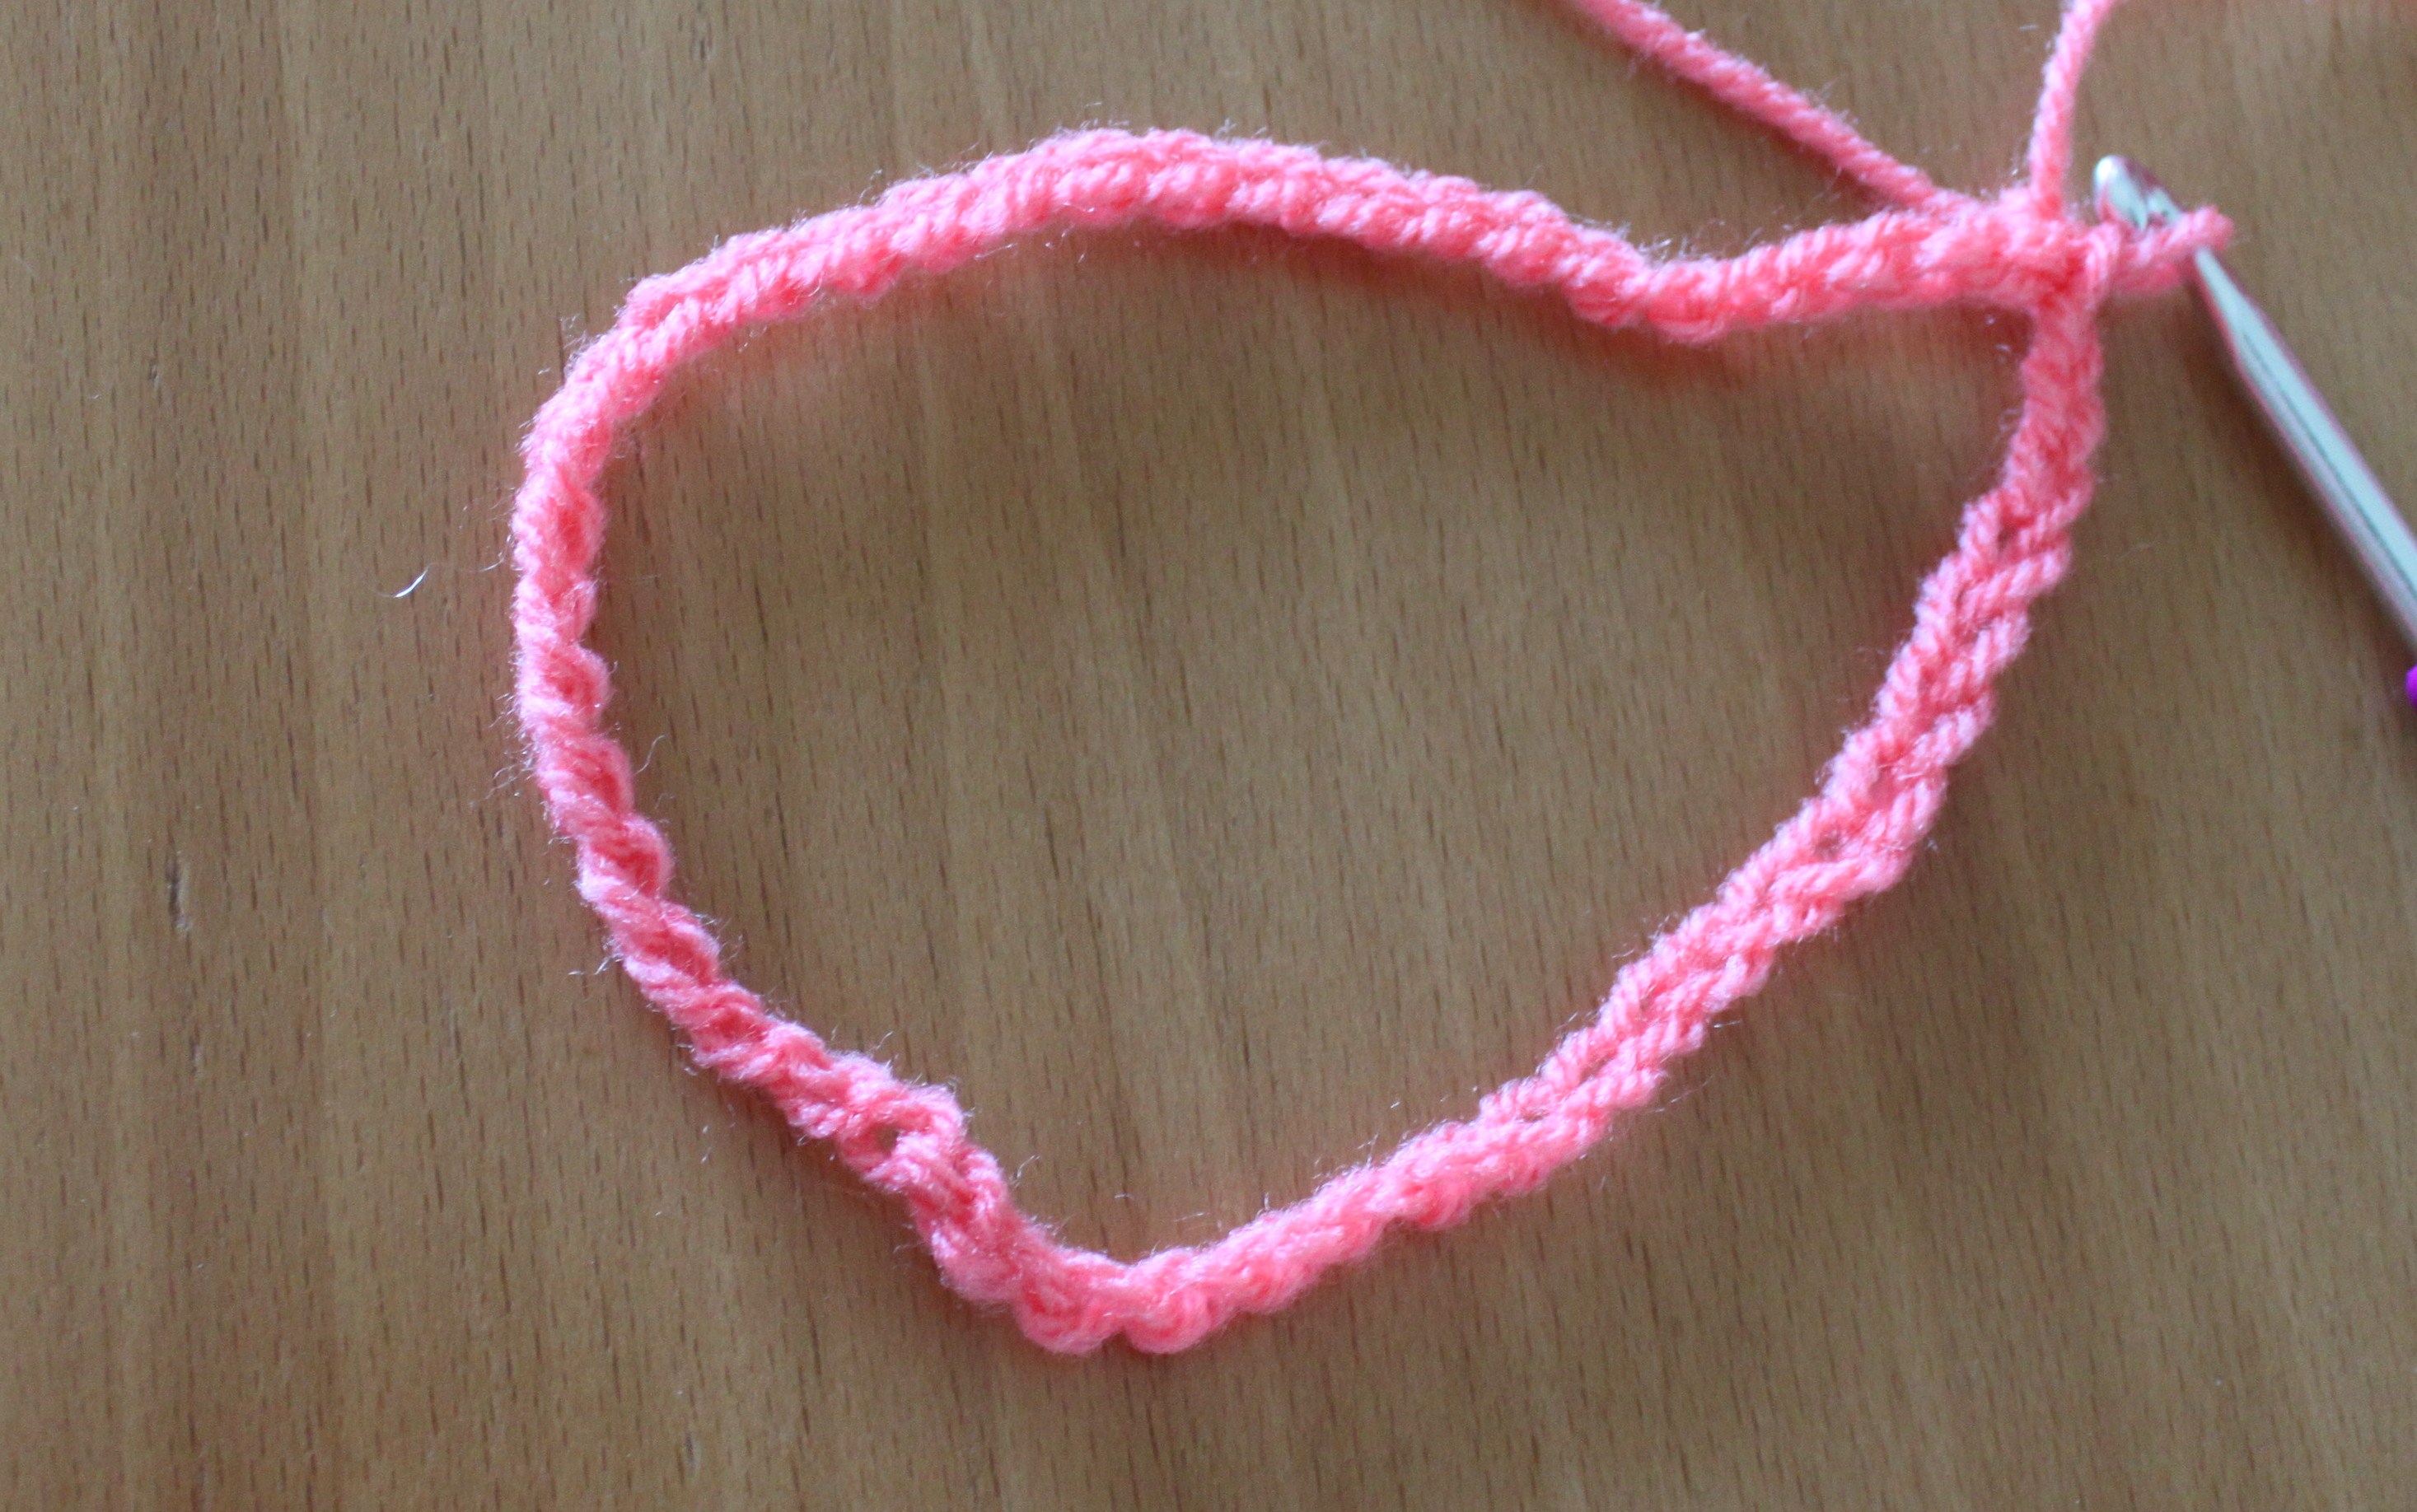
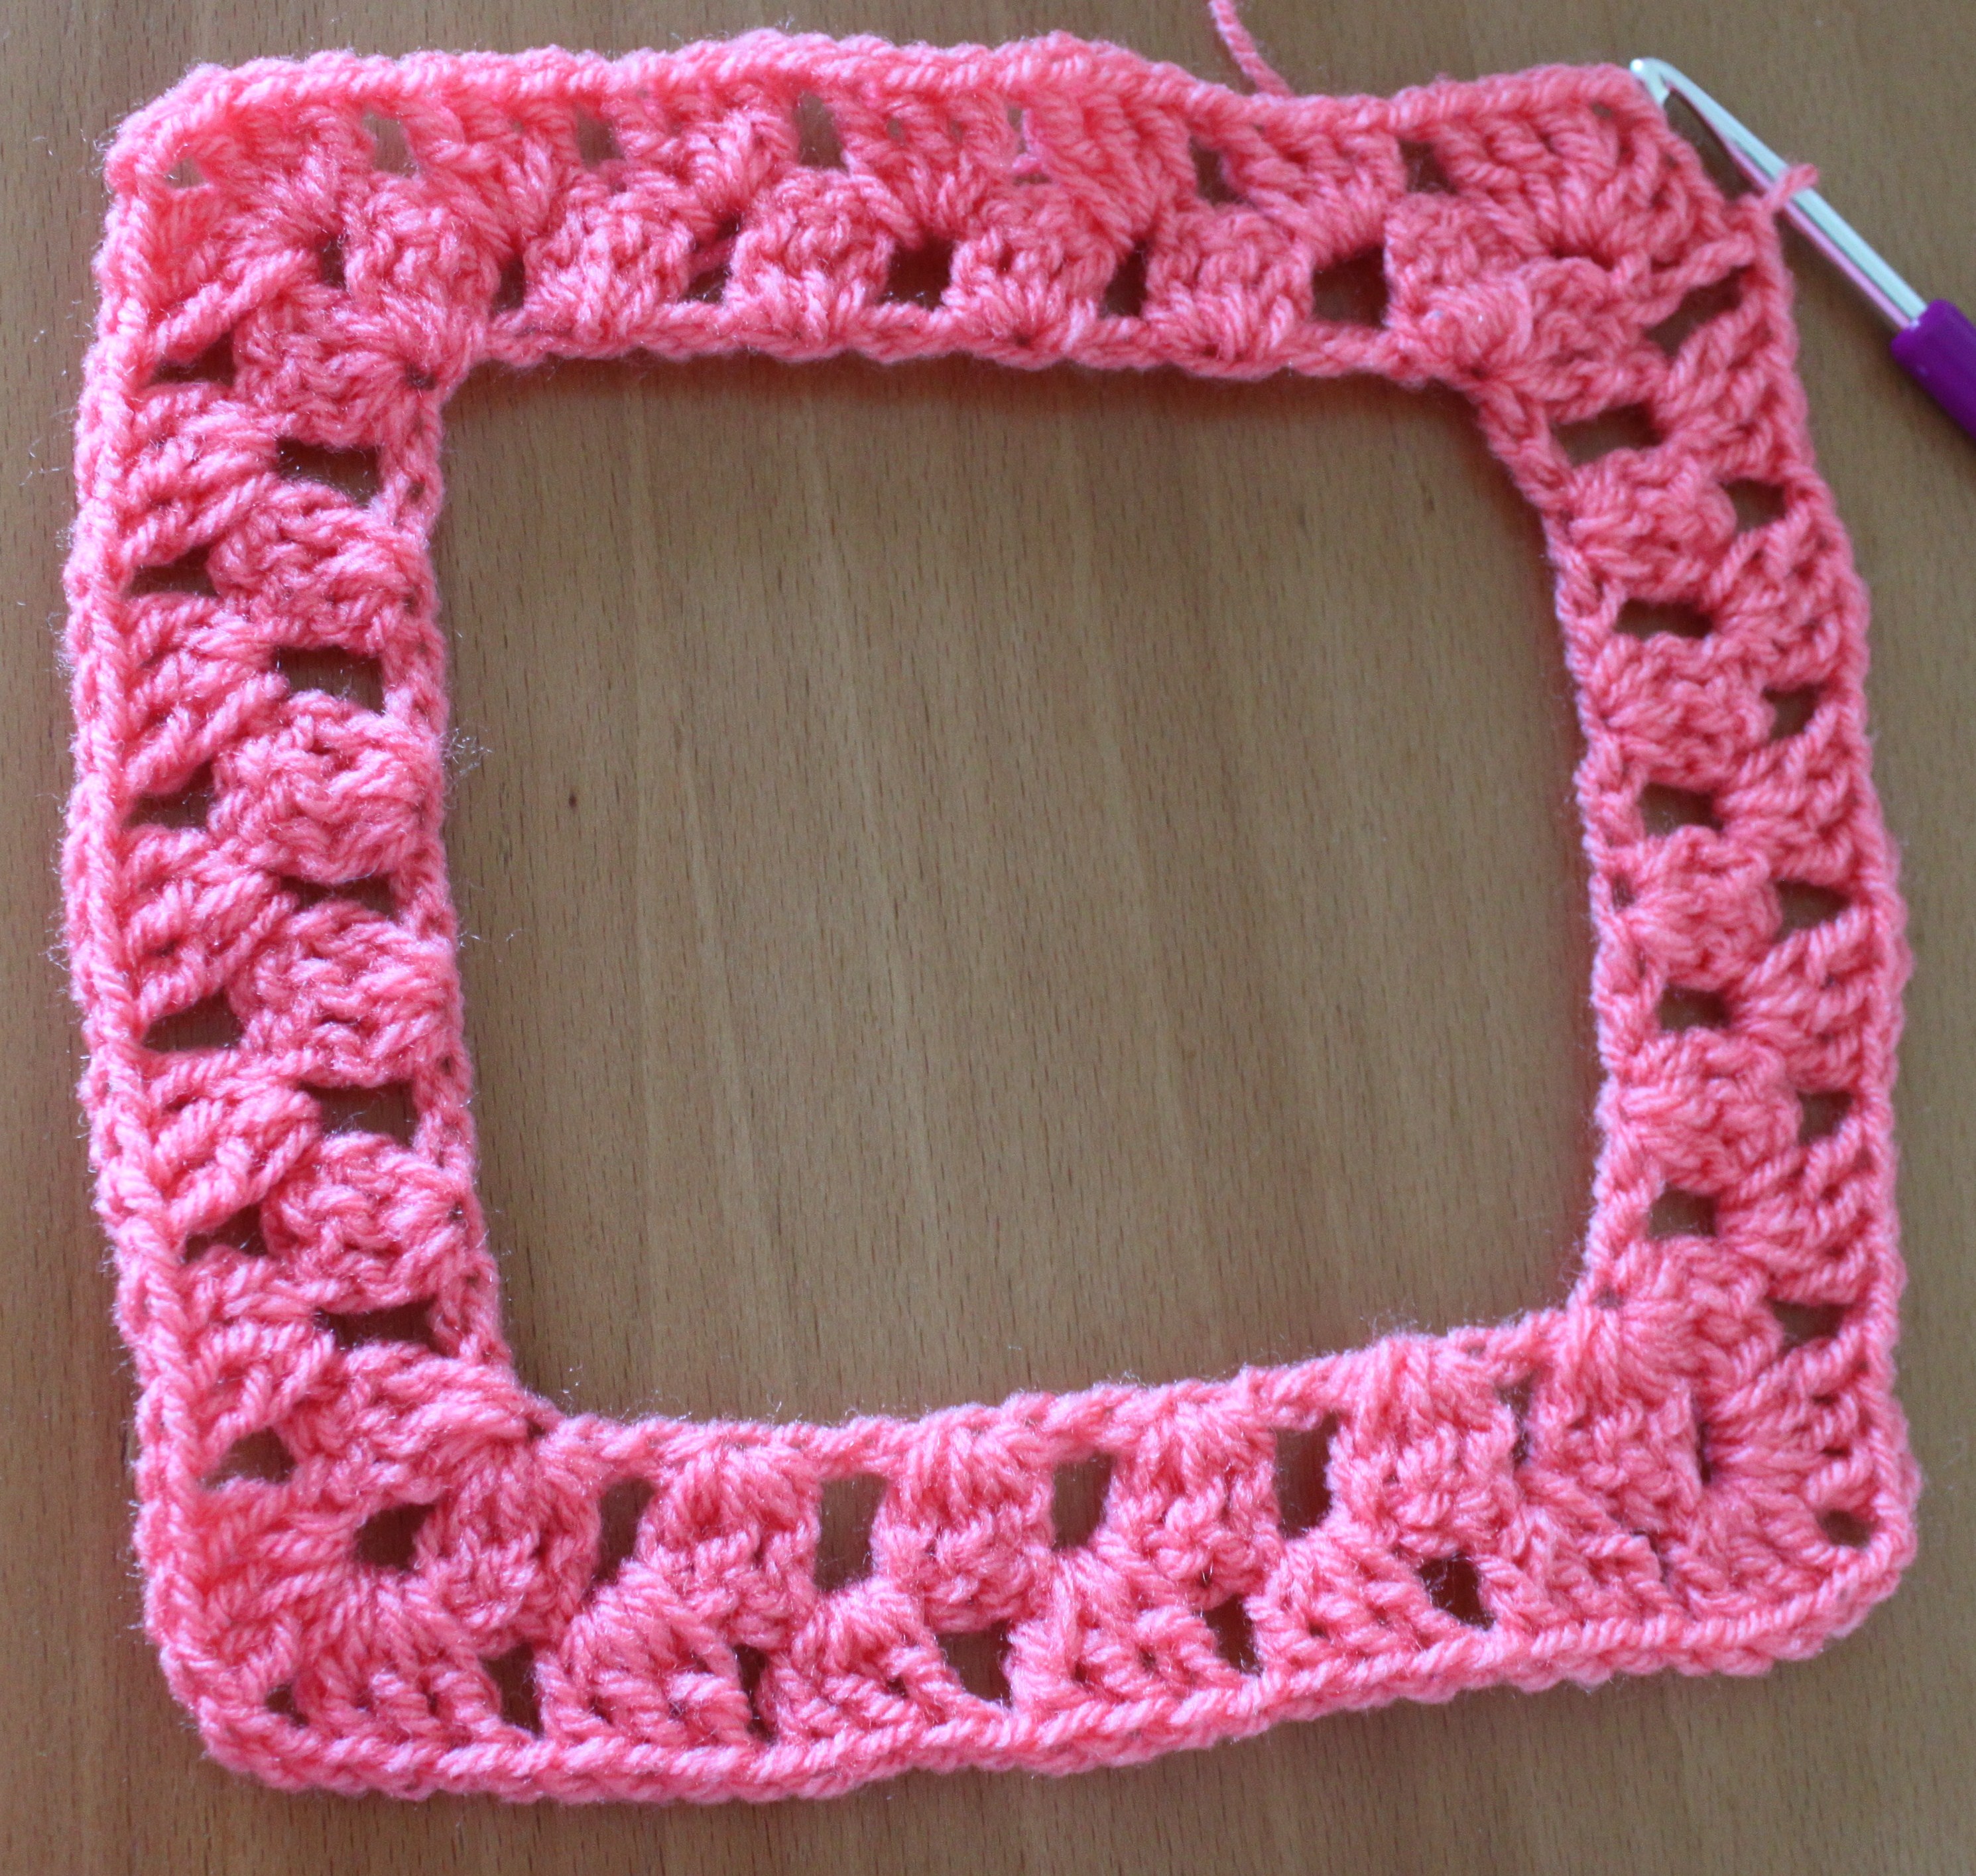
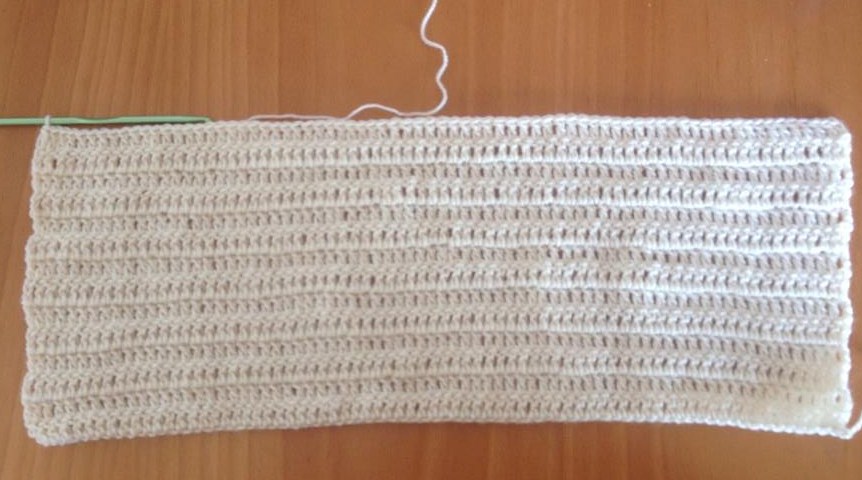
Make a chain stitch base measuring from one jaw to the other jaw
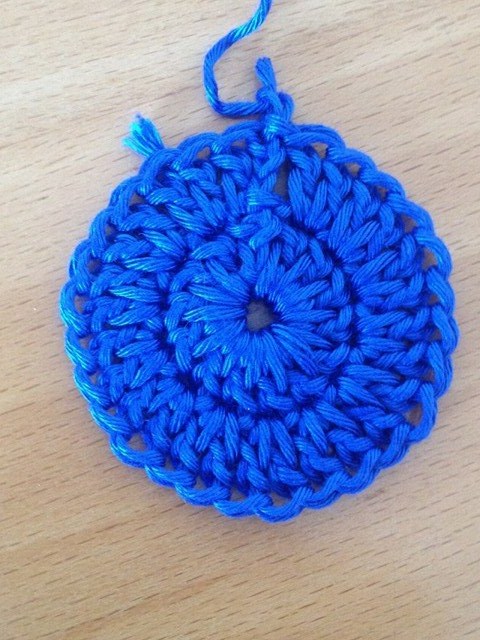
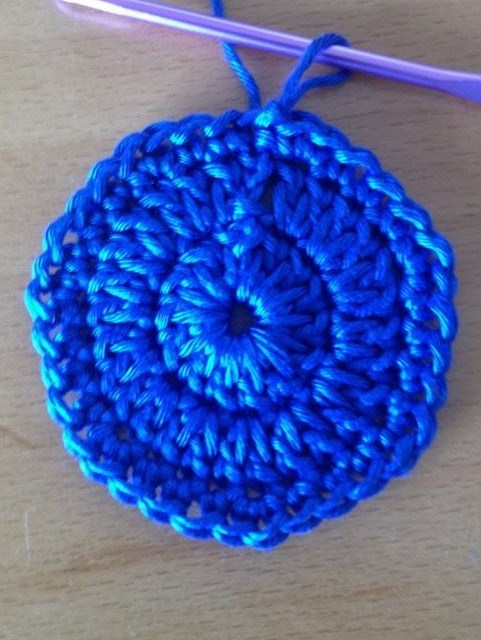
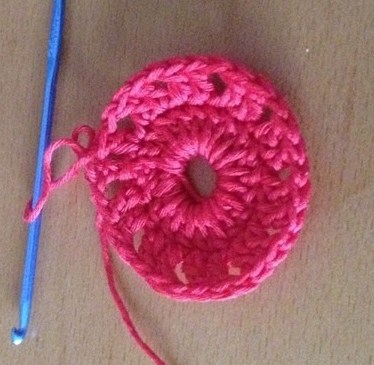
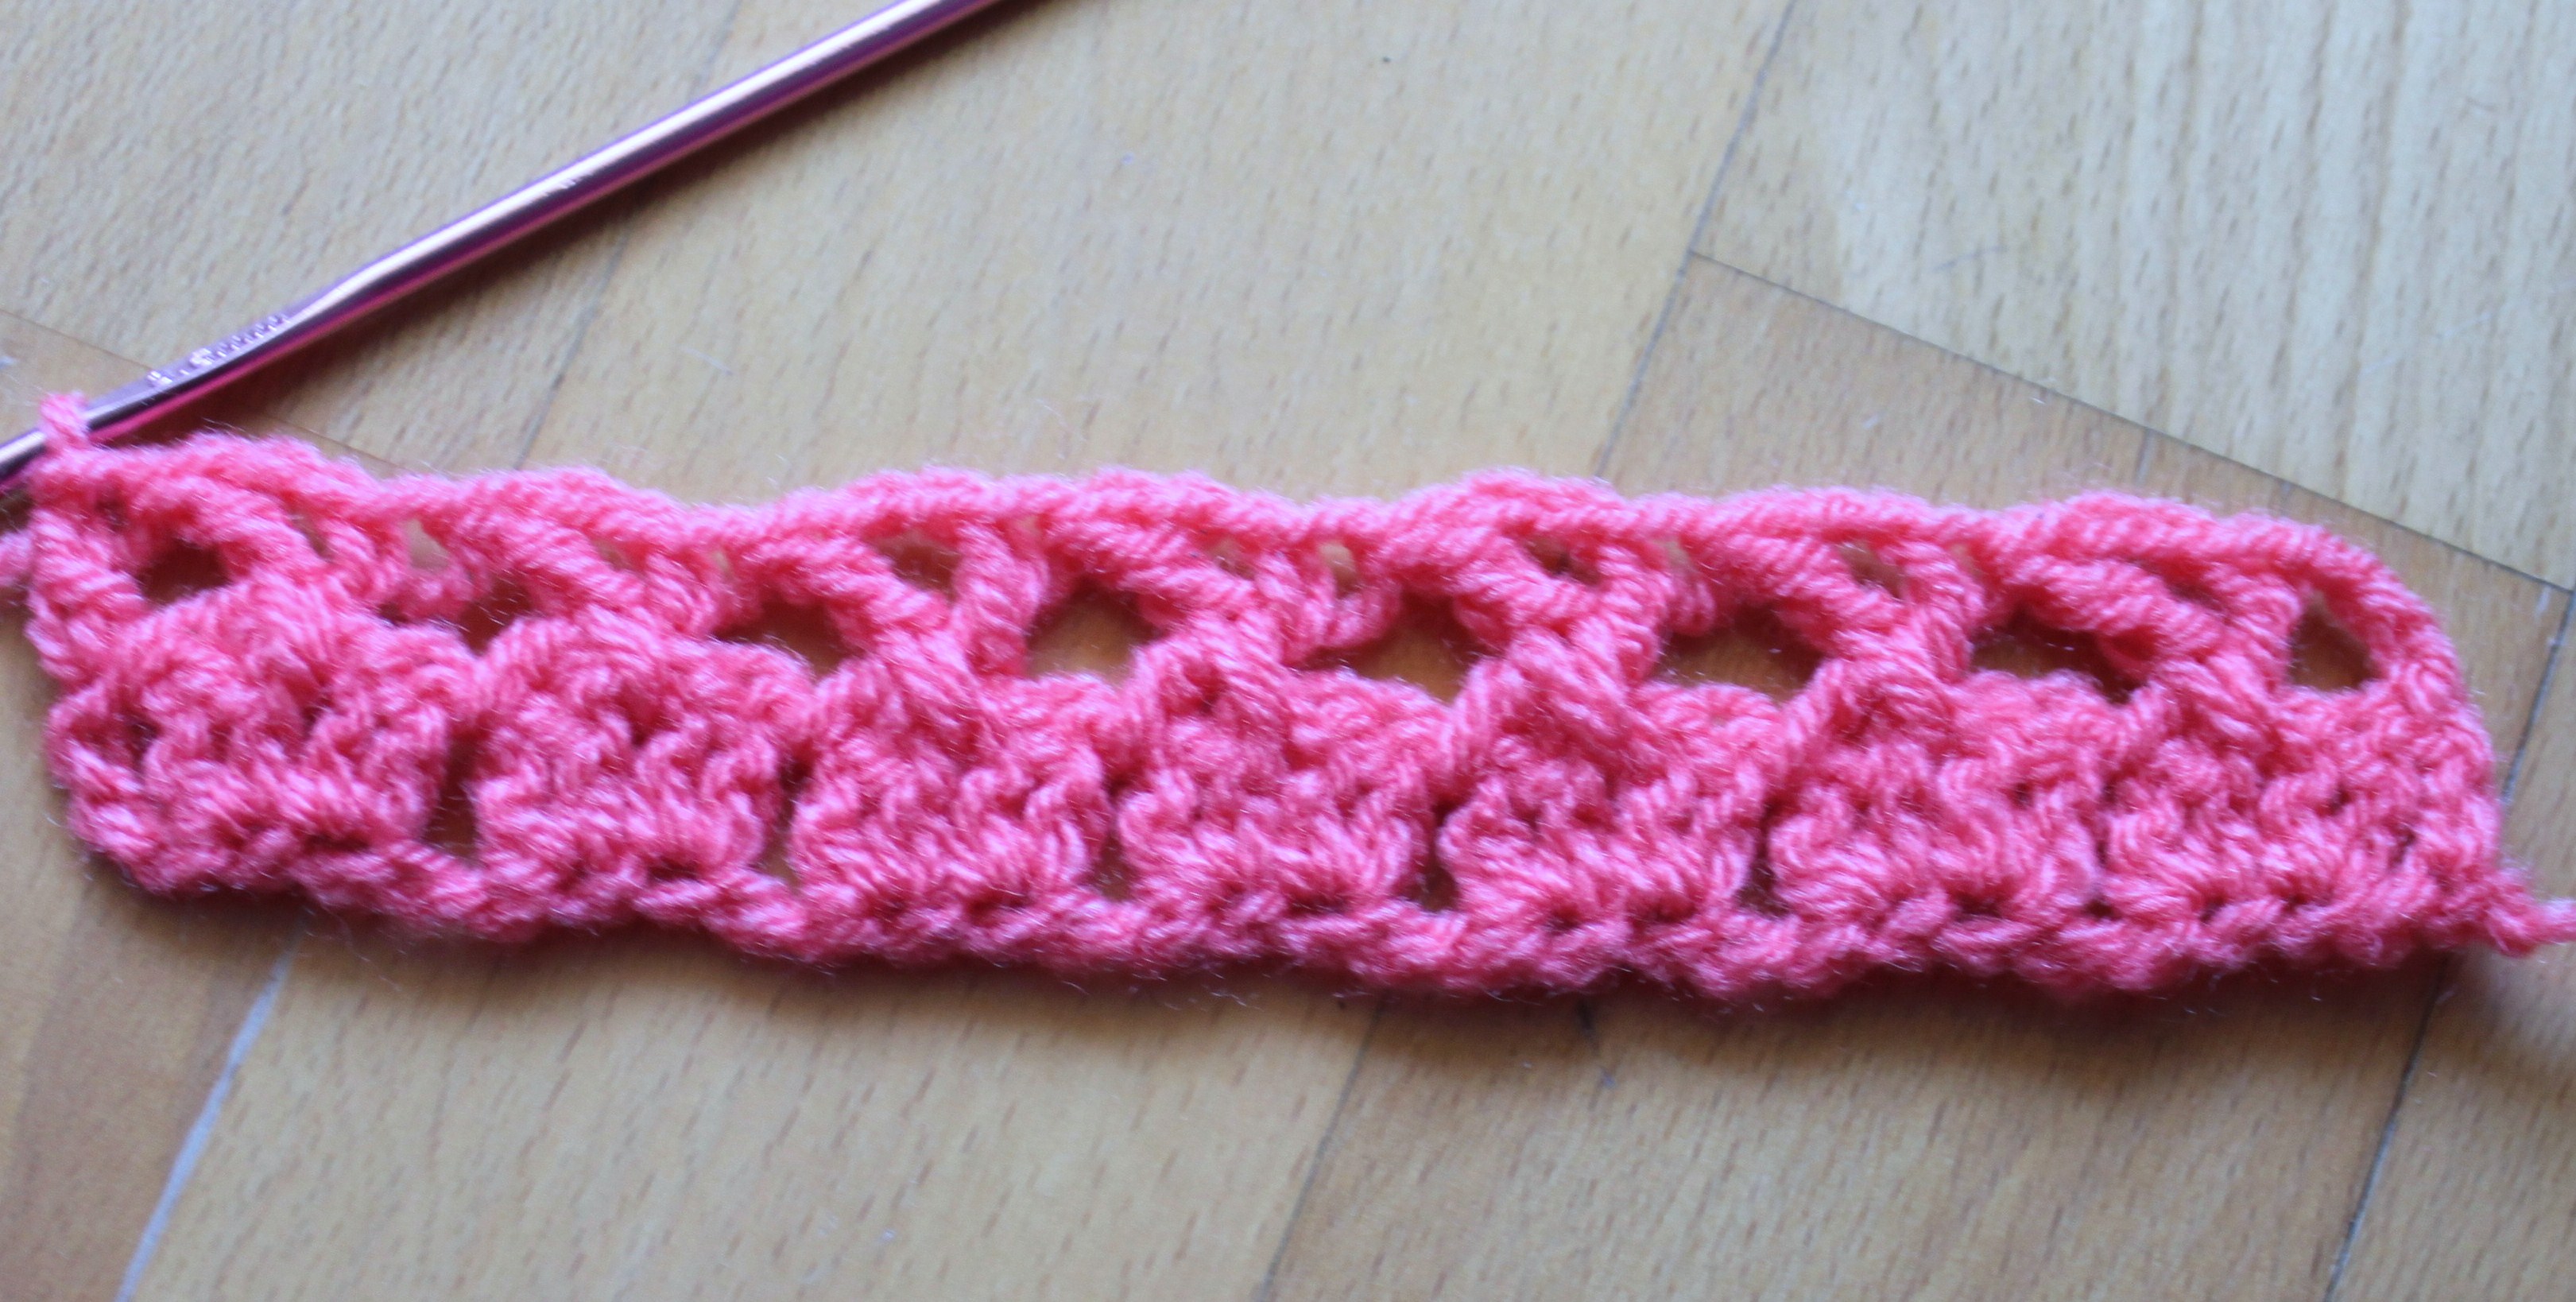
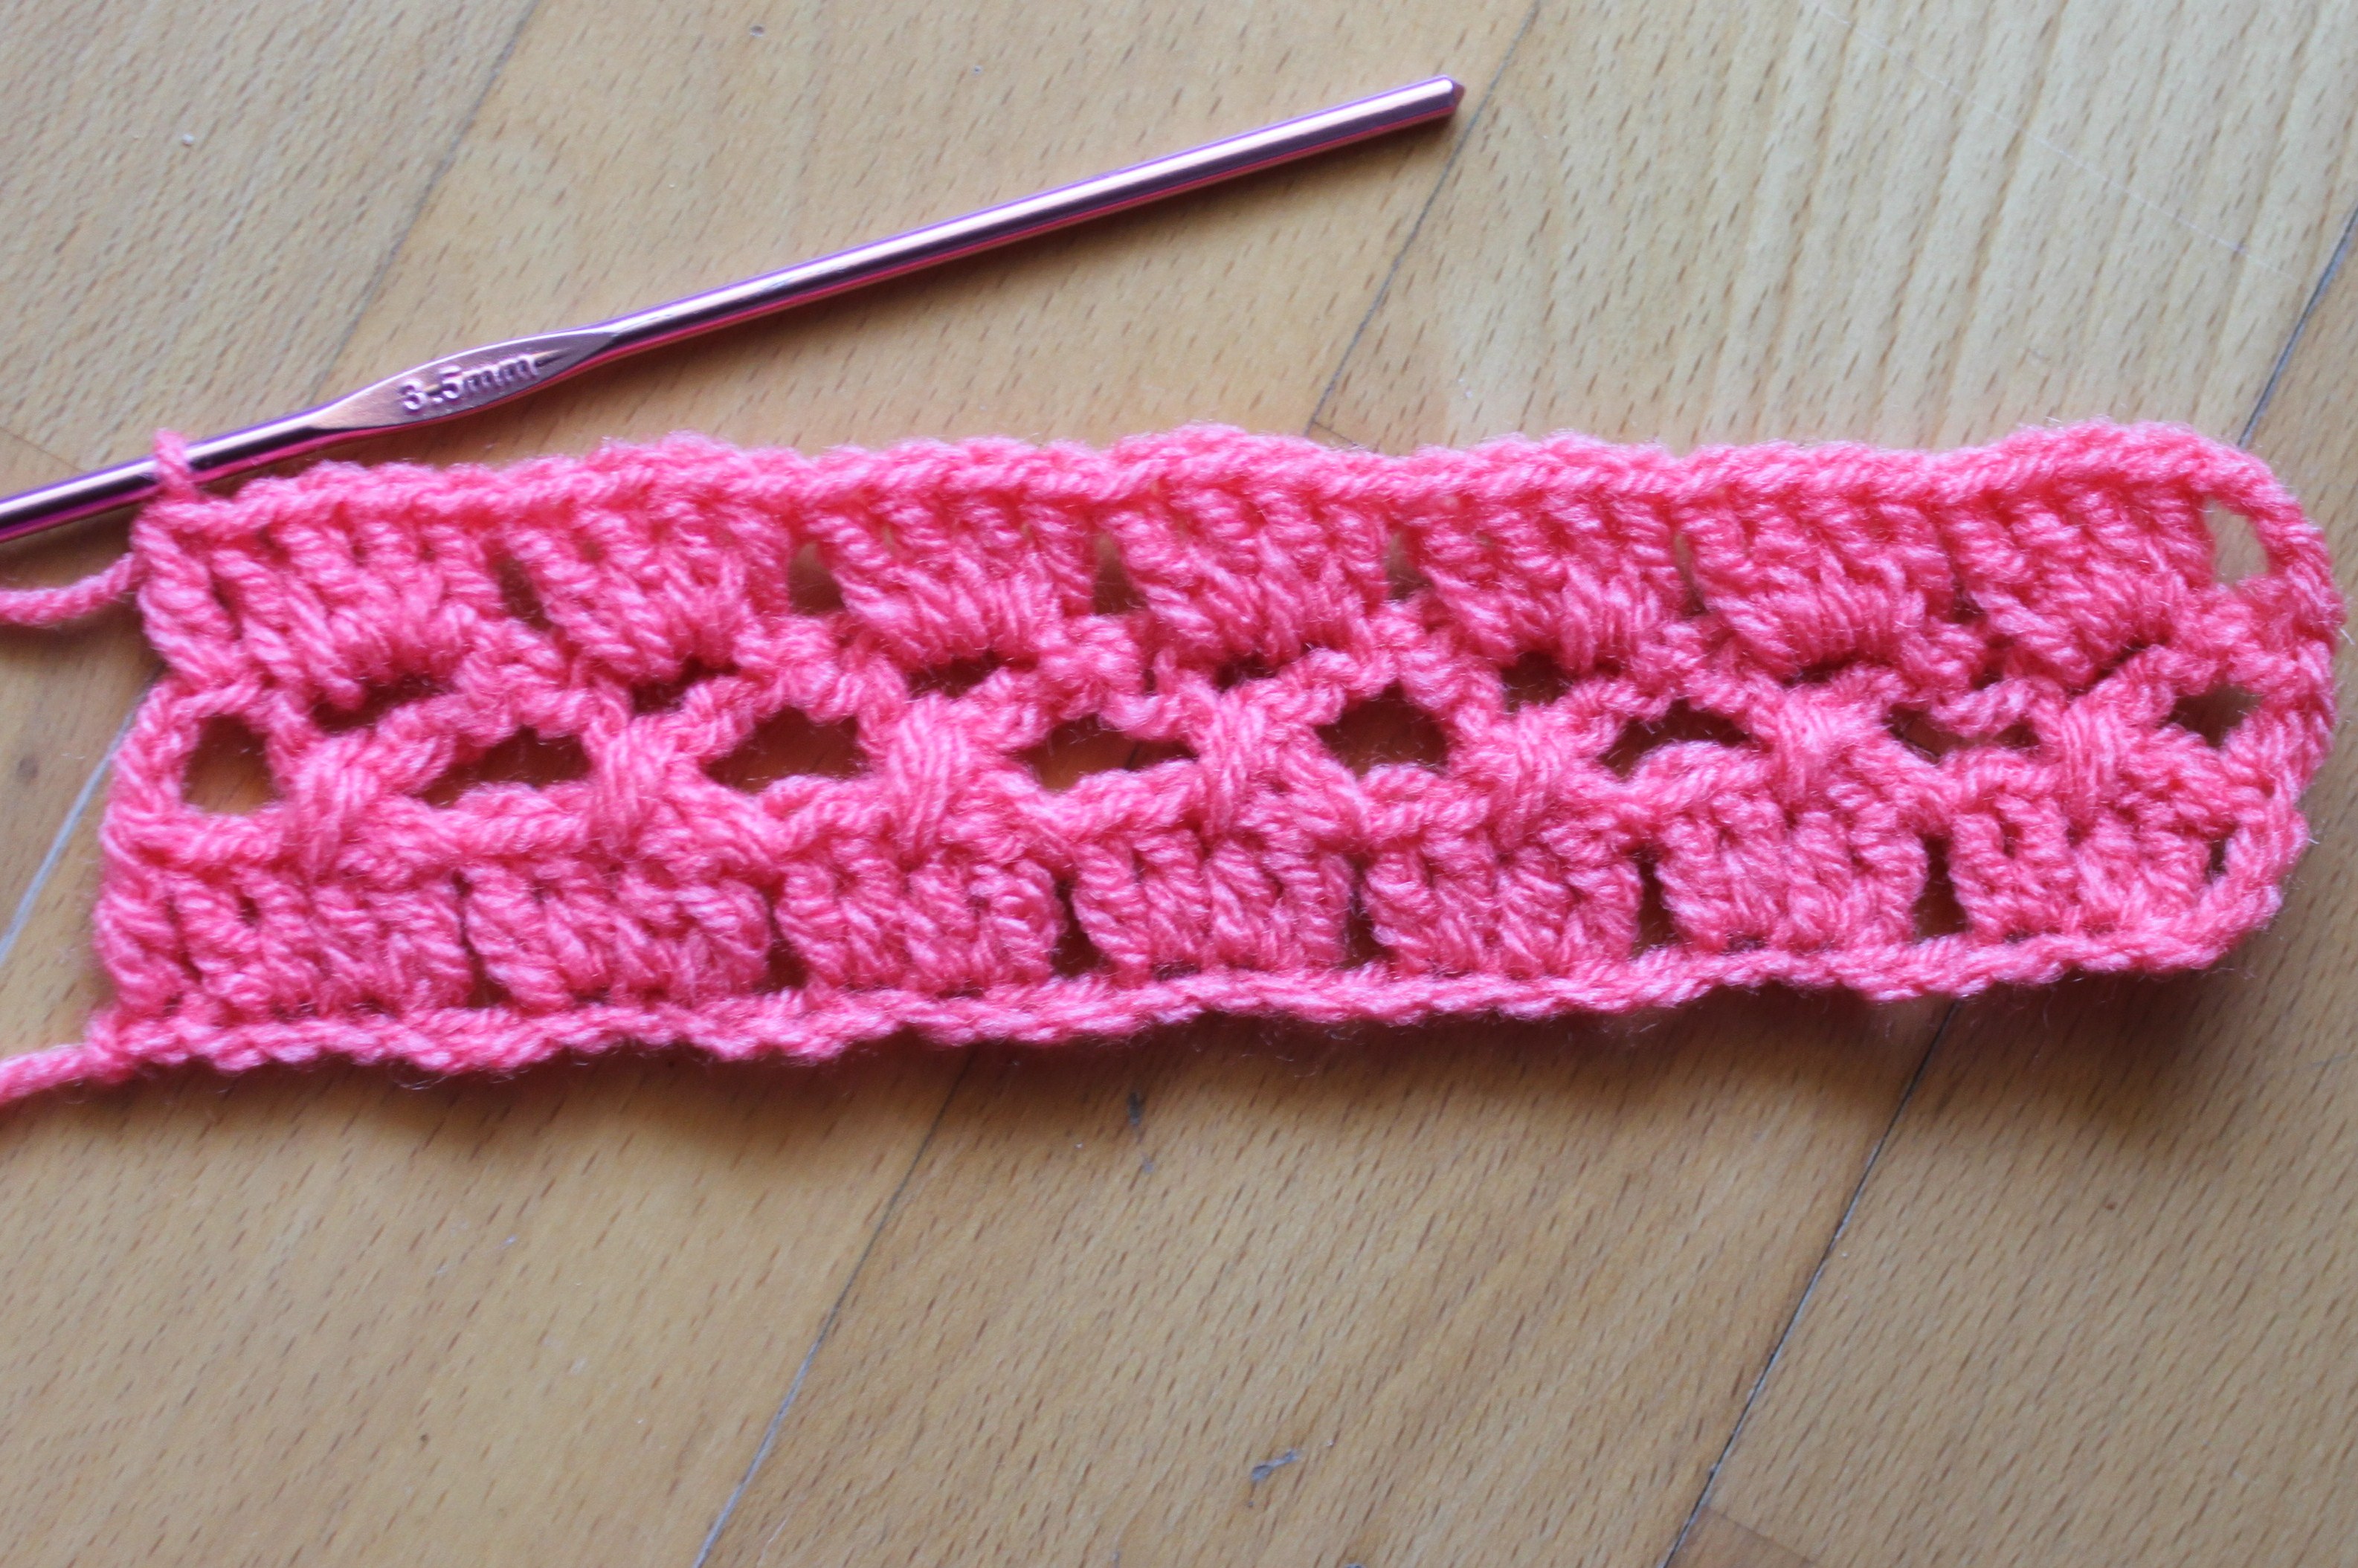
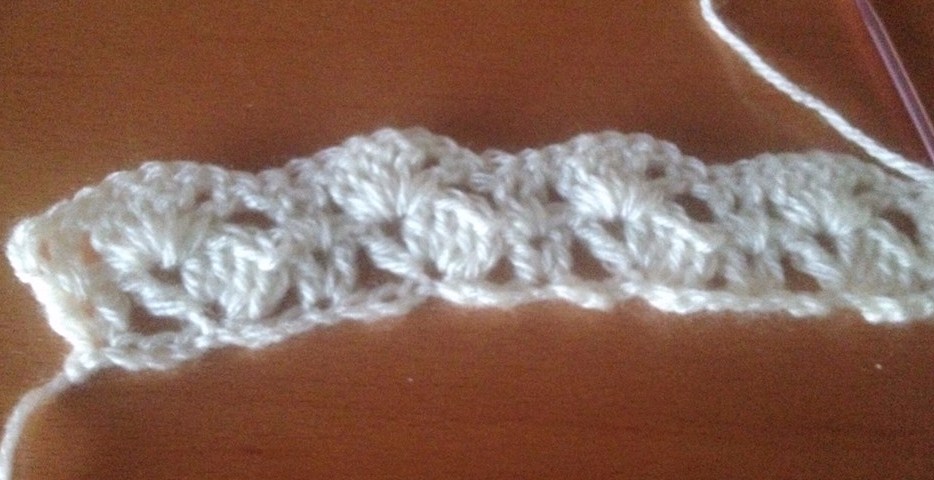
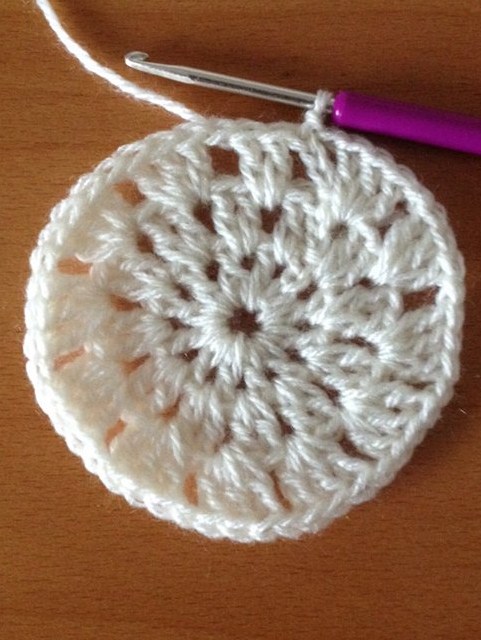
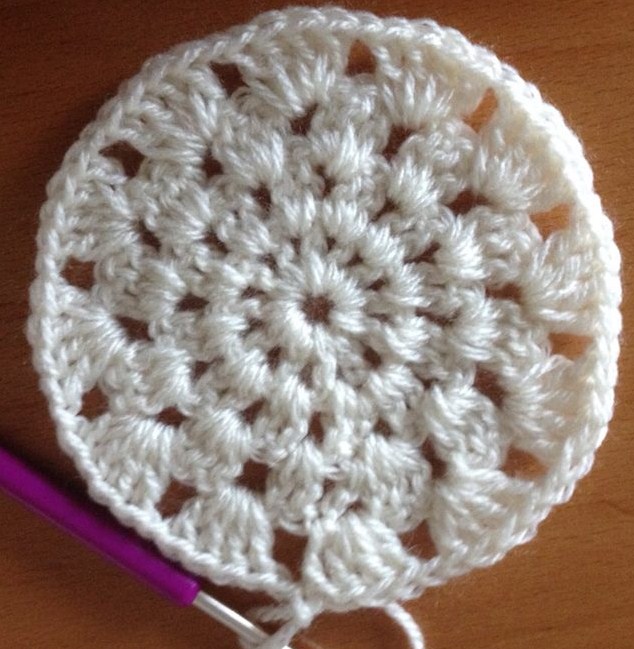
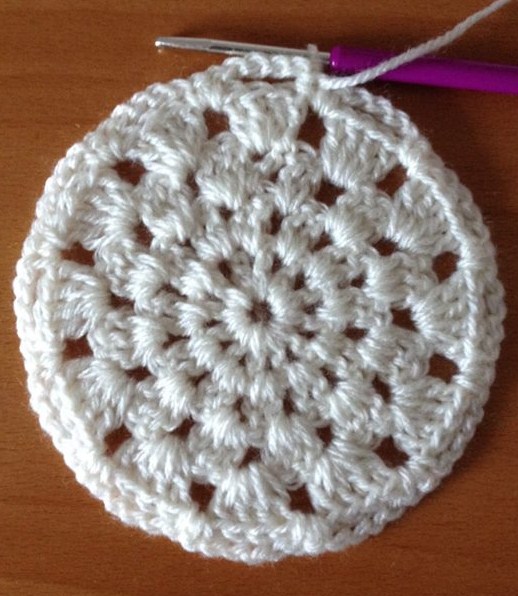
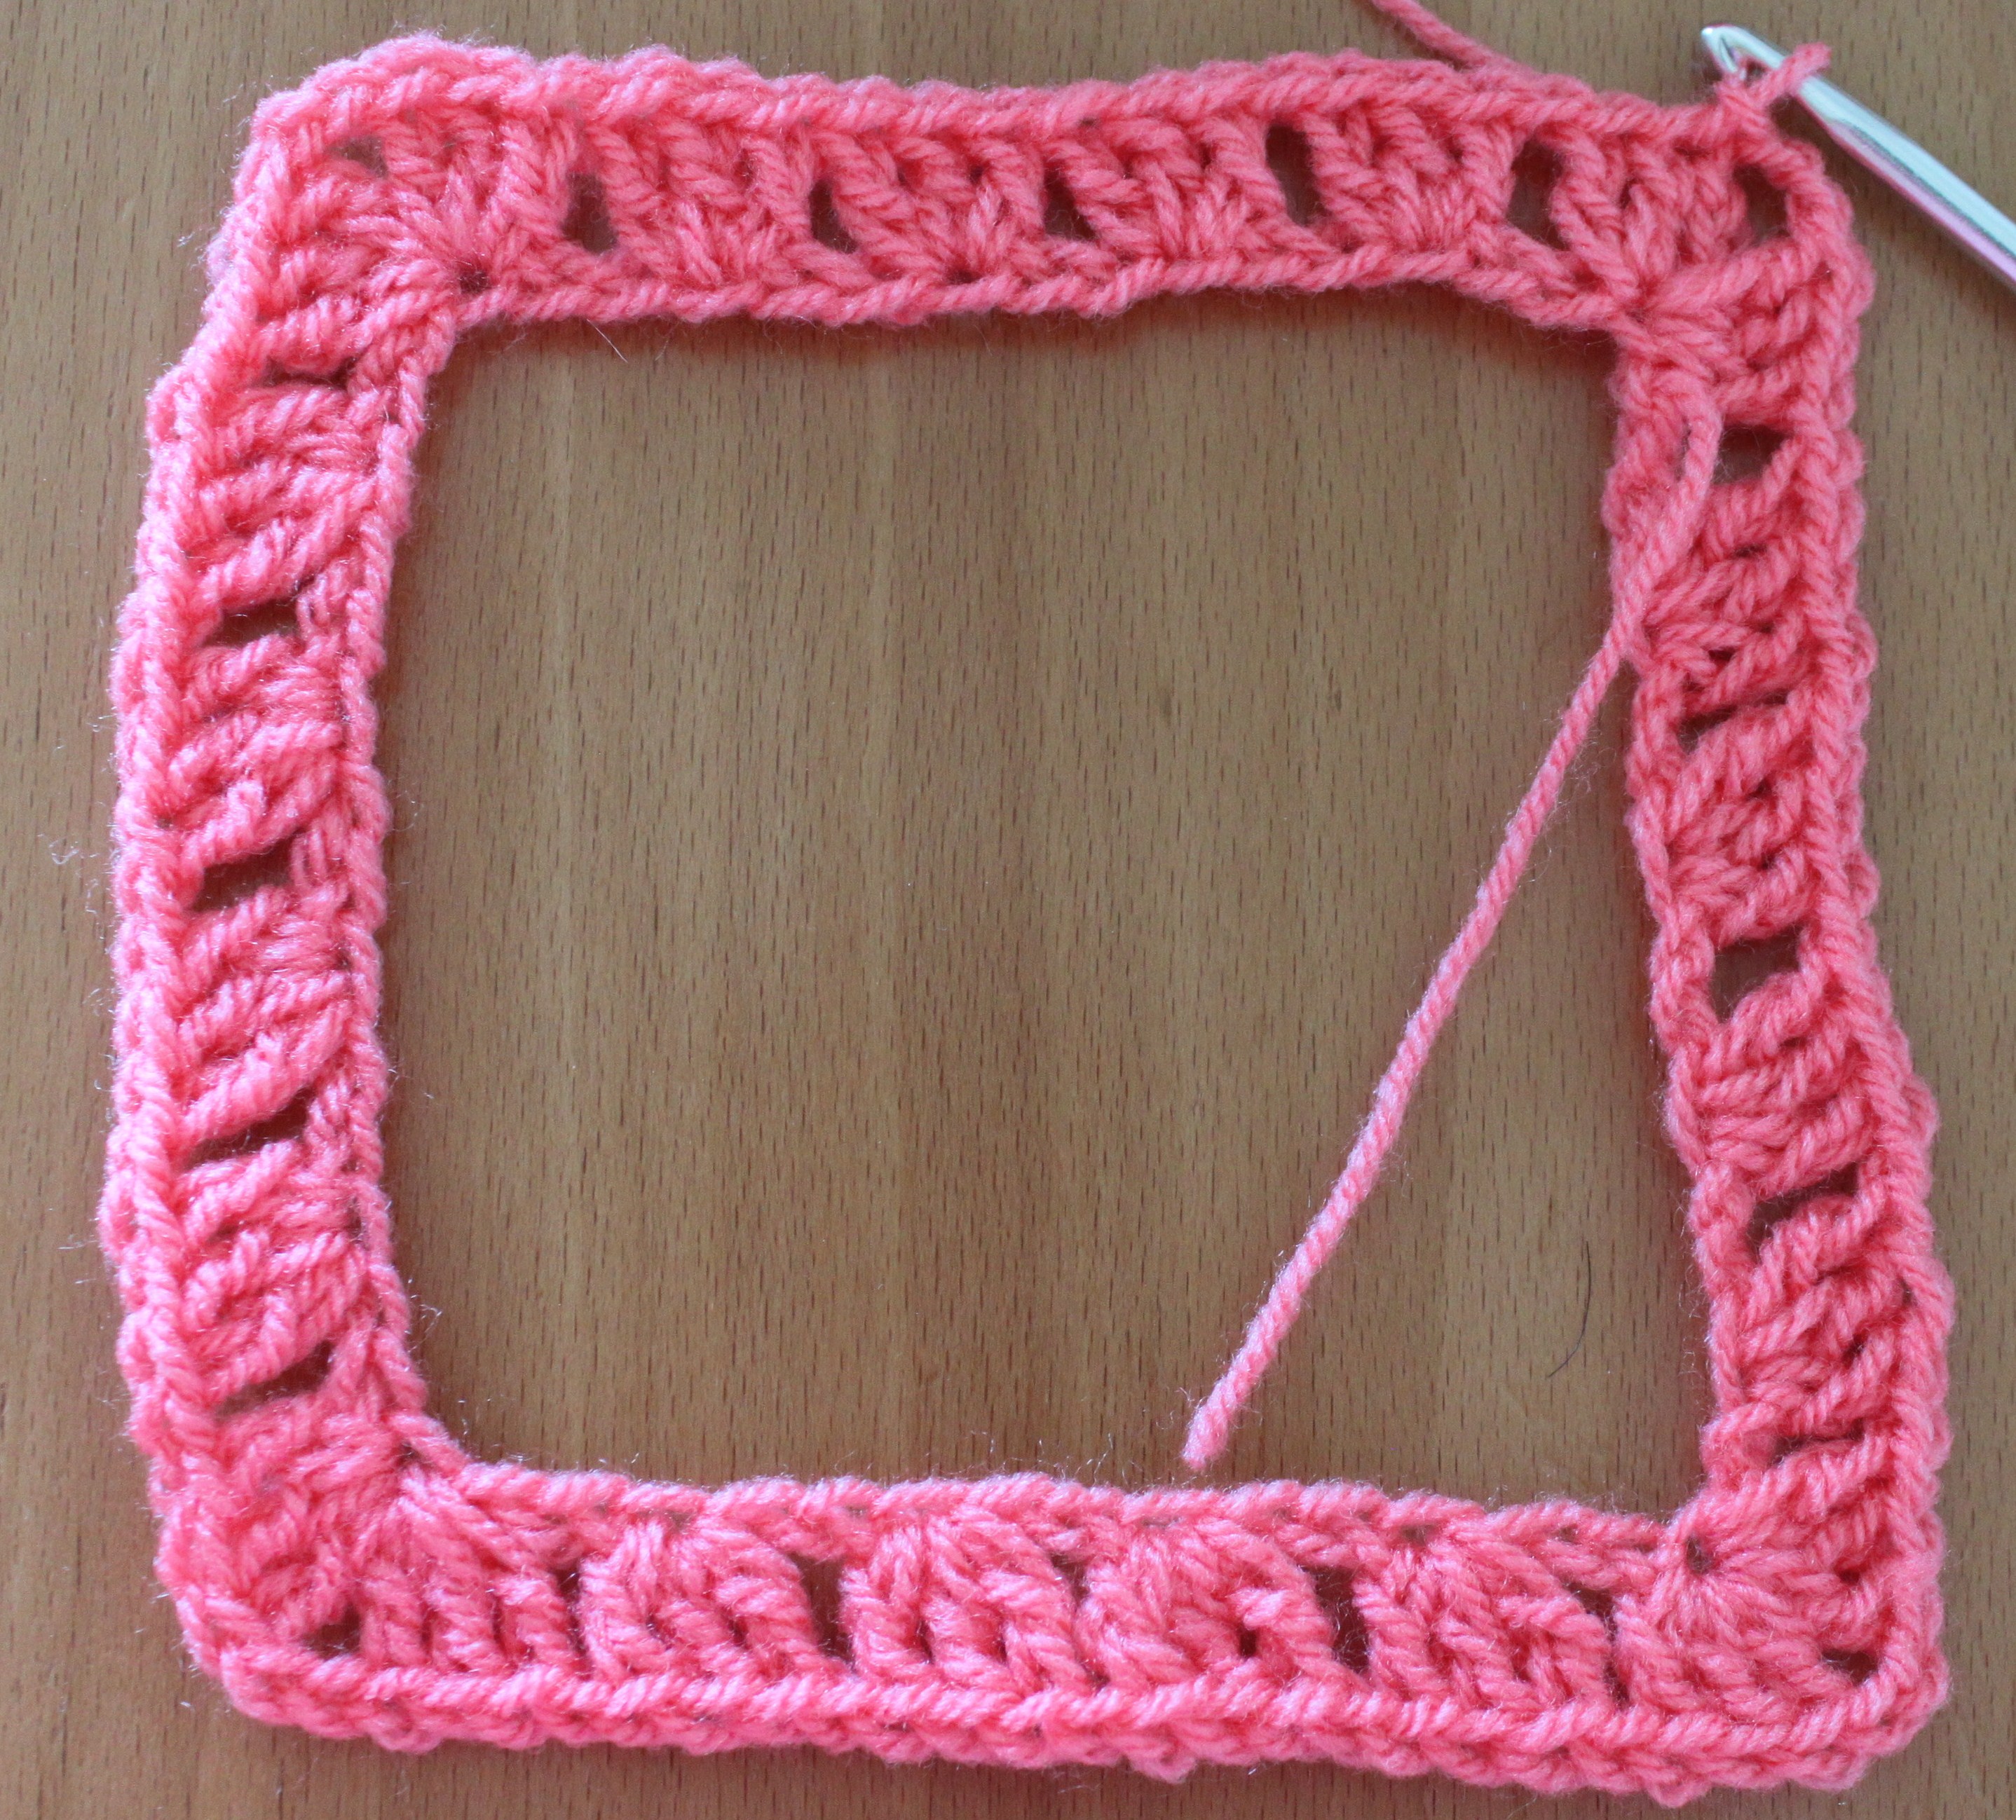
row 1 - Ch3 and dc into every st till the end of the row.
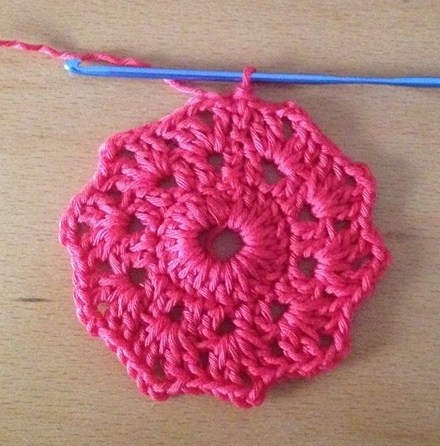
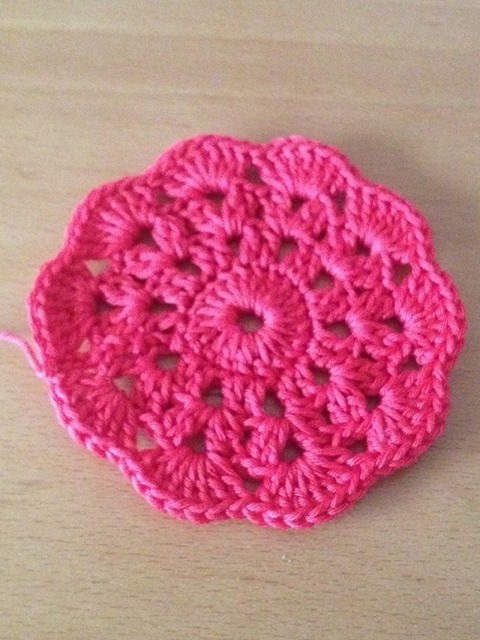
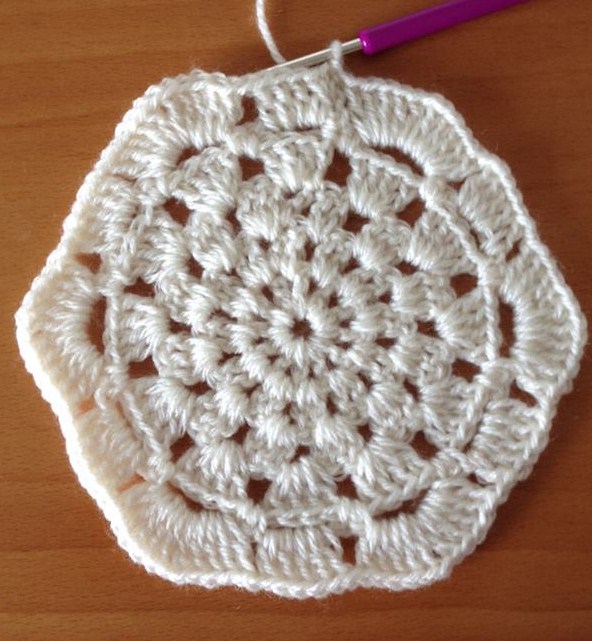
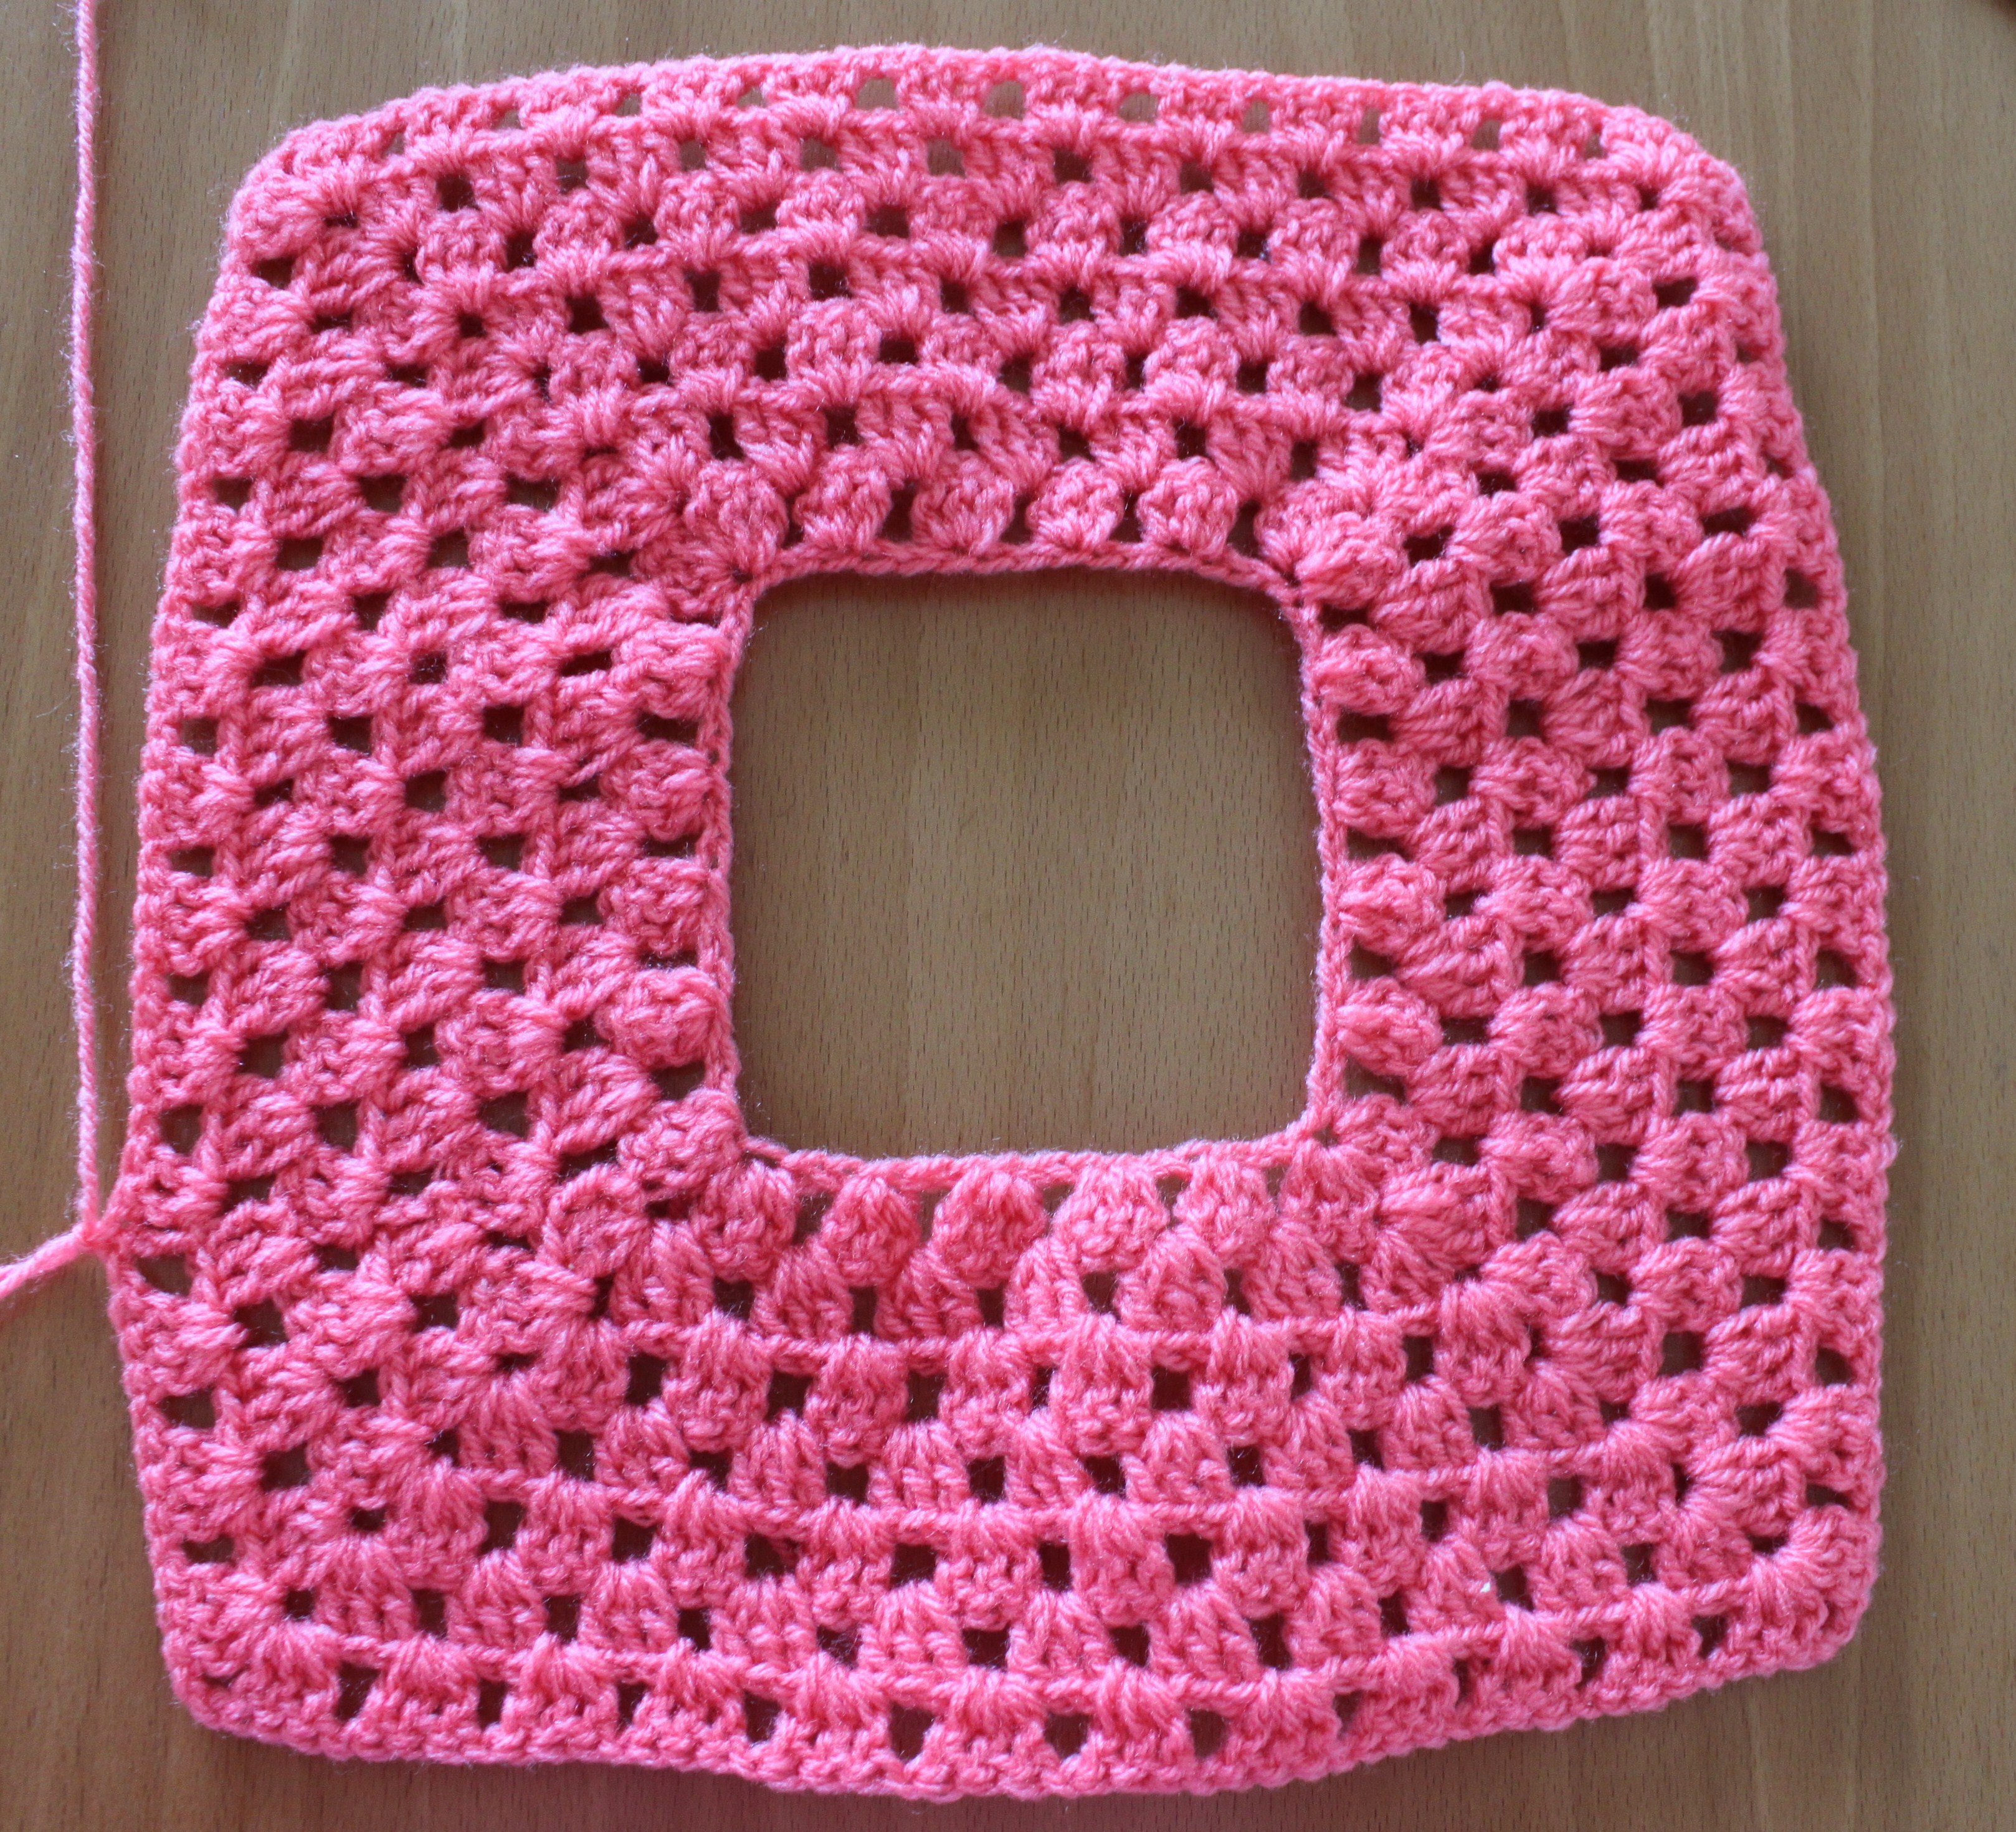
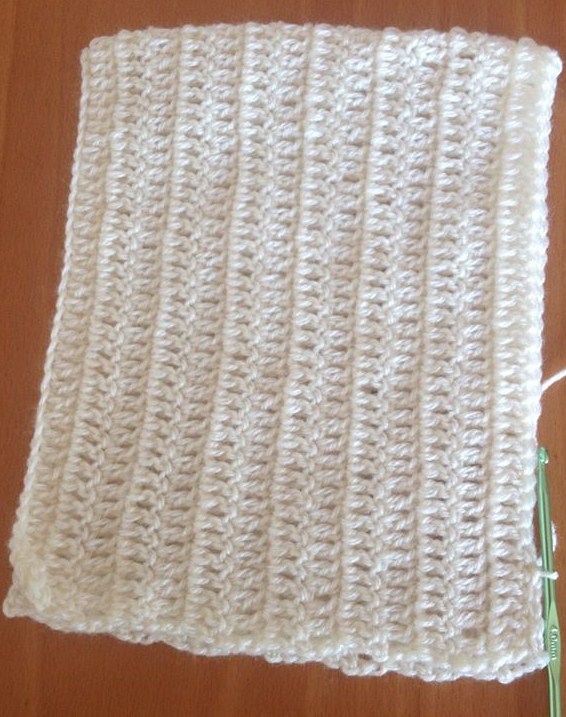
continue row 1 till the pattern reaches till the crown of the head .
11009106_1604724806450921_917751579480859574_n
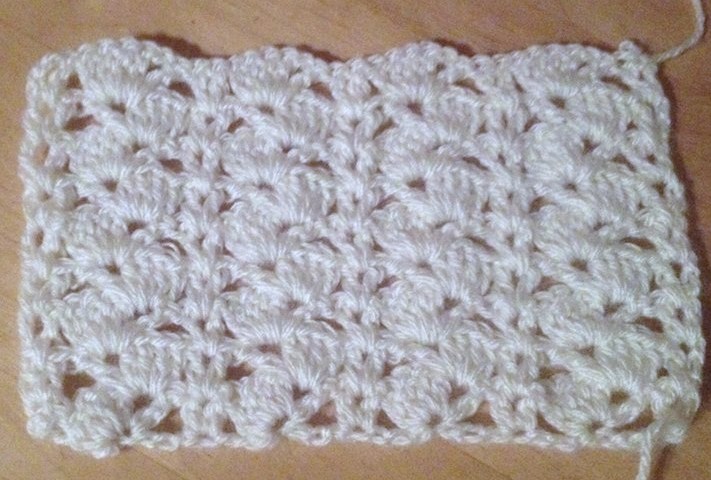
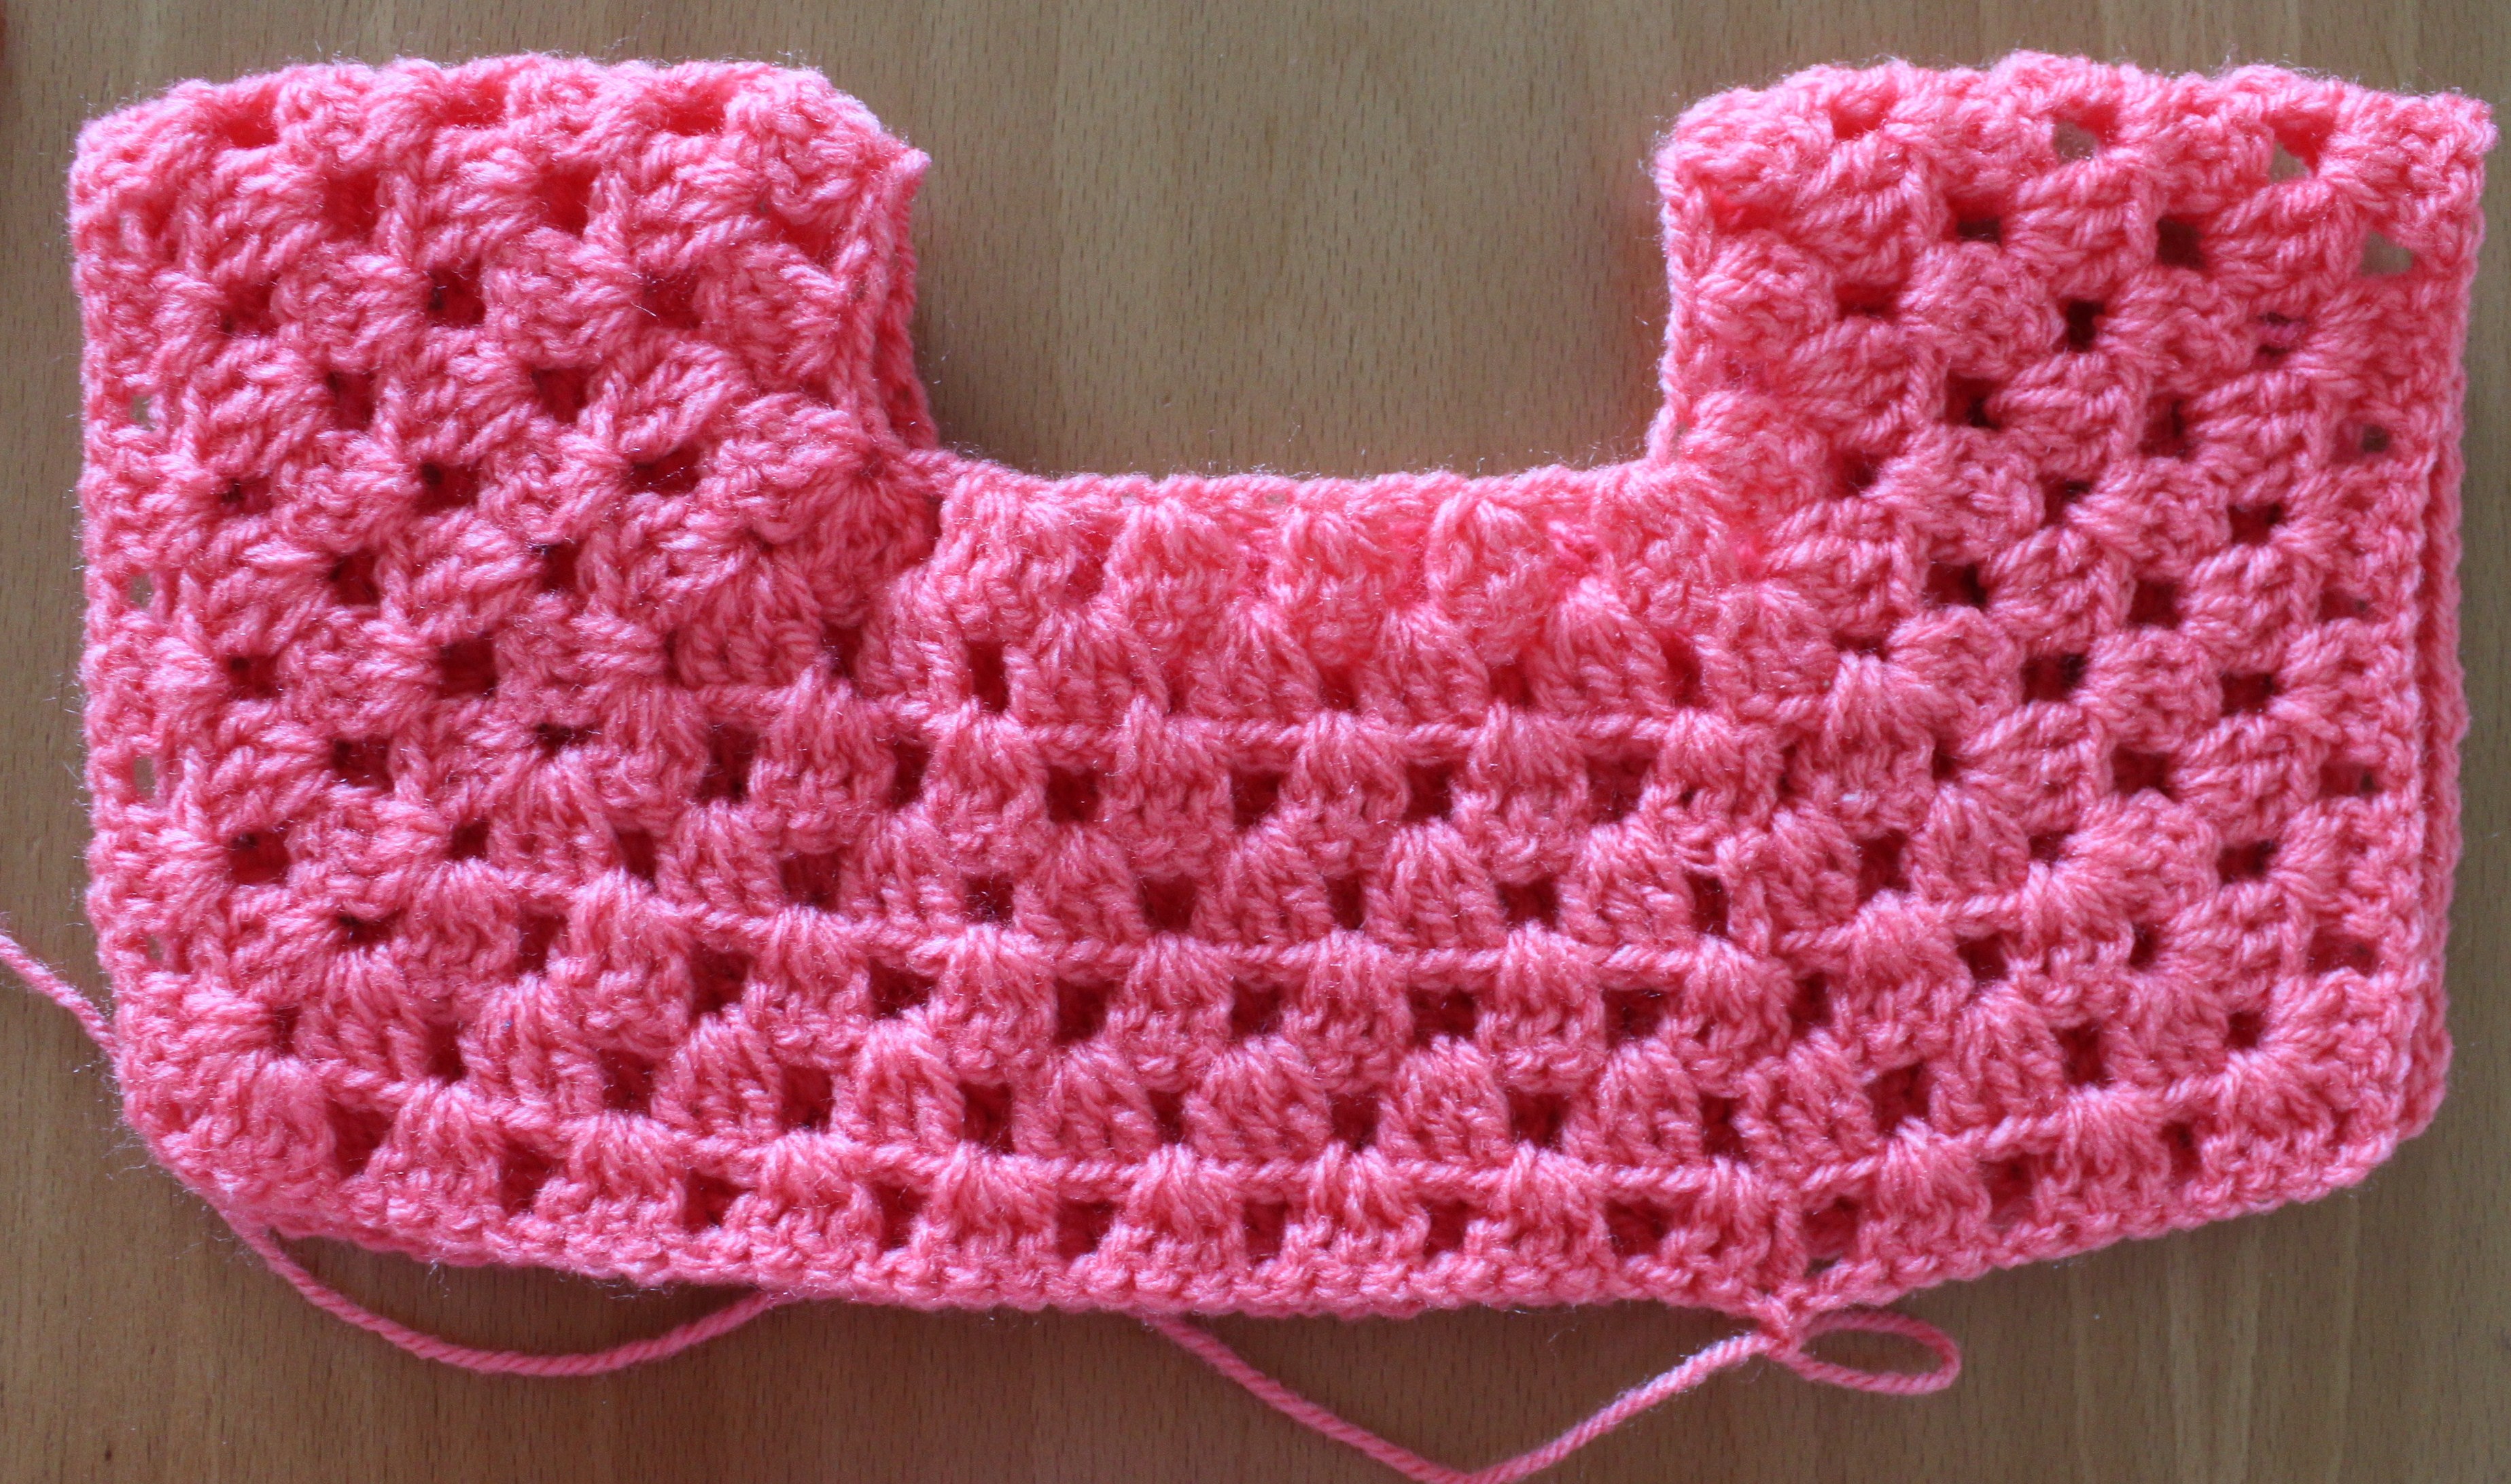
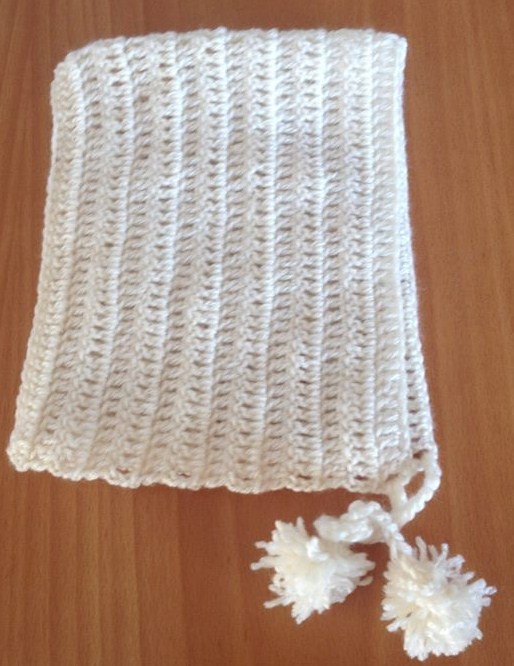
fold it into half horizontally and sew in one side with a slip sts or scs 11755277_1604724846450917_5336994542300319484_n
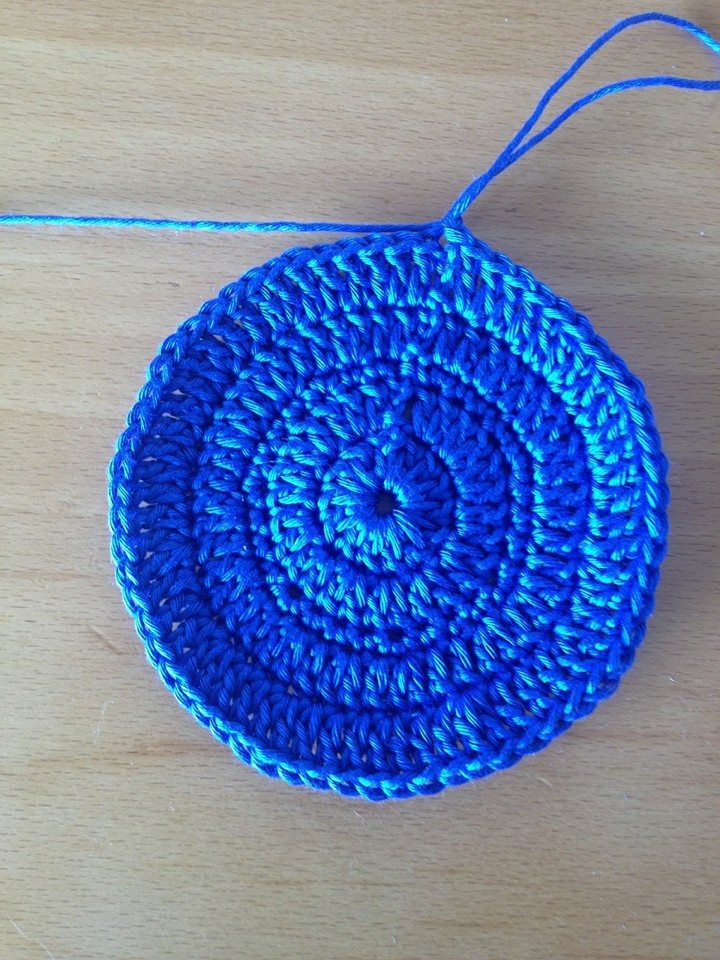
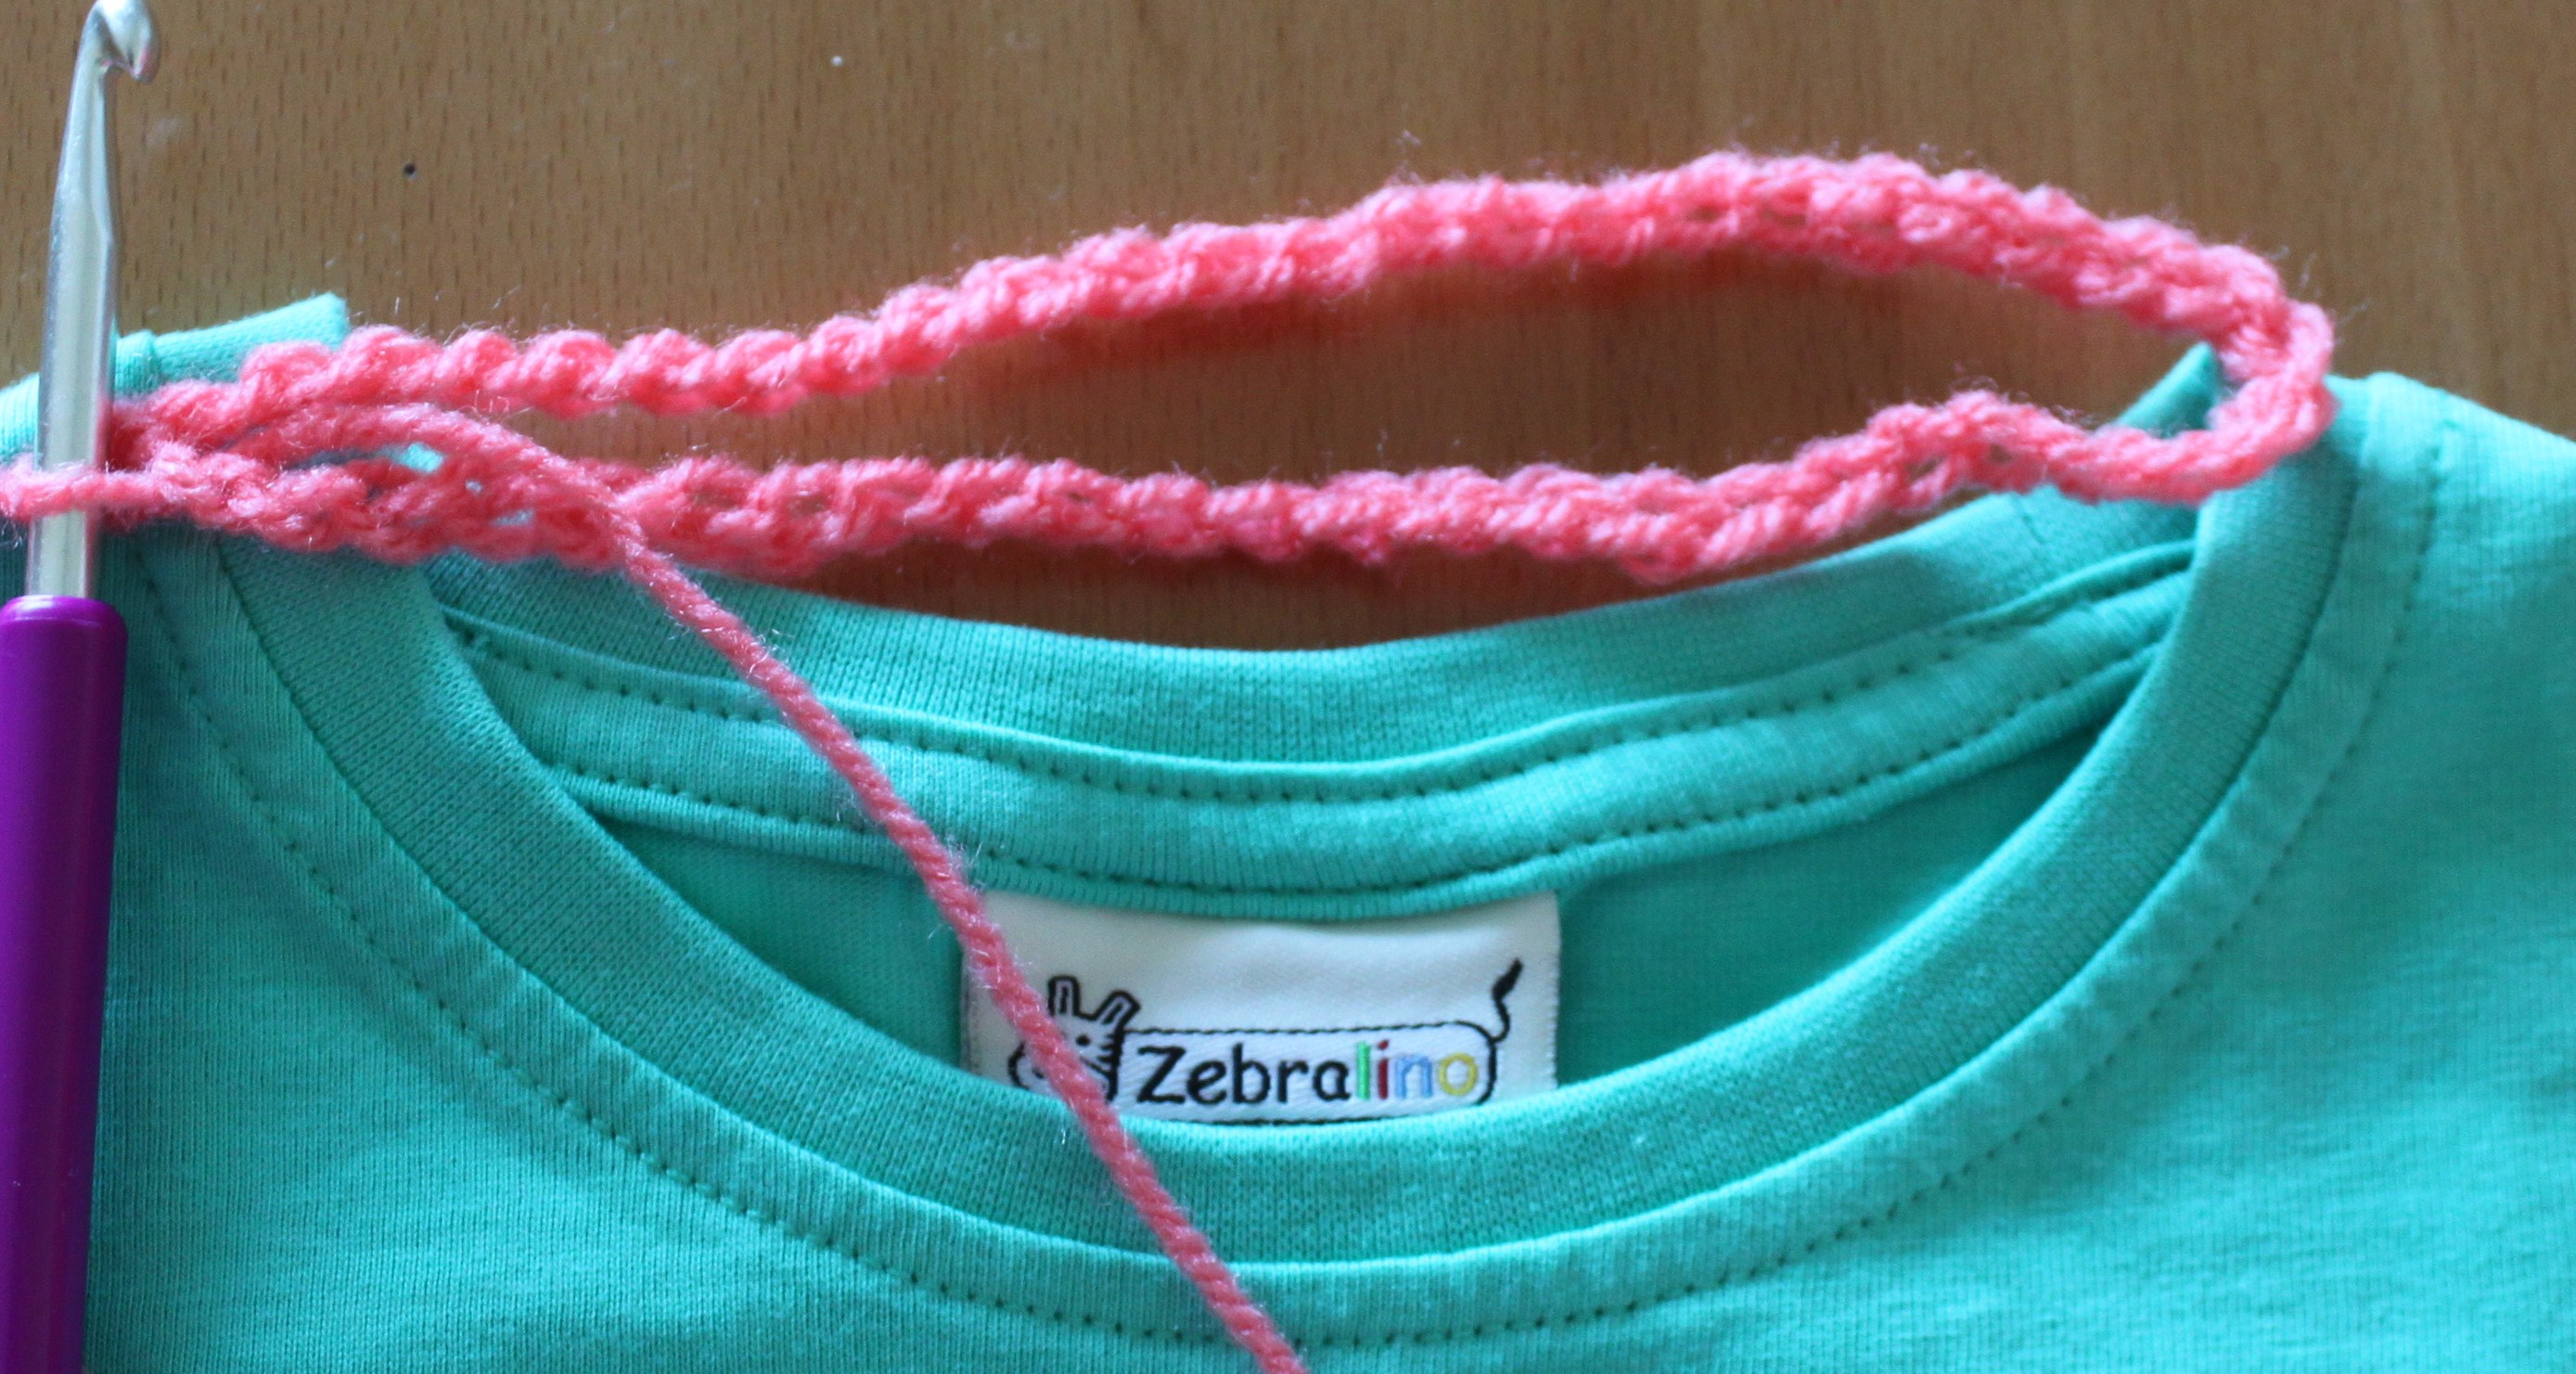
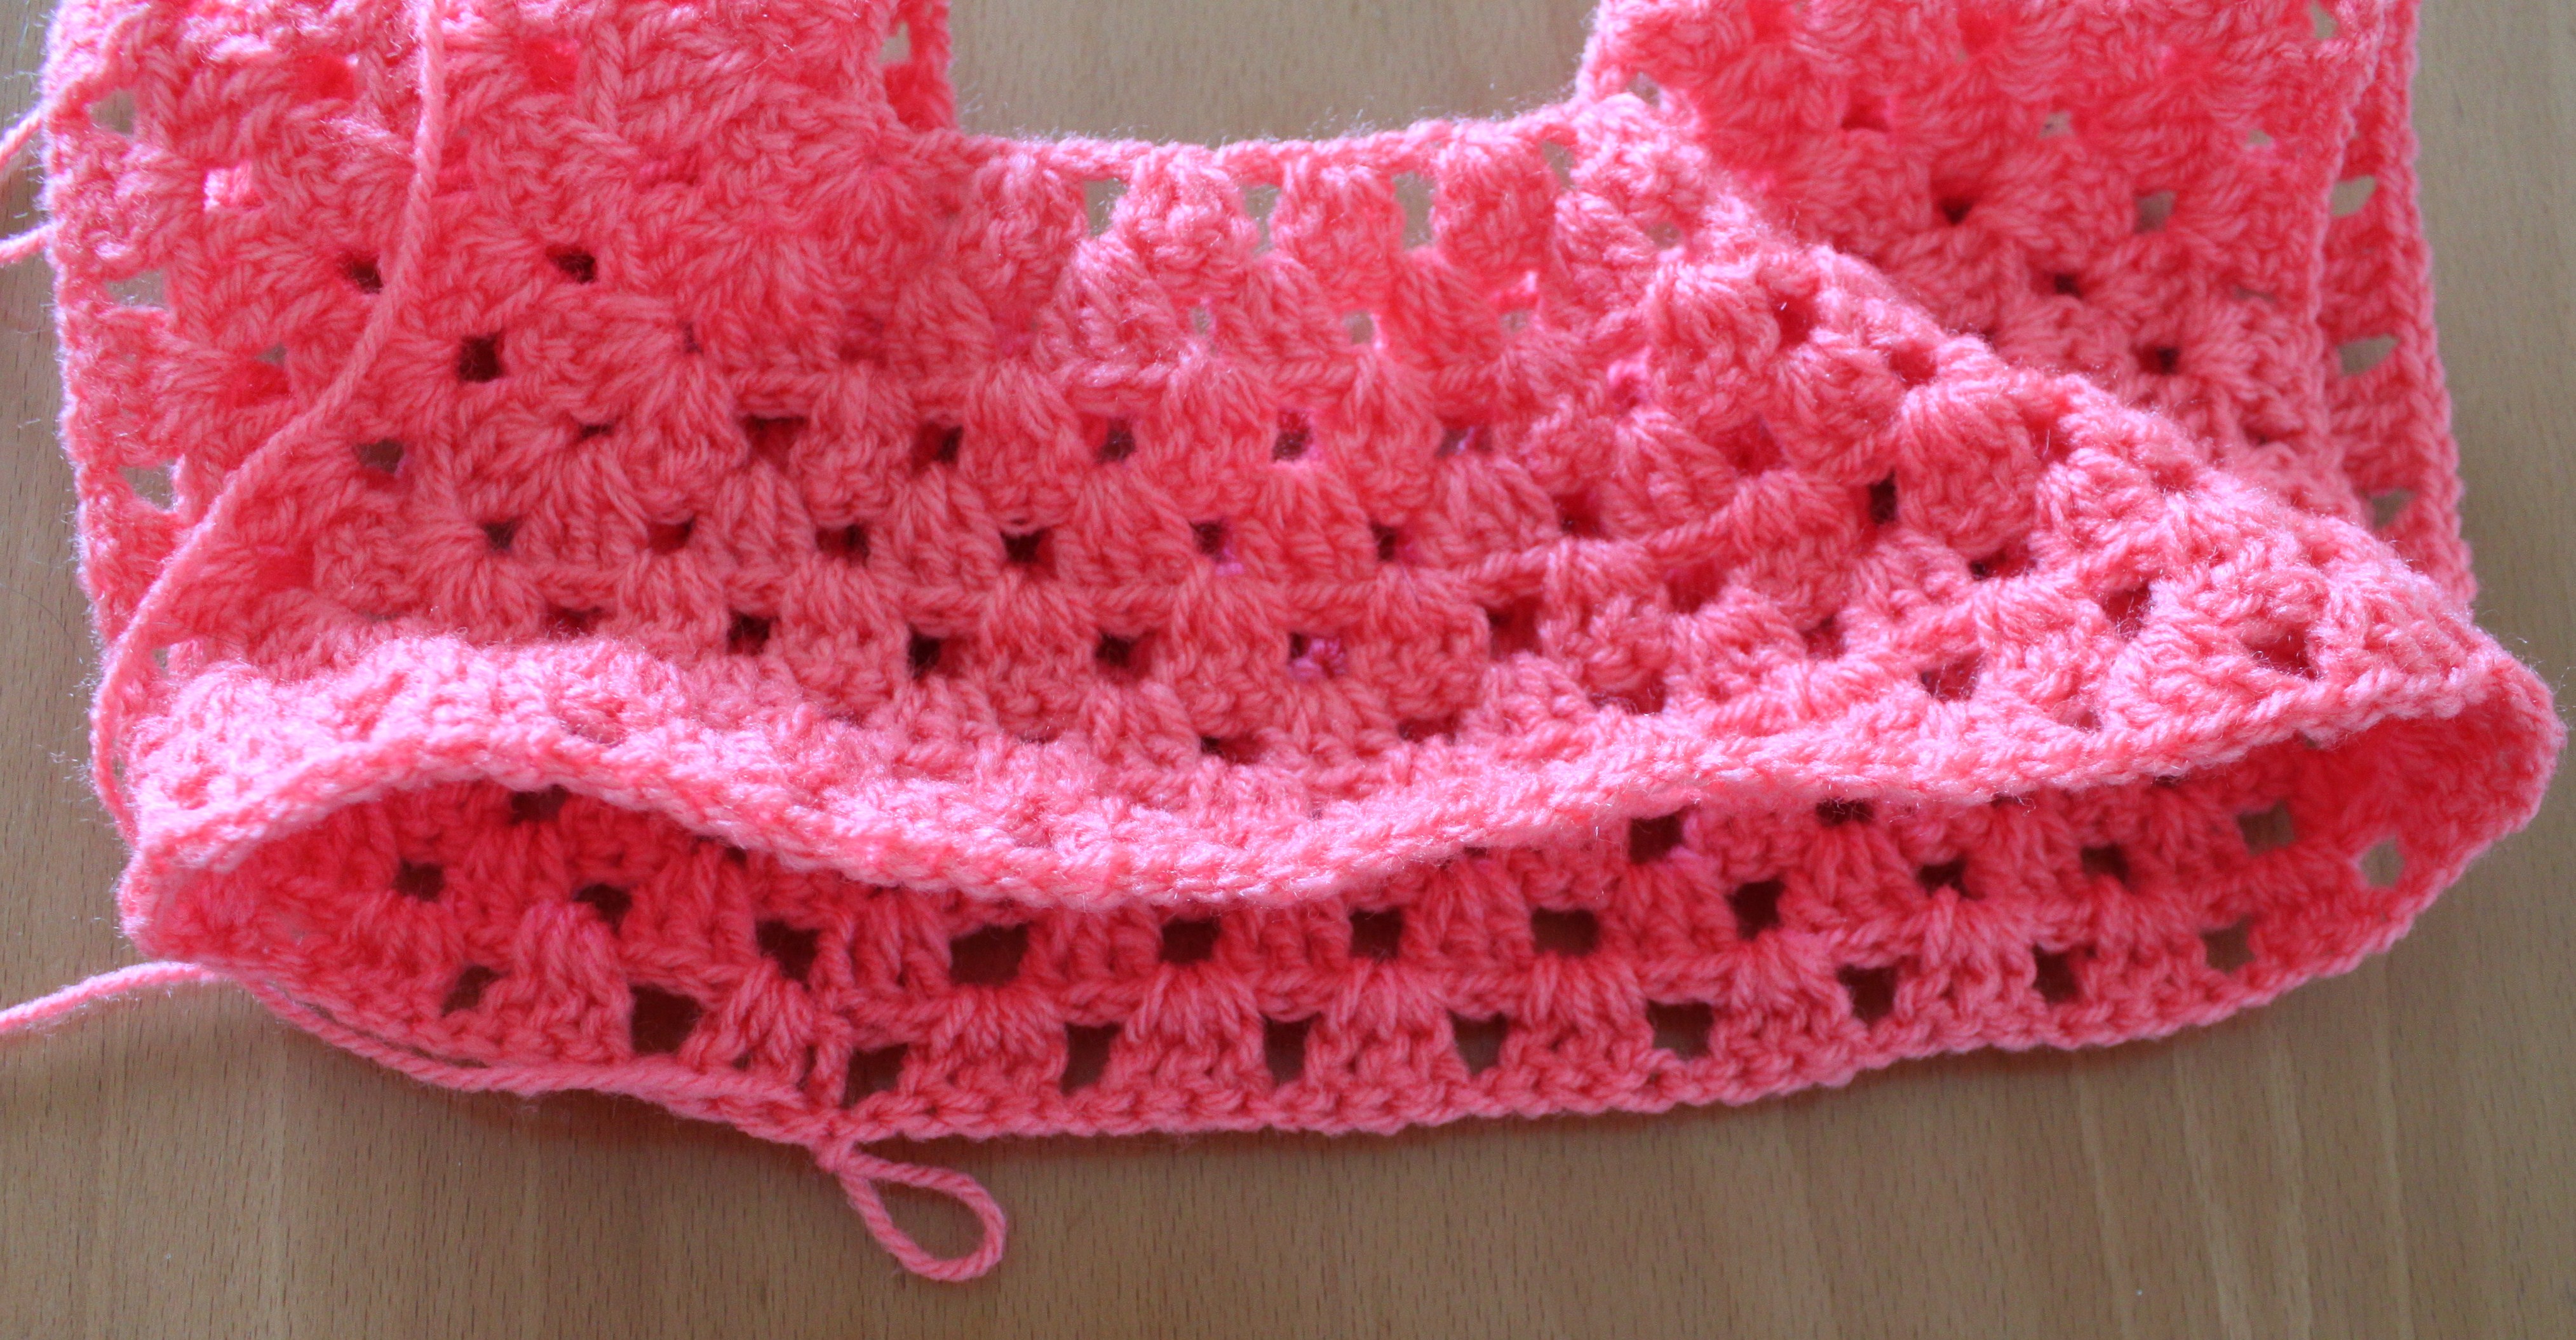
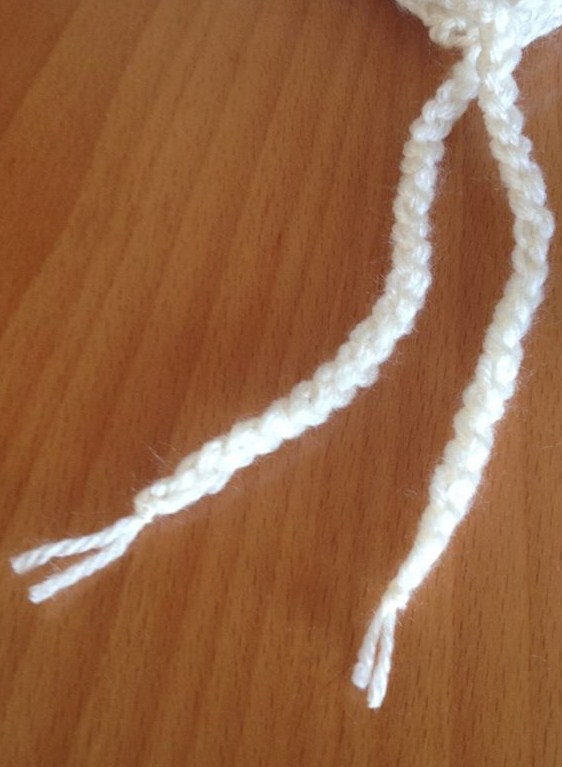
reverse the pattern and on the otherside, to both end insert about 1 meter yarn on each side as shown in the picture below
10500583_1604724879784247_2759442285582361799_n
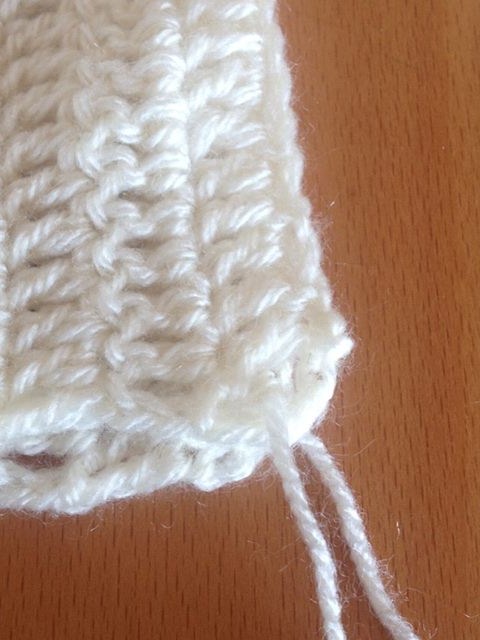
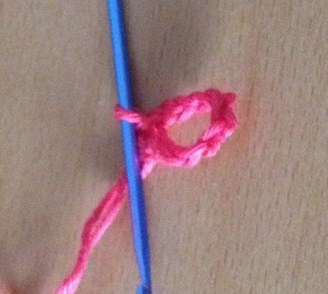
make ch sts holding both the strings and fasten off at the end .
11745818_1604724929784242_3840634674611770723_n
make 2 small pom poms and sew it to the end of the string. Now the easy baby bonnet is ready.
11707734_1604724959784239_5132956548515757218_n
Note: If you wish you can also add 1 pom pom on the top also.
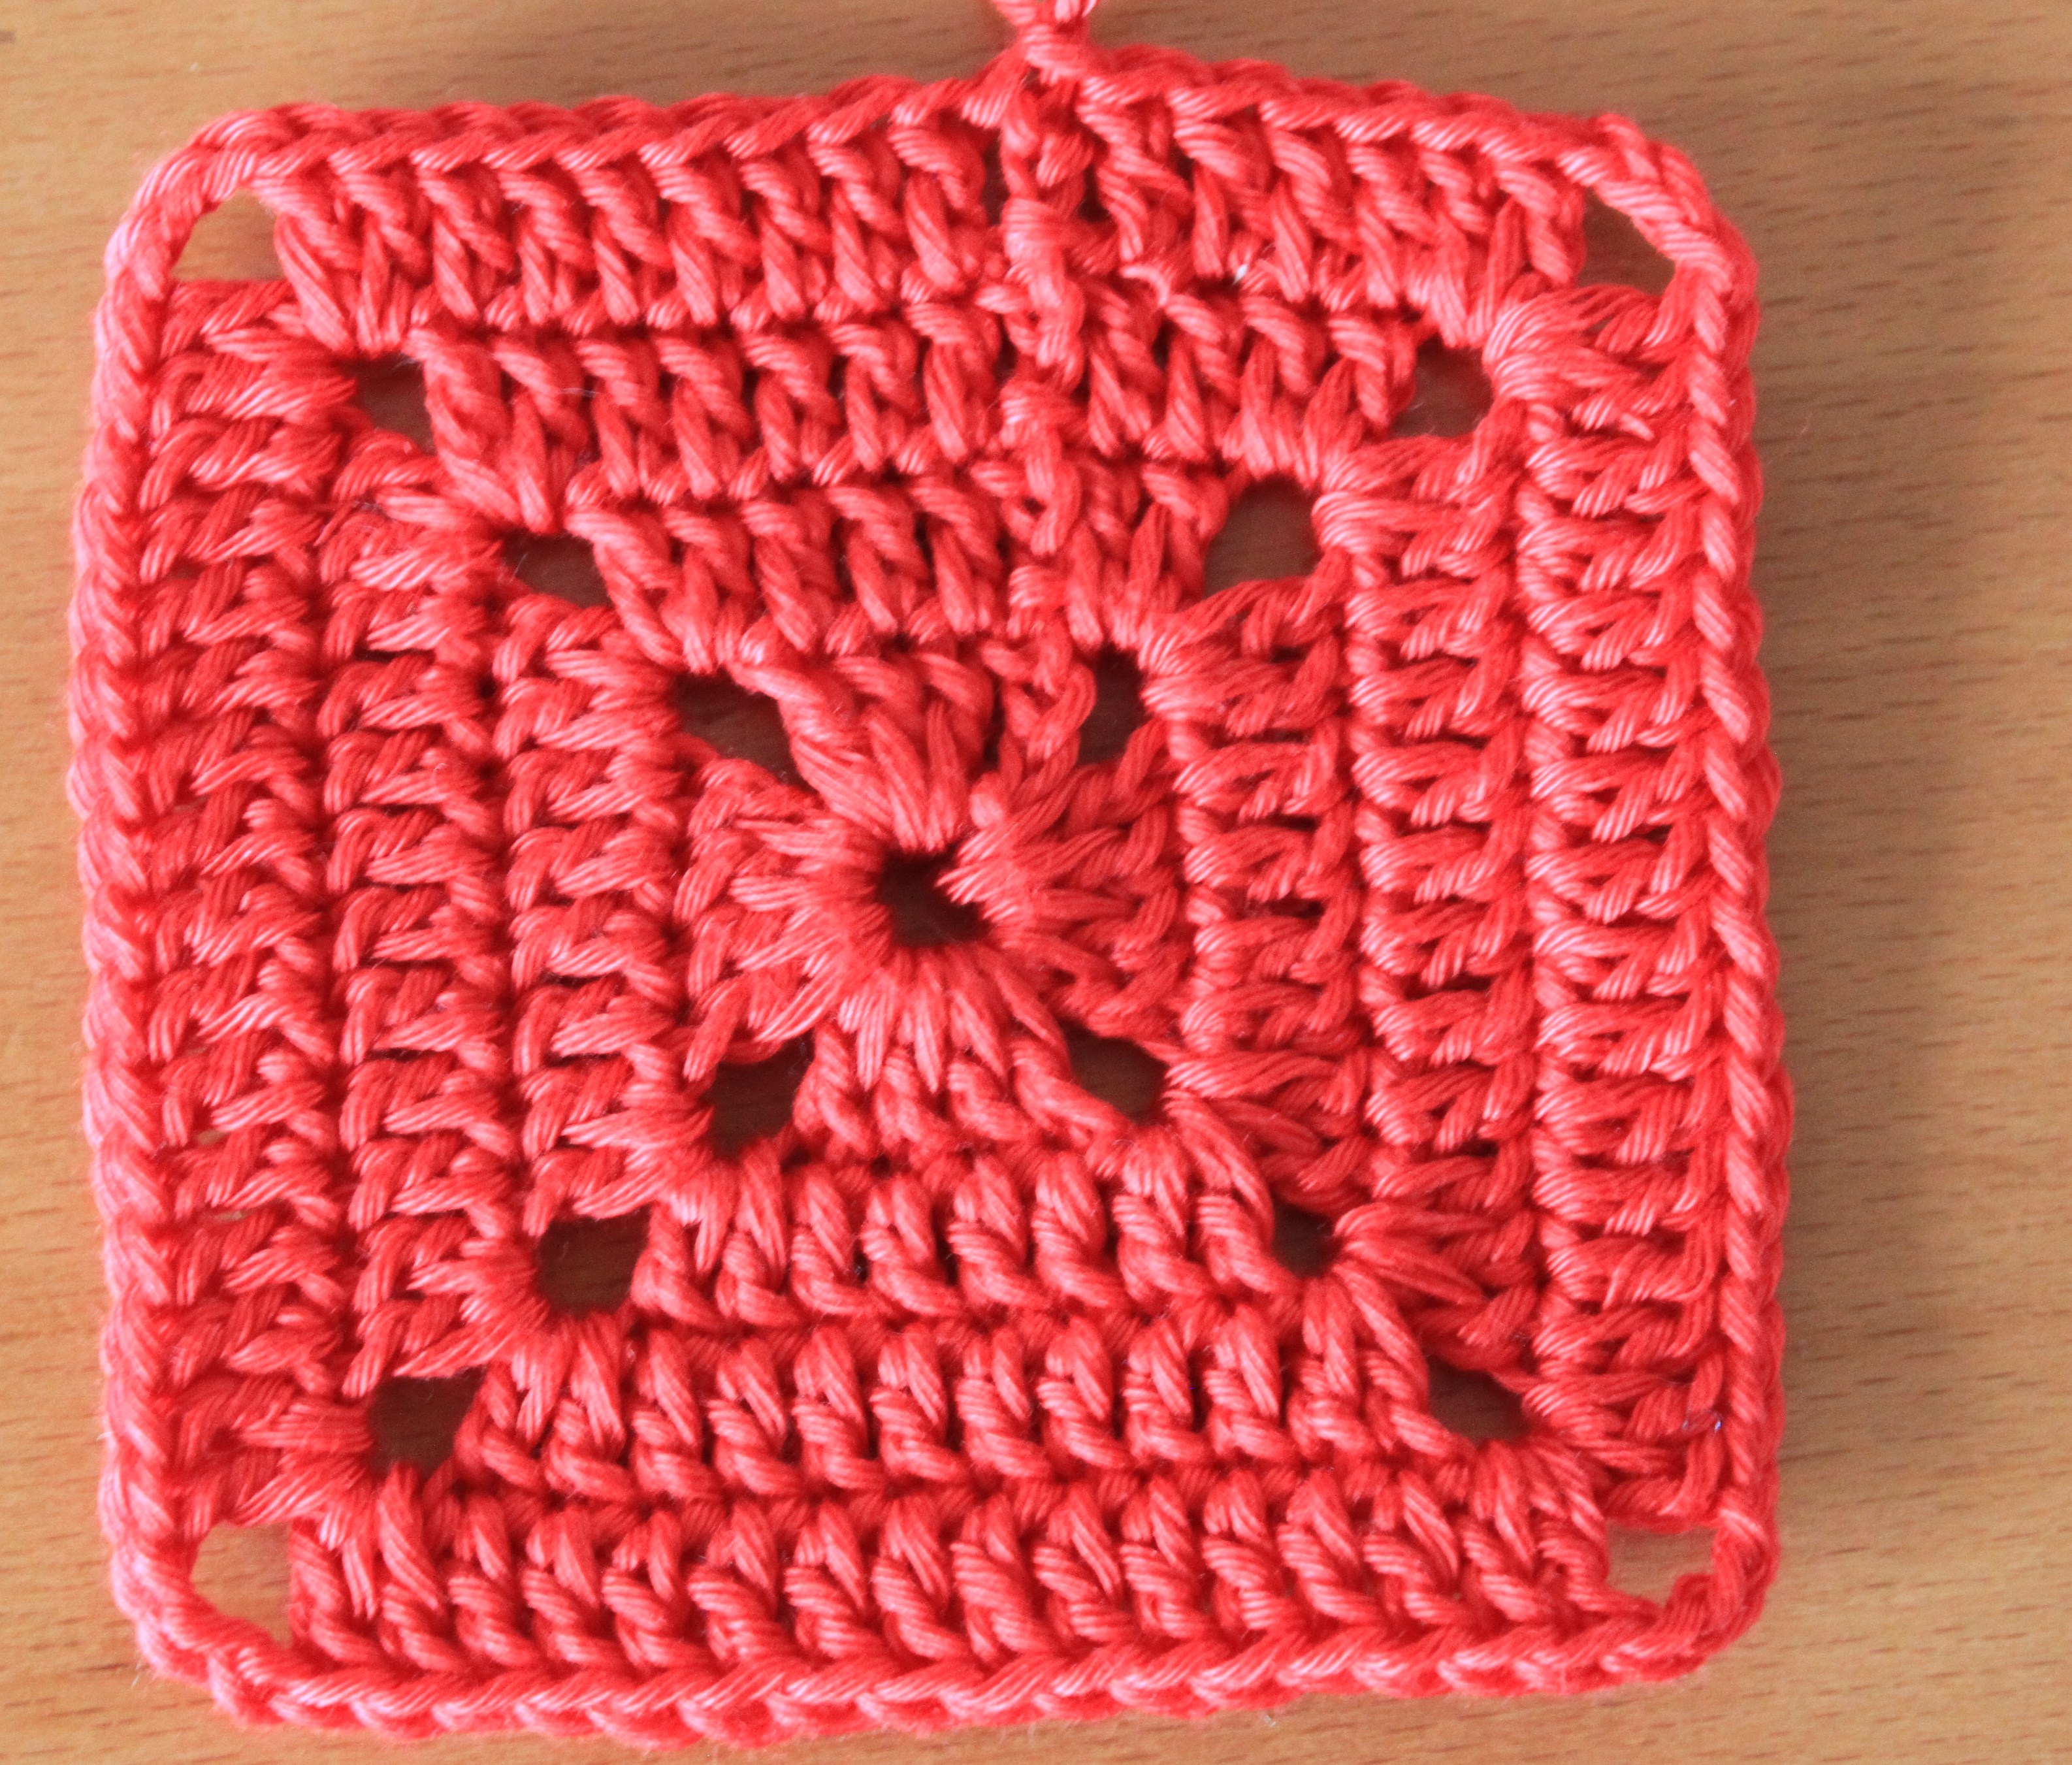
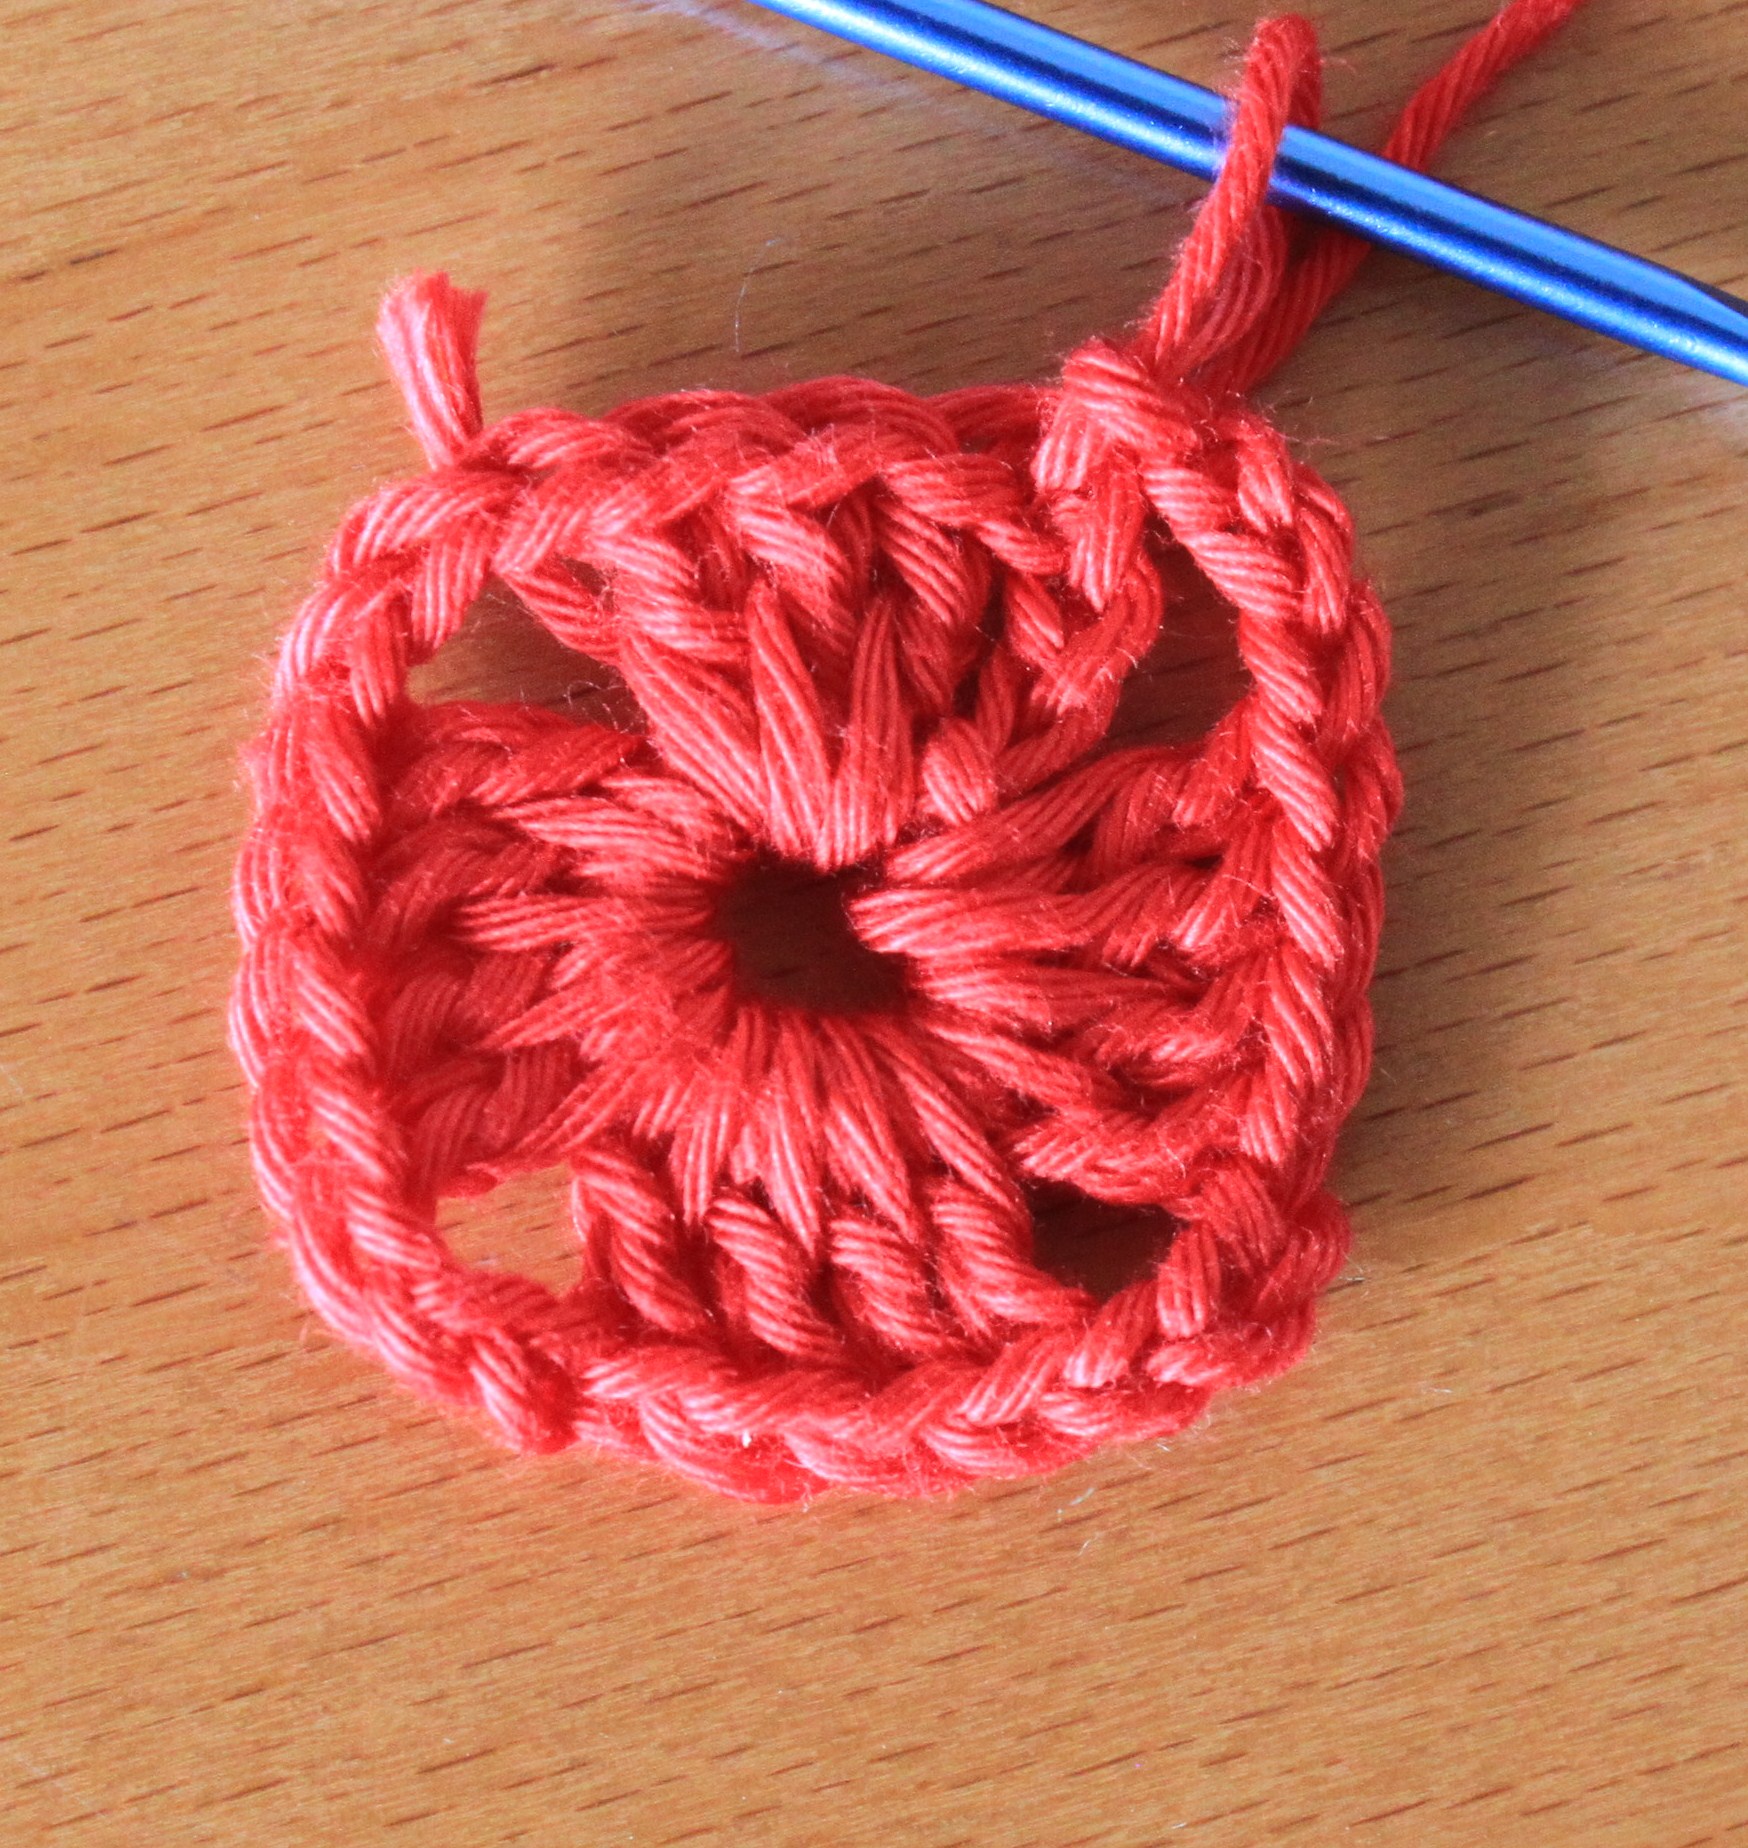
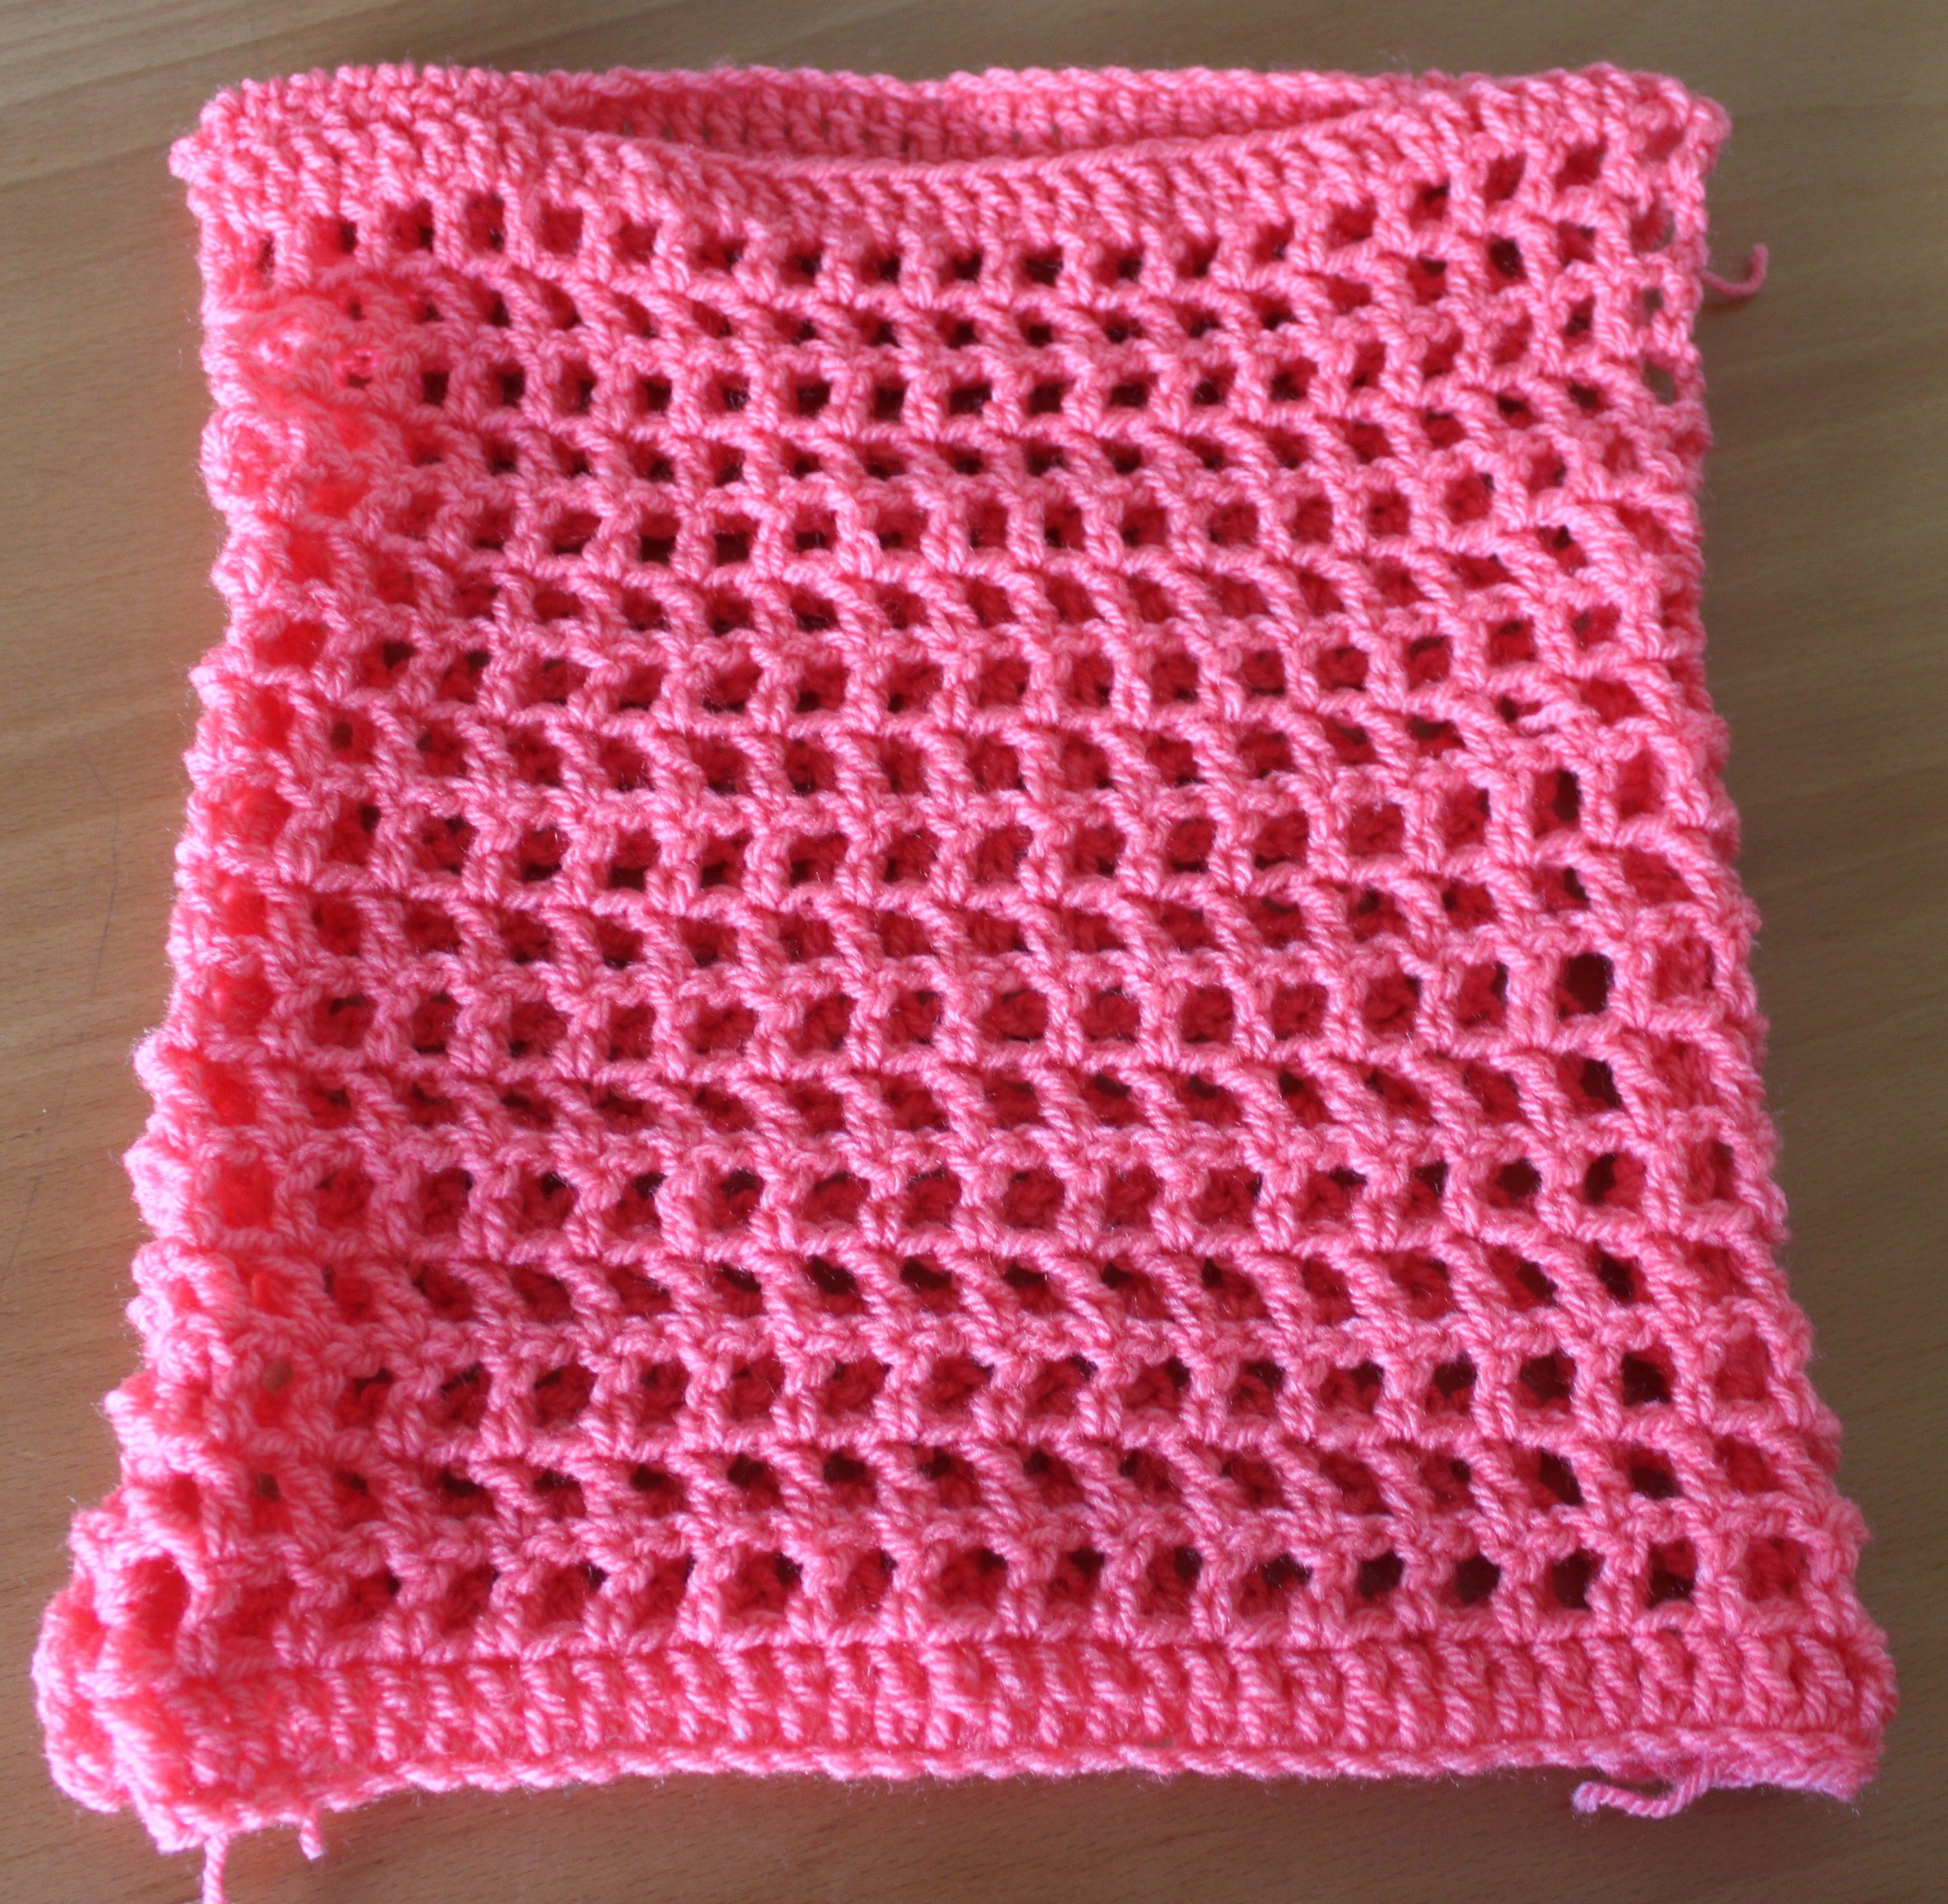
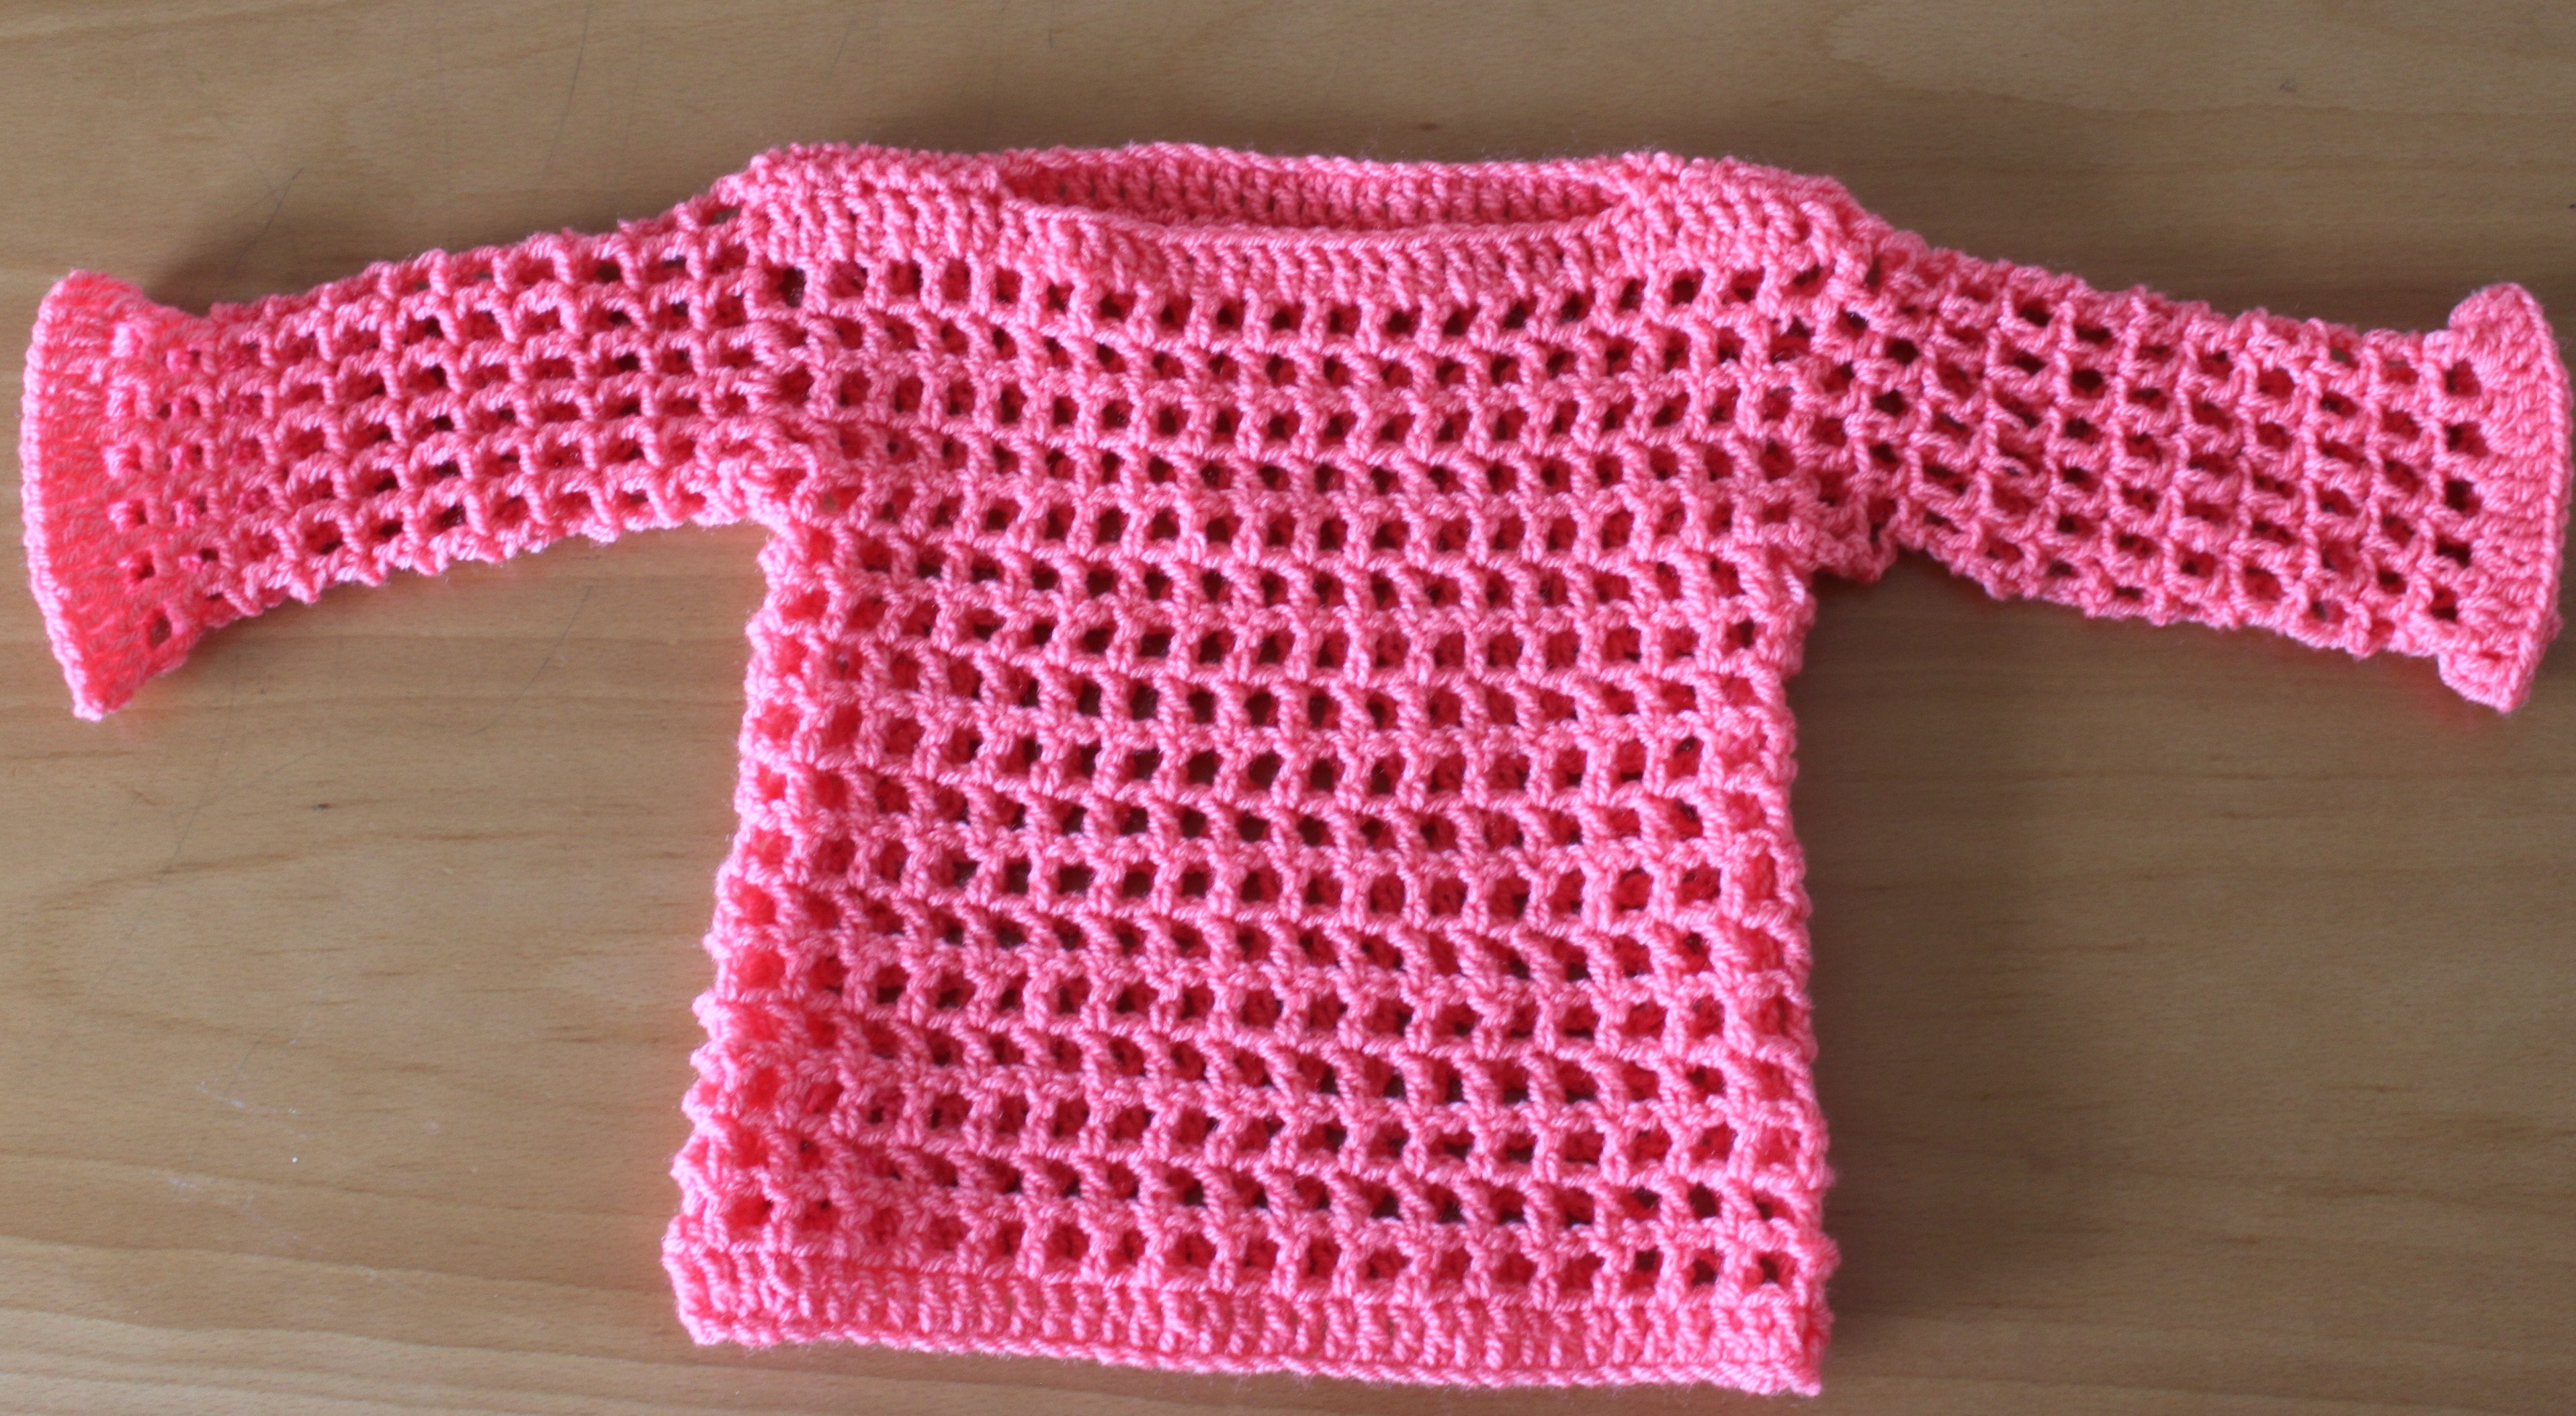
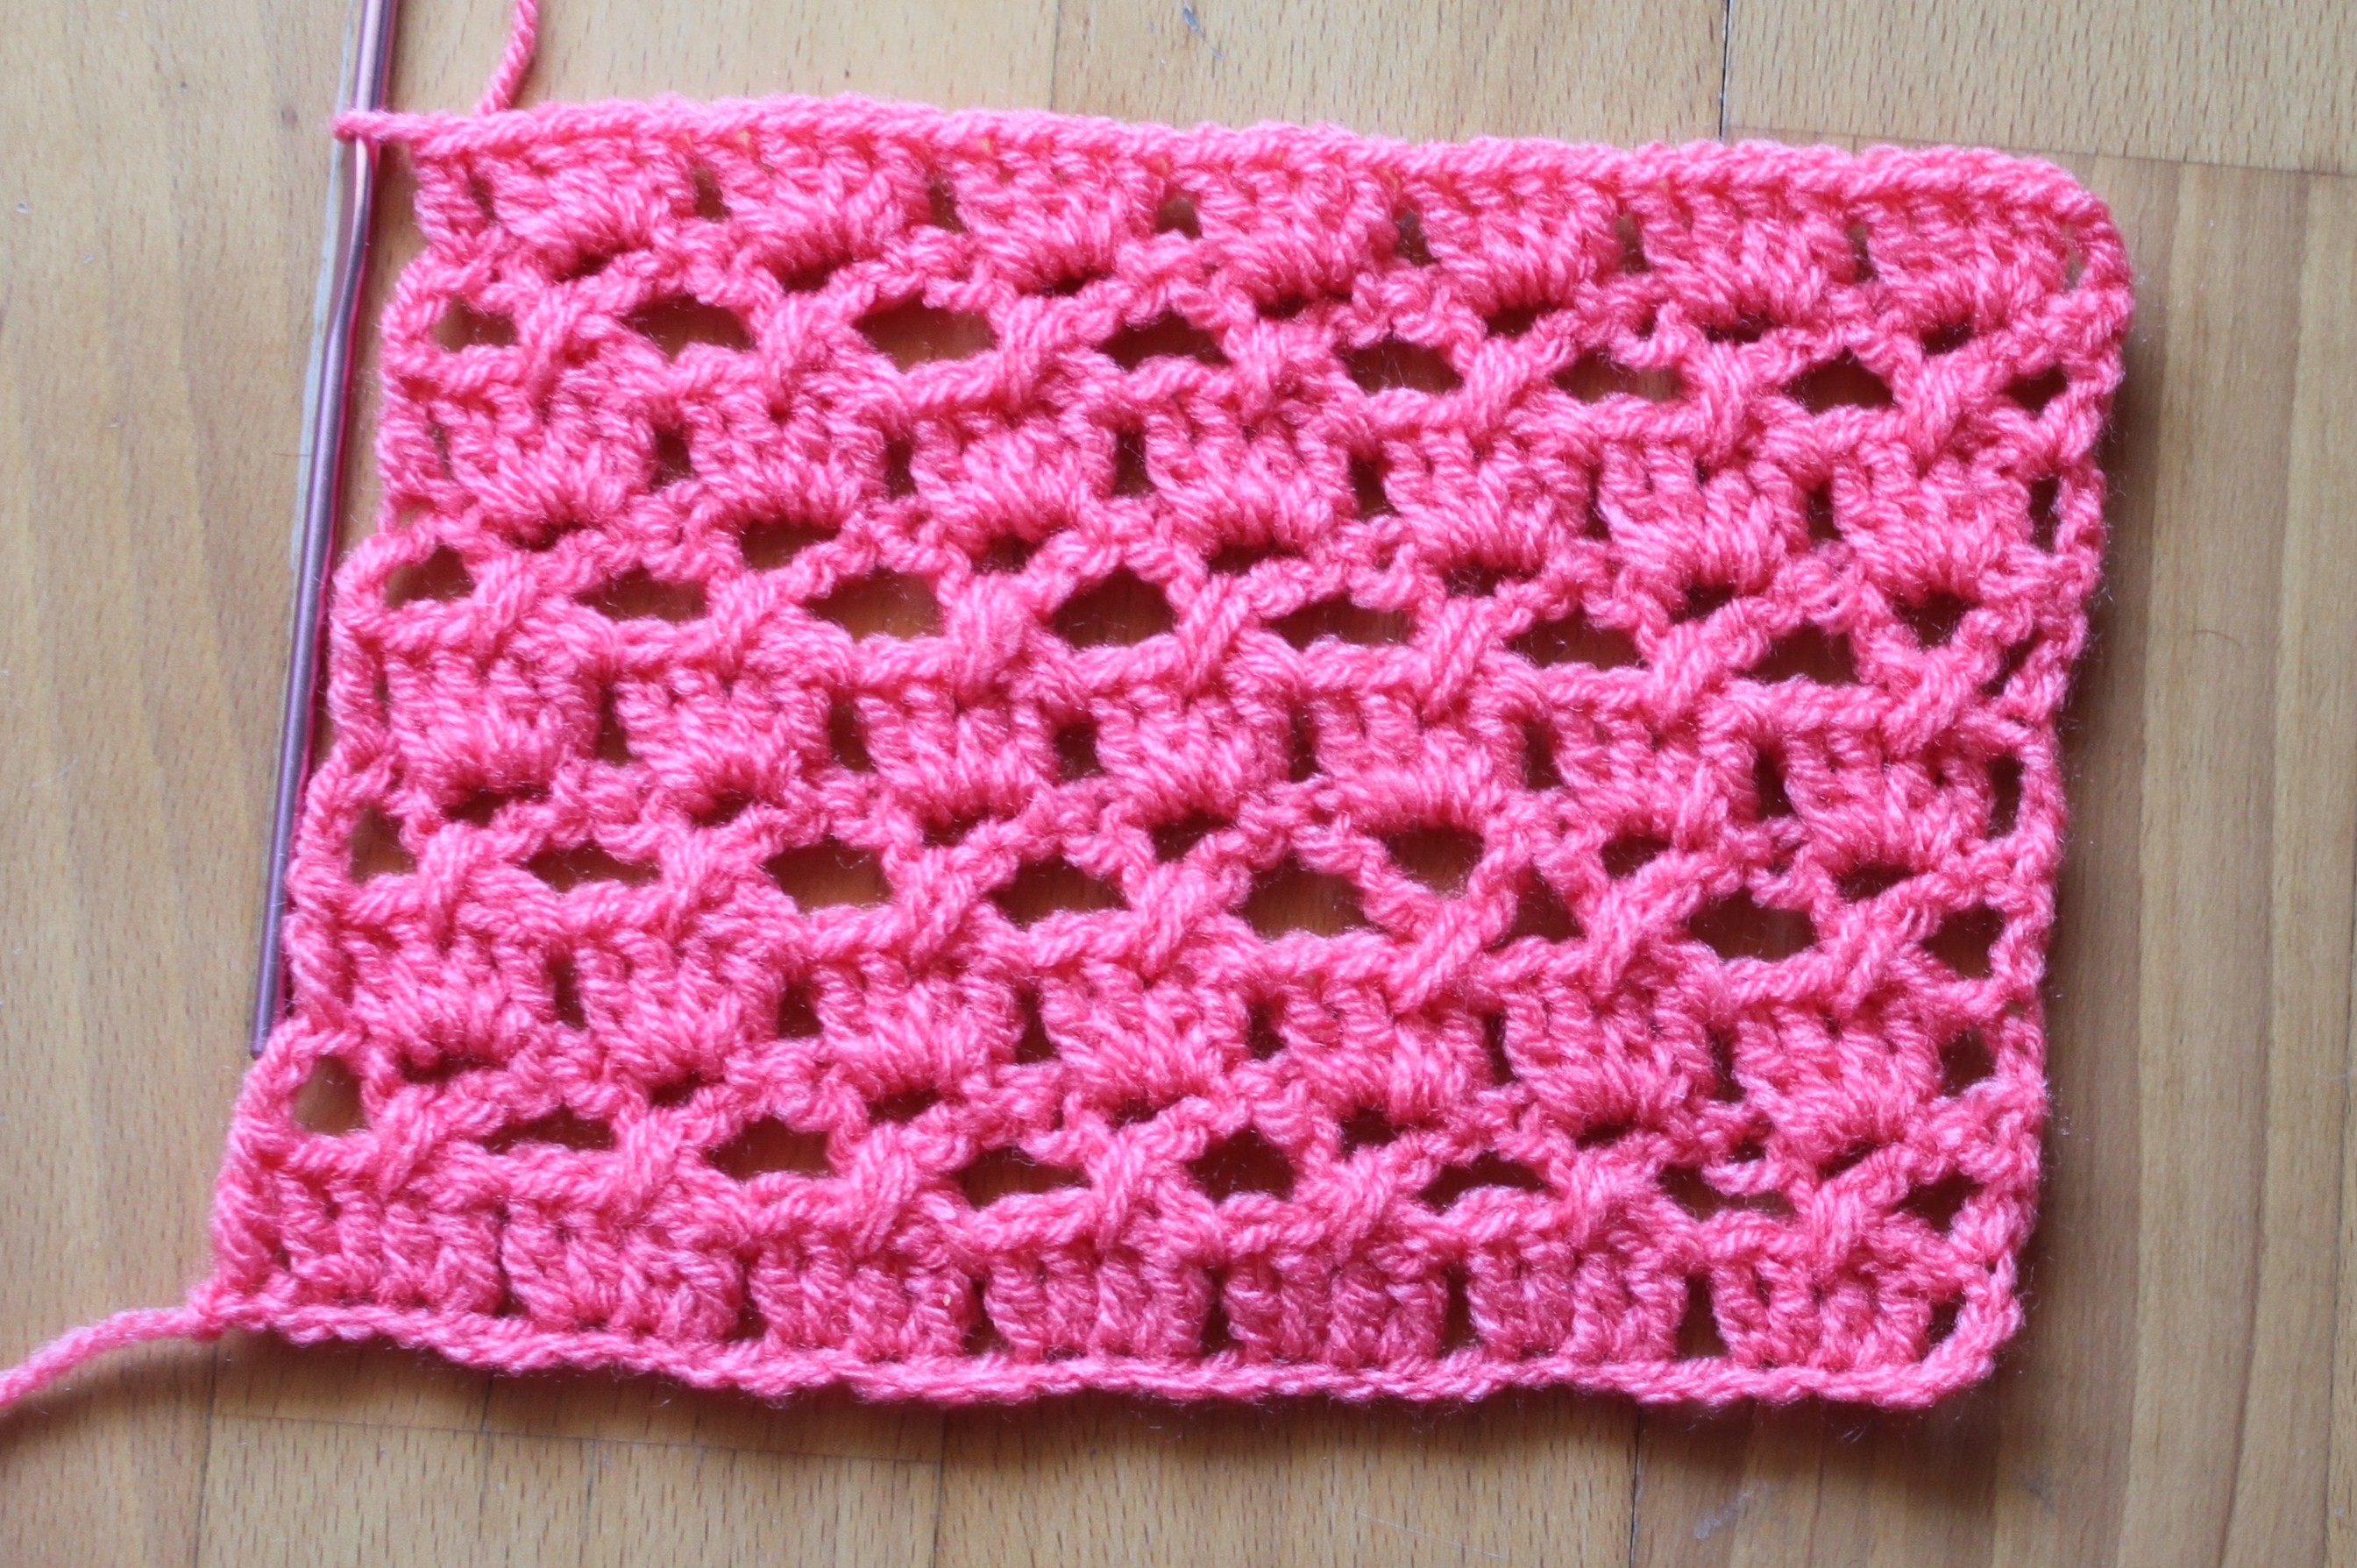
You can also use any stitch pattern of your choice and make in the same method.
Hope the tutorial was easy and helpful. Please feel free to share your views with me in the comment box below. I am very happy to hear from you.
Happy crocheting


Tuesday 21 July 2015

Round Wheel coaster

IMG_0028
Hello Friends this a tutorial of Round wheel coaster, this a simple, easy and quick pattern to work. 
ch5 and sl st into the 1st ch to form a ring 
Round 1 - ch3 + 15dc into the loop  = 16dc join the round with a sl st into the 3rd ch of the beginning stitch.
IMG_0021
Round 2 - Ch4, 1dc+ch1 into every st. and join the round with a sl st
IMG_0025
Round 3 - ch5, 1dc+ch2 into every stictch. join the round with a sl st,
IMG_0027
Round 4: ch3 and 4dc into 1st ch2 space, 5dc into every ch2 space. and join the round with a sl st and fasten off.
IMG_0028
hope the tutorial was useful. please share your views in the comment box below.

Happy crocheting


Friday 17 July 2015

Solid Granny Square

IMG_0014
This is a tutorial of one more variation of granny square called solid granny which is one of my favourite. so today i would like to share the tutorial of it ,so that it can help you to use in many of the projects.
Abbreviations:
Ch – chain
dc – double crochet
sl st - slip stitch

ch5 and sl st into the 1st ch to form a ring.

Round 1 - ch3 + 3dc into the loop, ch2 4dc into the loop and repeat it for 2 more times and join with a sl st to finish the round
IMG_0011

Round 2- ch3, make 1dc on each stitch and into the ch2 space 2dc-ch3-2dc, continue till the end of the round and join with a sl st.

IMG_0012
repeat round 2 till you reach a required measurement. 
You can use this pattern to make Baby blankets, coasters, tops, bags, purses and many more. hope you like the tutorial. Any queries please feel free to ask me. and also share your views in the comment box below.
 Happy crocheting


Wednesday 15 July 2015

Round coaster

11751790_1602948743295194_420522789114835259_n
Here is one more tutorial of coaster, this is also a very simple and easy project to make.

Abbreviations:
Ch - chain
Sl St - slip stitch
Sc - single crochet 
Dc - double crochet


make a ch6 and sl st into the 1st ch to form a ring

Round 1- ch3 and 13 dc into the loop and join the round with a sl st into the 3rd ch of the beginning st.
11755131_1602948643295204_9148994752358762206_n
Round 2 - ch3, 1dc into the same st , 2dc into every st till the end of the round and join with a sl st.
11754299_1602948689961866_1661874777984003445_n

Round 3 - ch1 1dc into next 2 sts 2sc into next st ,(1sc-1sc-1sc-2sc) i.e into every 4th st 2sc and 1sc into all other sts, till the end of the round and join with a sl st.
11027450_1602948713295197_2071989189508061230_n

Round 4- ch3 and 1dc into the st , 1dc into next st, 2dc into the next st. 1dc into next 2 sts and 2dc into next st. i.e. (2dc,1dc,2dc,1dc,1dc,2dc.this is the series) continue till the end of the round and join with a sl st.

Round 5 - ch3 , (1dc, 1dc,2dc,1dc,1dc,1dc,2dc is the series )continue till the end of the round and join with a sl st. ch1 and fasten off.

11755831_1602948769961858_3065888211742174449_n

Hope the tutorial was helpful, please share your views with me in the comment box below.

Happy crocheting 

Flower coaster

11755374_1602949009961834_144810122367070020_n
Hello Friends, Today I am here with a new tutorial of a flower coaster which is simple, easy and useful for your house. You can make this for self use or to gift your loved ones. 
Abbreviations:
Ch - chain
Sl St - slip stitch
Dc - double crochet
make a ch6 and sl st into the 1st ch to form a ring
11750728_1602948846628517_2884458740608378356_n 
Round 1 - ch3 + 19dc into the loop  = 20dc and join the round with a sl st into the 3rd ch of the beginning st.
11752461_1602948883295180_1500249780115260065_n
Round 2 - ch3, 1 dc into the next st, ch2, 1dc into next 2 sts and continue till the end of the round and join with a sl st.
11403147_1602948933295175_8505207254076589674_n
Round 3 - ch3-1dc-ch2-2dc into the ch2 space, 2dc-ch2- 2dc into every ch2 spaces and join the round with a sl st.
20099_1602948963295172_914709995298397436_n
Round 4 - ch3, 6dc into the ch2 space, 7dc into every ch2 space till the end of the round, join the round with a sl st, ch1 and fasten off.
11705184_1602948996628502_279529457440721991_n
Hope you like the tutorial. Please share your views in the comment box and share it .
Happy crocheting


Monday 6 July 2015

Netted Summer top for all ages

IMG_0005
Hi friends, here I come with a new tutorial. This is a very simple and easy top for all ages. Tutorial is in measurements not in numbers. This pattern can be made even by beginners. Hope you all enjoy the tutorial.
I have used 5mm hook and a 4 ply yarn
here i have made this top my 2yr old daughter.
Abbreviation:-
Ch - chain
Dc - double crochet
Sl st - slip stitch
Take a T- shirt for the measurement. measure from shoulder to shoulder. This pattern is multiples of 2chs + 2chs
IMG_0017
Row 1 - Dc into the 4th ch from the hook. Dc into every ch till the end of the row.
IMG_0019
Row 2 - ch4 skip 1 ch dc into the next ch, ch1 skip 1 ch and dc into the next ch, continue till the end of the row.
IMG_0020
Repeat row 2 till you reach the required measurement.
IMG_0022
Last row: repeat row 1
Make 2 such pieces, join the sides leaving arm hole, and shoulder leaving neck space.
IMG_0001
If you want sleeveless you can fasten off at this point and add a flower to it or attach sleeves
Sleeve : Repeat row 2 and join the round with a slip stitch into the 3rd ch of the beginning stitch,continue till you reach the required measurement.
Edging: ch3, 2dc into each ch1 space, 3dc into every ch1 space till the end of the round.

IMG_0003
If you want plain top you can fasten off at this point or else you can also add some flower to it.
Hope the tutorial was helpful, please share your views with me in the comment box below.
Happy crocheting 

Friday 3 July 2015

Shell stitch for summer top- 8

IMG_0041
Hello friends here is one more new pattern for our summer top series. As usual this is also very simple and easy to make pattern. I am sure you are going to like this pattern. This pattern can be used in any of your project as it fits all the project really well.
Here is a step by step tutorial of this pattern
abbreviations:
Ch – chain
dc – double crochet
Tr - treble crochet

This pattern is multiples of 4+ 8chs

Row1: 2dc into the 5th ch from the hook, and 2dc into next ch, skip next 2 chs and 2dc into next 2 chs and continue till the end of the row. 1 dc into the last ch of the row.

IMG_0032

Row2 :  ch3 skip the 4dc and tr into the space between the 1st and 2nd 4dc cluster, ch2 tr into the space between 1st 2dc of the 1st 4dc cluster. 1 tr into the next space between 2nd and 3rd 4dc cluster  and continue till the end of the row. 1dc 
IMG_0038

Row3 : ch3, 4dc into all the ch2 spaces till the end of the row and 1dc into the last st.
IMG_0040

Repeat row 2 and 3 till you reach the required measurement is reached.

Hope the tutorial was useful. Please share your views in the comment box. 

Happy crocheting


Wednesday 1 July 2015

Commonly Used Abbreviations in Crochet


Hi friends here is an useful information about crocheting that is Abbreviations used in the written pattern. It is very difficult for the beginners to follow the instructions when these abbreviations are mentioned, So this is my small attempt to help those people who are in need of this.

Ch - Chain

Sc - Single crochet

Hdc - half double crochet

Dc - double crochet

Tr - treble crochet / Triple crochet

Dtr - double treble crochet

Sl st - Slip stitch

Sk - skip

Cl - cluster stitch

Beg - beginning

Dec - decreasing

Inc - increasing

Rs - right side

Ws  - wrong side

Sp - space

tog - together

Yo - yarn over

Hope this information was useful. Any queries please feel free to ask me in the comment box below.
Please comment and share

Happy Crocheting


Tuesday 30 June 2015

Shell stitch for summer top - 7

1908112_1598120873777981_6870802311796582207_n
Hi friends here I come with one more new stitch pattern in our summer top stitches series. This is a simple and easy pattern to make and can be used in many projects like summer tops, shawl,scarf, frock, skirt, baby blanket etc, according to your creativity.
Here is a step by step tutorial for this pattern
abbreviations:
Ch – chain
Sc – single crochet
dc – double crochet
Special stitch (4dc , ch1, 1dc) = shell
This pattern is multiples of 8 + 4 chs
11698642_1598120777111324_8005263572725460414_n
Row 1: dc into the 4th ch from the hook, skip 3 chs and shell into next st, skip 3 chs and 2 dc into next st and continue till the end of the row. Row ends with 2 dc.
11046256_1598120813777987_8329333279284961829_n
Row 2: ch3 1dc into the space between 2dc of the previous row, shell into the ch 1 space of the previous row shell, 2dc into the space between 2dc of the previous row and continue till the end of the row, 
10530721_1598120847111317_4114918958680130655_n
Repeat row 2 till you reach  the required measurement.
Hope you enjoyed the tutorial, any queries regarding the pattern feel free to mention in the comment box below.
Please like, comment and share.
Happy crocheting 


Sunday 21 June 2015

Granny Hexagon -2

11351178_1594661667457235_5621010313118179712_n
Hi friends here i come with one more new tutorial. This tutorial is about one more variation in granny hexagon, very simple and easy to make, can be used in many projects like coasters, table mats, shawl, blanket, clothing, coin purse, handbag and many more.
Abbreviations
Ch - chain
Dc- double crochet
Sl st  - slip stitch
ch6 and sl st into the 1st ch to form a ring.
11535662_1594661484123920_5517766355685559302_n
Round 1: ch4 (considered as 1dc+ ch1) 1dc into the loop and ch1. (make total 12dc and 12 ch1 including ch3+1 ) join the round with sl st into the 3rd ch of the beginning st.
16914_1594661514123917_2746256699060013997_n
Round 2: ch3 turn the work 1dc into the same space. ch1 2dc or V stitch+ch1 in every ch1 space of previous round. ch1 and join the round with a sl st .
10361323_1594661534123915_7389602805279940856_n
Round 3: ch3 turn the work and 2 dc into the ch1 space. ch1 3dc into the next ch1 space and continue till the end of the round. Join the round with a sl st.
10488159_1594661570790578_2453810845359528138_n
Round 4: ch3 turn the work and 3dc into the ch1 space . ch1 4dc into every ch1 space and continue till the end of the round. join the round with a sl st.
11535844_1594661634123905_9040674489268502623_n
Round 5: ch1 turn the work and sc into the ch1 space, ch4 2sc into the next ch1 space and contine till the end of the round. and join the round with a sl st into the ch1 of the beginning st.
11535860_1594661607457241_3091297278393888123_n
Round 6: ch3 turn the work and 4dc into the ch4 sp. ch1 5dc- ch1- 5dc into the next ch4 space, (5dc,ch1, 5dc-ch1-5dc, ch1, 5dc, ch1, 5dc-ch1-5dc ) so that you will have 6 corners. join the round with a sl st.
11351178_1594661667457235_5621010313118179712_n
Hope the tutorial was helpful. 
Please Like,comment and Share.

Happy Crocheting 


Granny top for all ages

IMG_0018
Hi friends today i am here with one more new and exciting tutorial. This is a very simple and easy top to make for all ages. This can be done even by the beginners too. Here in the tutorial i have made a top for my 2 yr old daughter. I have used 3.5mm crochet hook, you can use any yarn and any hook size of your choice.
As i mentioned  this pattern is for all ages. Here i am not going to teach you by number counts but by measurements. Hope you will enjoy this pattern.
Take a tee- shirt for neck measurement
IMG_0450
This pattern is multiples of 3 stitches so when you are making a base ch you need to make multiples of 3 and should divide by 4
for example in the demo piece i have done 60 ch it is a multiple of 3 and if we divide by 4 we get 15 equal stitches. As our pattern has 4 corners. make a slip stitch into the 1st ch and form a ring.
IMG_0451
Row 1 : ch3 and 2 dc into the same st, ch 1 skip 2 ch and 3dc into the next st. (in the demo pattern i will consider the 15th st as 1st corner st) . work pattern till 15 th ch. into the 15th ch 3dc ch2 3dc. skip 2 ch  and 3dc into the next ch. leaving the 1st 3dc count the 3dc set or shell till the first corner. every side we should make the same no. of shells.and into the 1st st of the row work 3dc, ch2 and join with a slip st into the 3rd ch of the beginning st.
IMG_0453
Row 2: ch3 turn the work and 2dc into the same ch1 space, ch1 3dc into the next ch1 space till the corner ,into the corner ch2 space work 3dc-ch2-3dc., till the row ends and join with a sl st.
IMG_0454
Repeat row 2 till you reach the required measurement. For the demo piece i have done 7 rows. (make as many rows as required to  fit your shoulder measurement and chest measurement) 
IMG_0011
this is how it looks when you fold it into half.
IMG_0012
Now we should continue making the body part. make one more row and join the edges as shown in the picture below.
IMG_0014
make as many rows as required to reach the desired measurement. Here i have made 14 rows.
IMG_0016
If you want a sleaveless top then you can stop here by fastening off. Or you can join the sleeves by adding a new yarn. I have made 3 rows for sleeves.
IMG_0018
Hope the tutorial was helpful. If you have any doubts pls mention in the comment box below. Please like, comment and share .
Happy Crocheting