Hello friends , here is a beautiful crochet diamond lace pattern which can be used in projects like scarf, rectangular shawl, summer top, baby blanket, curtain, pillow covers , table cloth etc. its very easy to make and looks great.
Showing posts with label summer top. Show all posts
Showing posts with label summer top. Show all posts
Wednesday, 6 March 2019

Friday, 3 July 2015
Shell stitch for summer top- 8
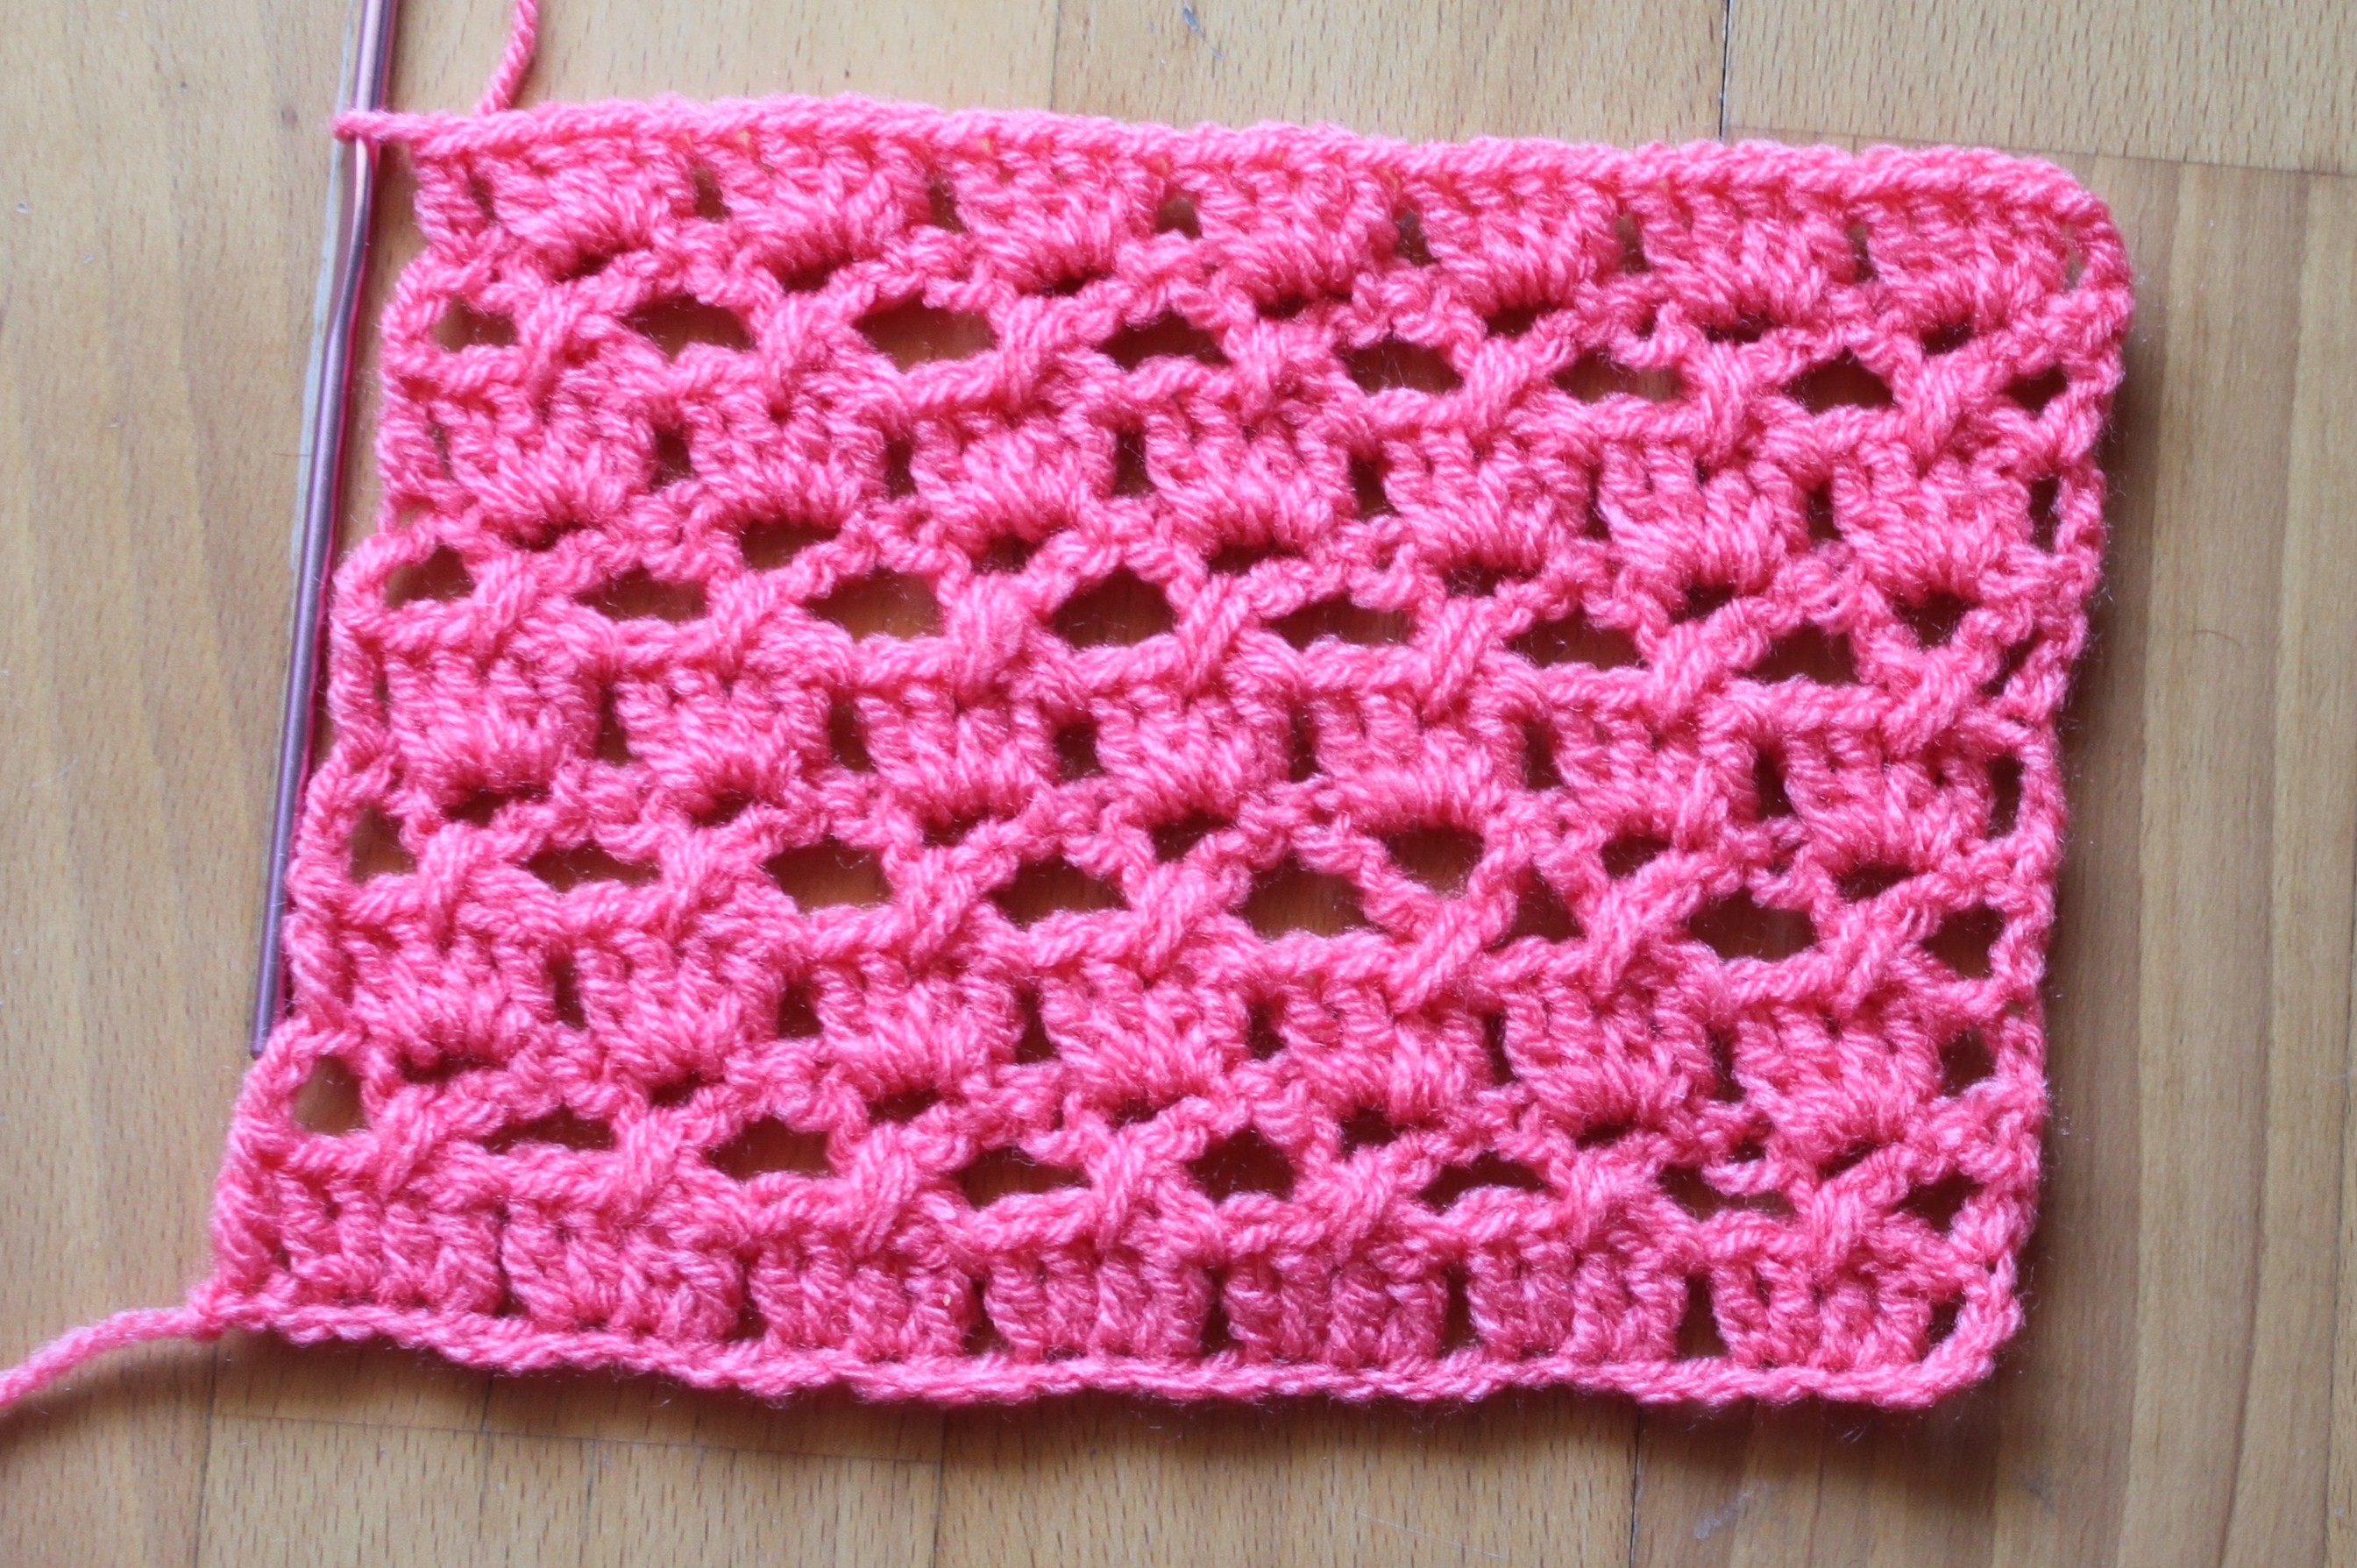
Hello friends here is one more new pattern for our summer top series. As usual this is also very simple and easy to make pattern. I am sure you are going to like this pattern. This pattern can be used in any of your project as it fits all the project really well.
Here is a step by step tutorial of this pattern
abbreviations:
Ch – chain
dc – double crochet
Tr - treble crochet
This pattern is multiples of 4+ 8chs
Row1: 2dc into the 5th ch from the hook, and 2dc into next ch, skip next 2 chs and 2dc into next 2 chs and continue till the end of the row. 1 dc into the last ch of the row.
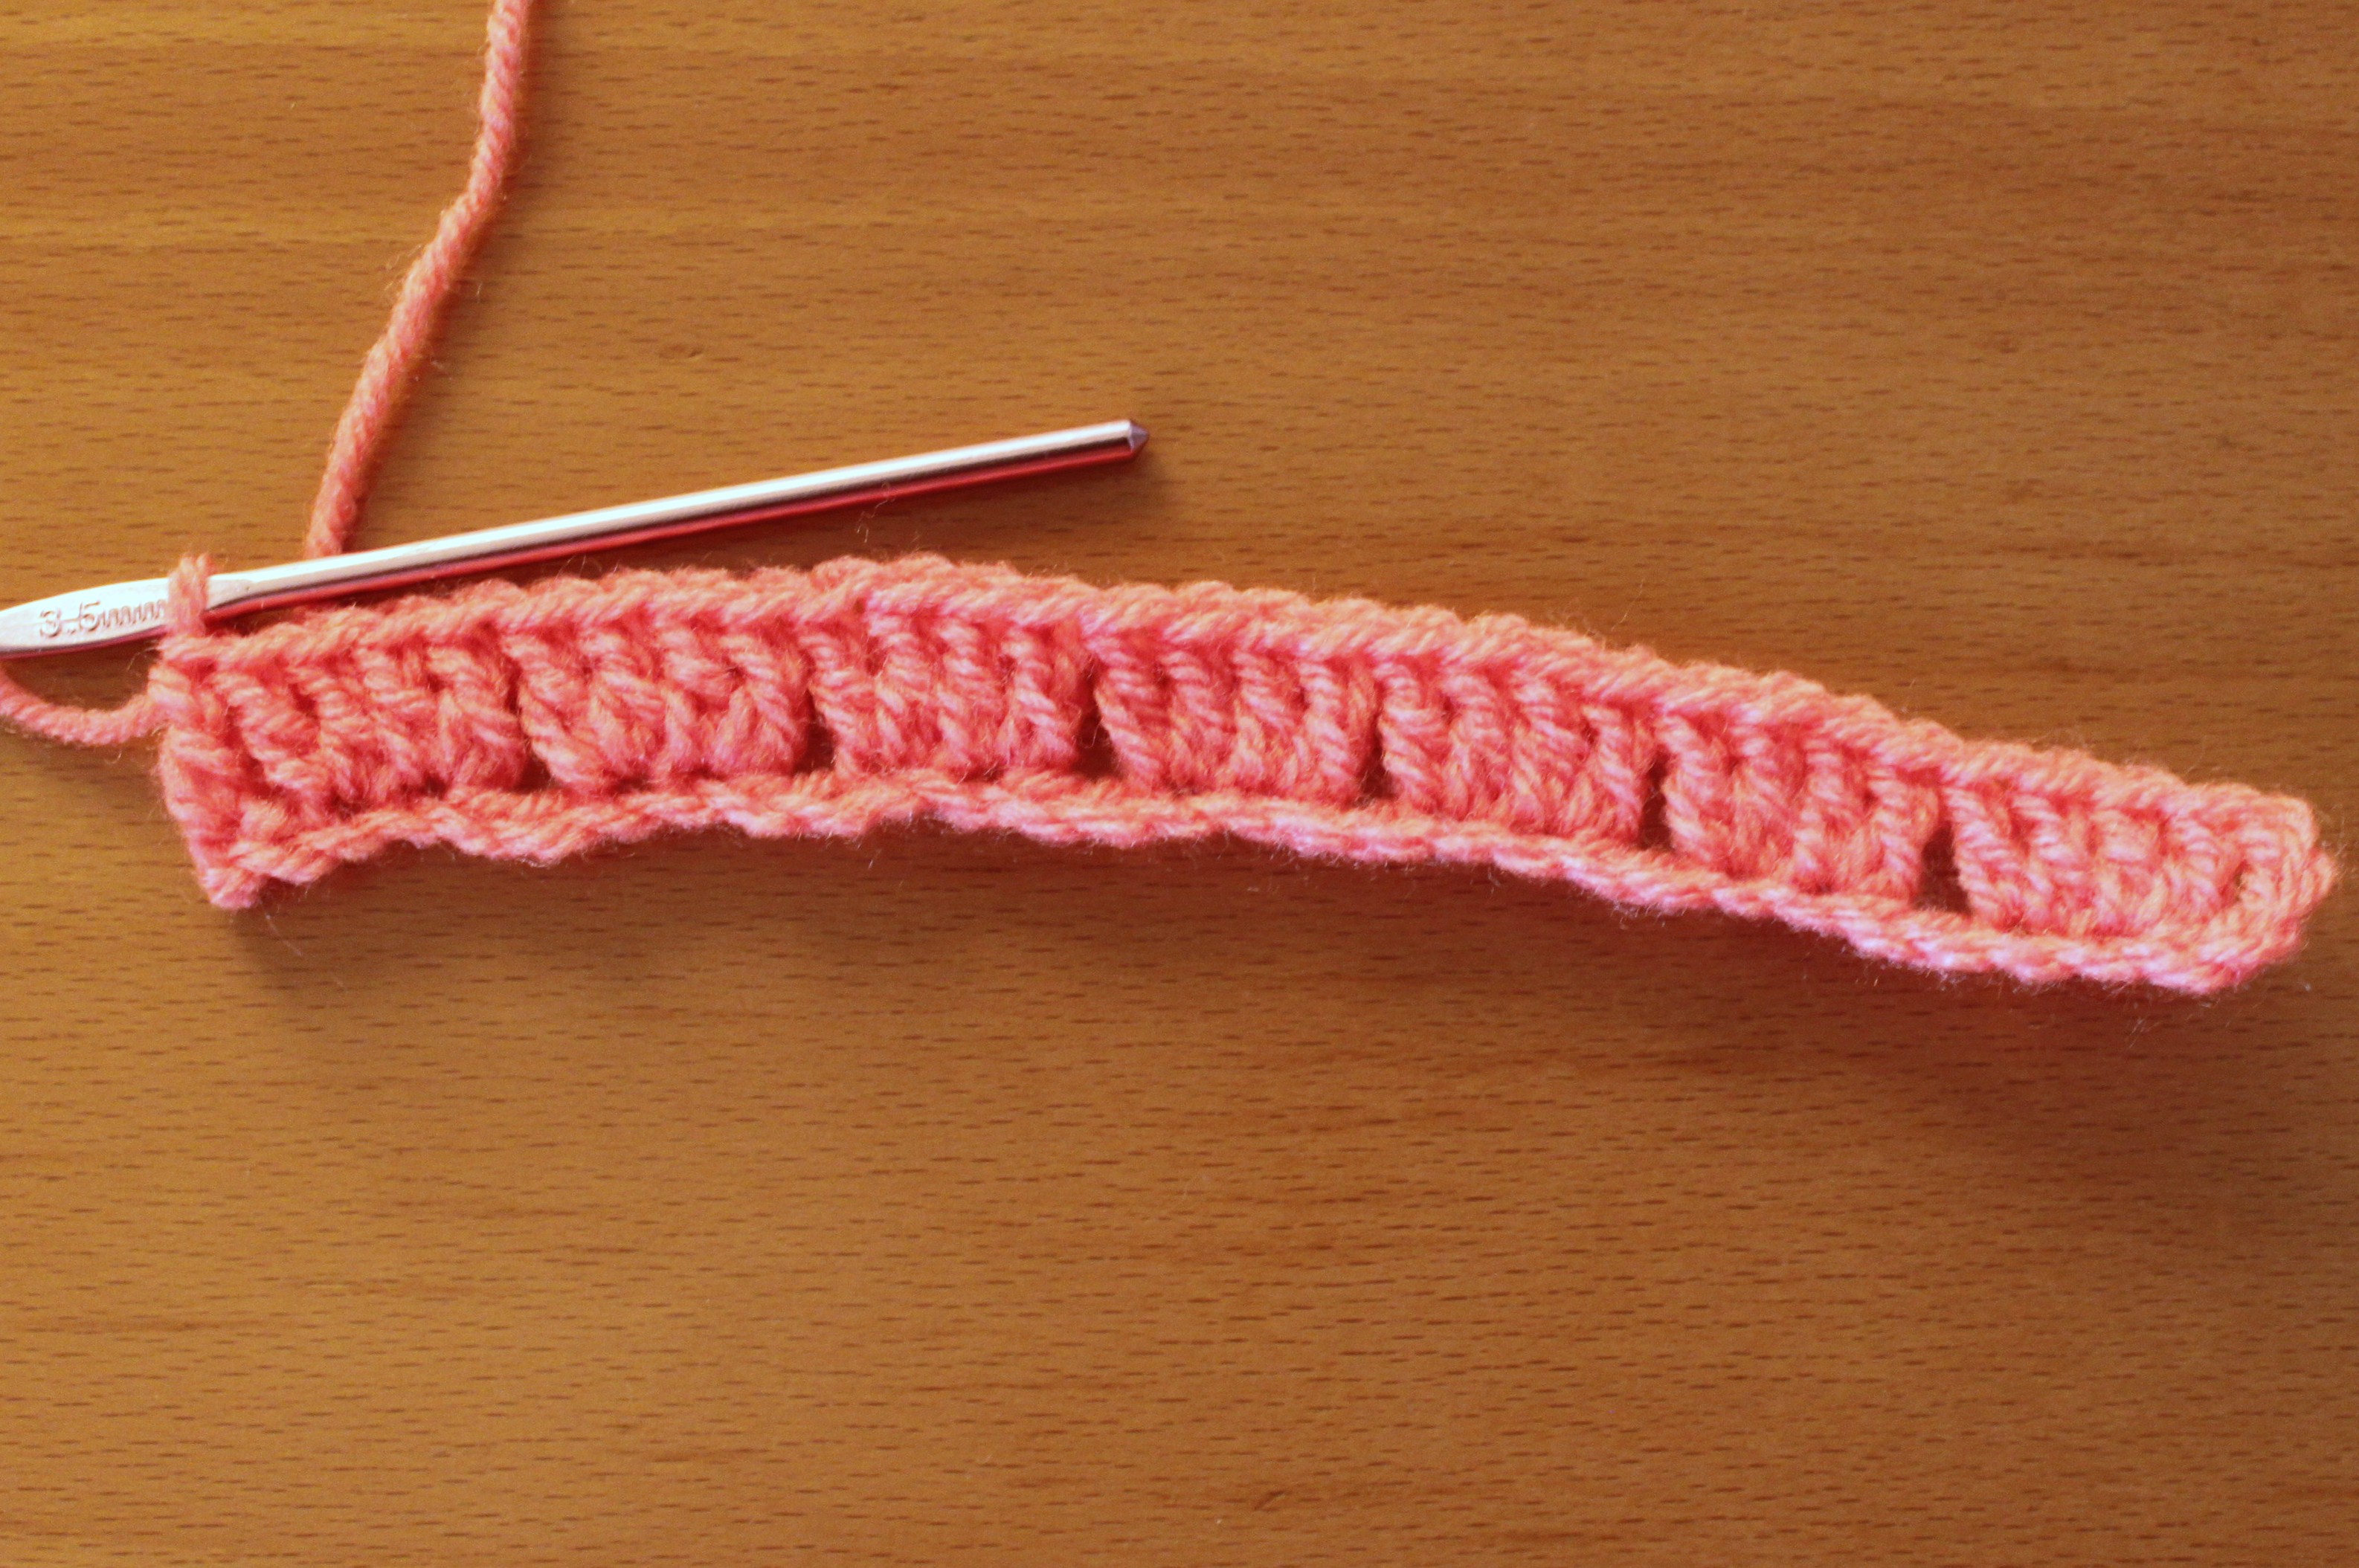
Row2 : ch3 skip the 4dc and tr into the space between the 1st and 2nd 4dc cluster, ch2 tr into the space between 1st 2dc of the 1st 4dc cluster. 1 tr into the next space between 2nd and 3rd 4dc cluster and continue till the end of the row. 1dc
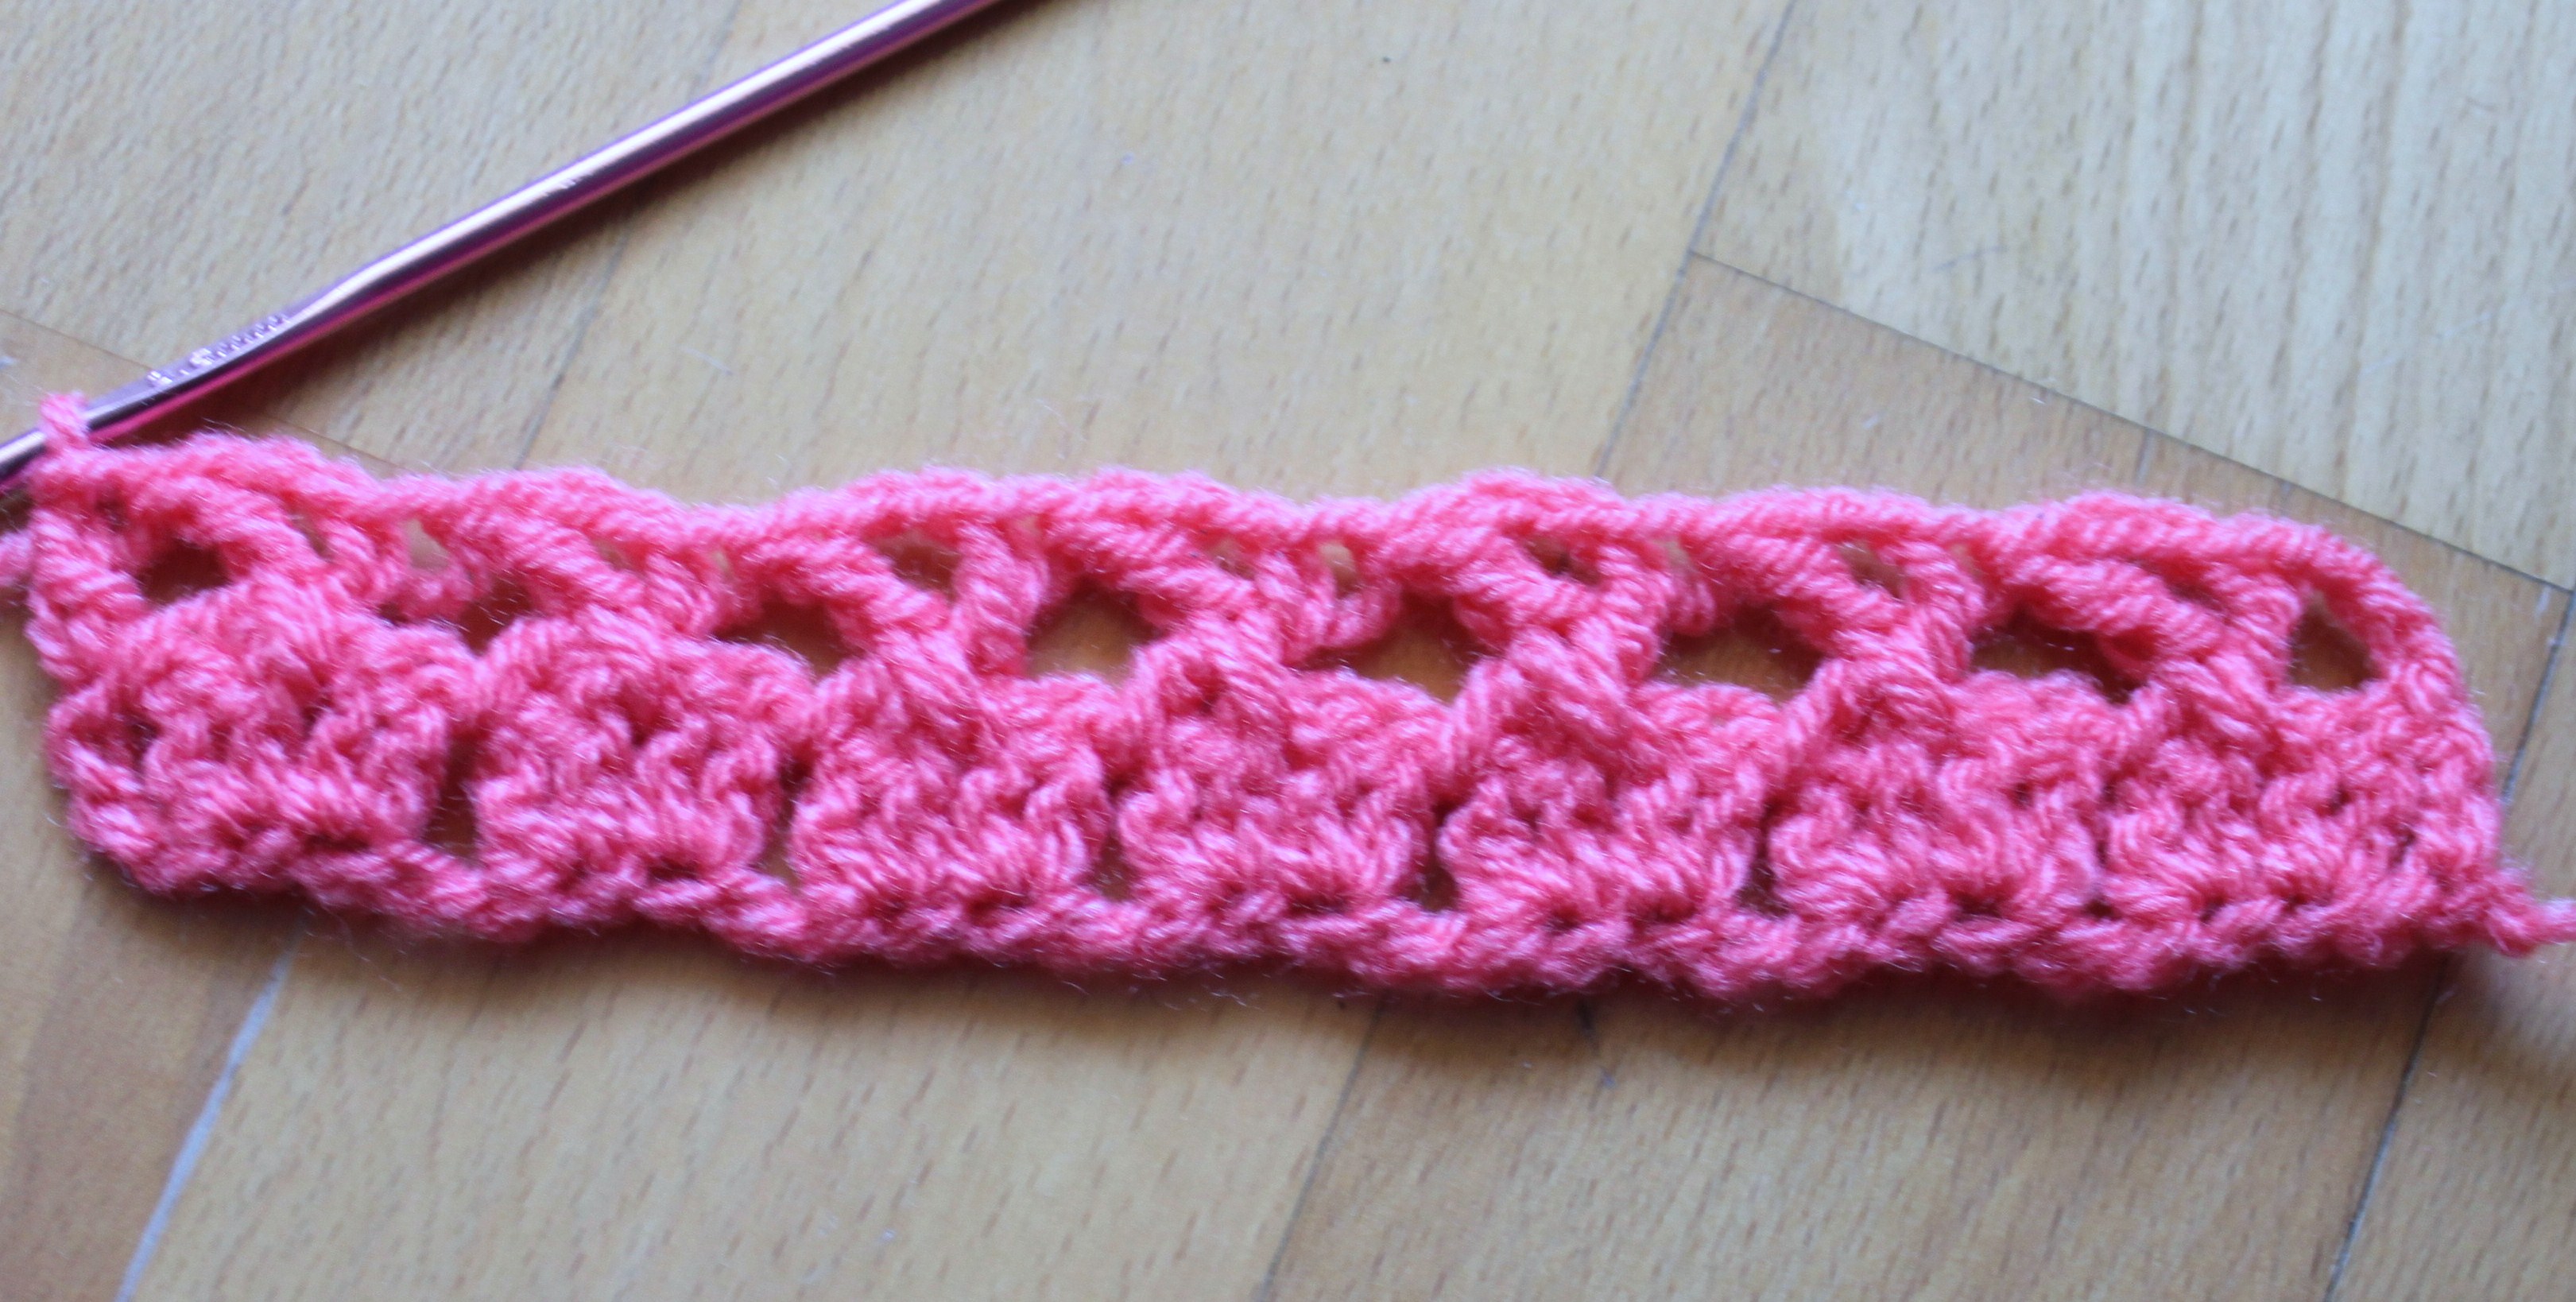
Row3 : ch3, 4dc into all the ch2 spaces till the end of the row and 1dc into the last st.
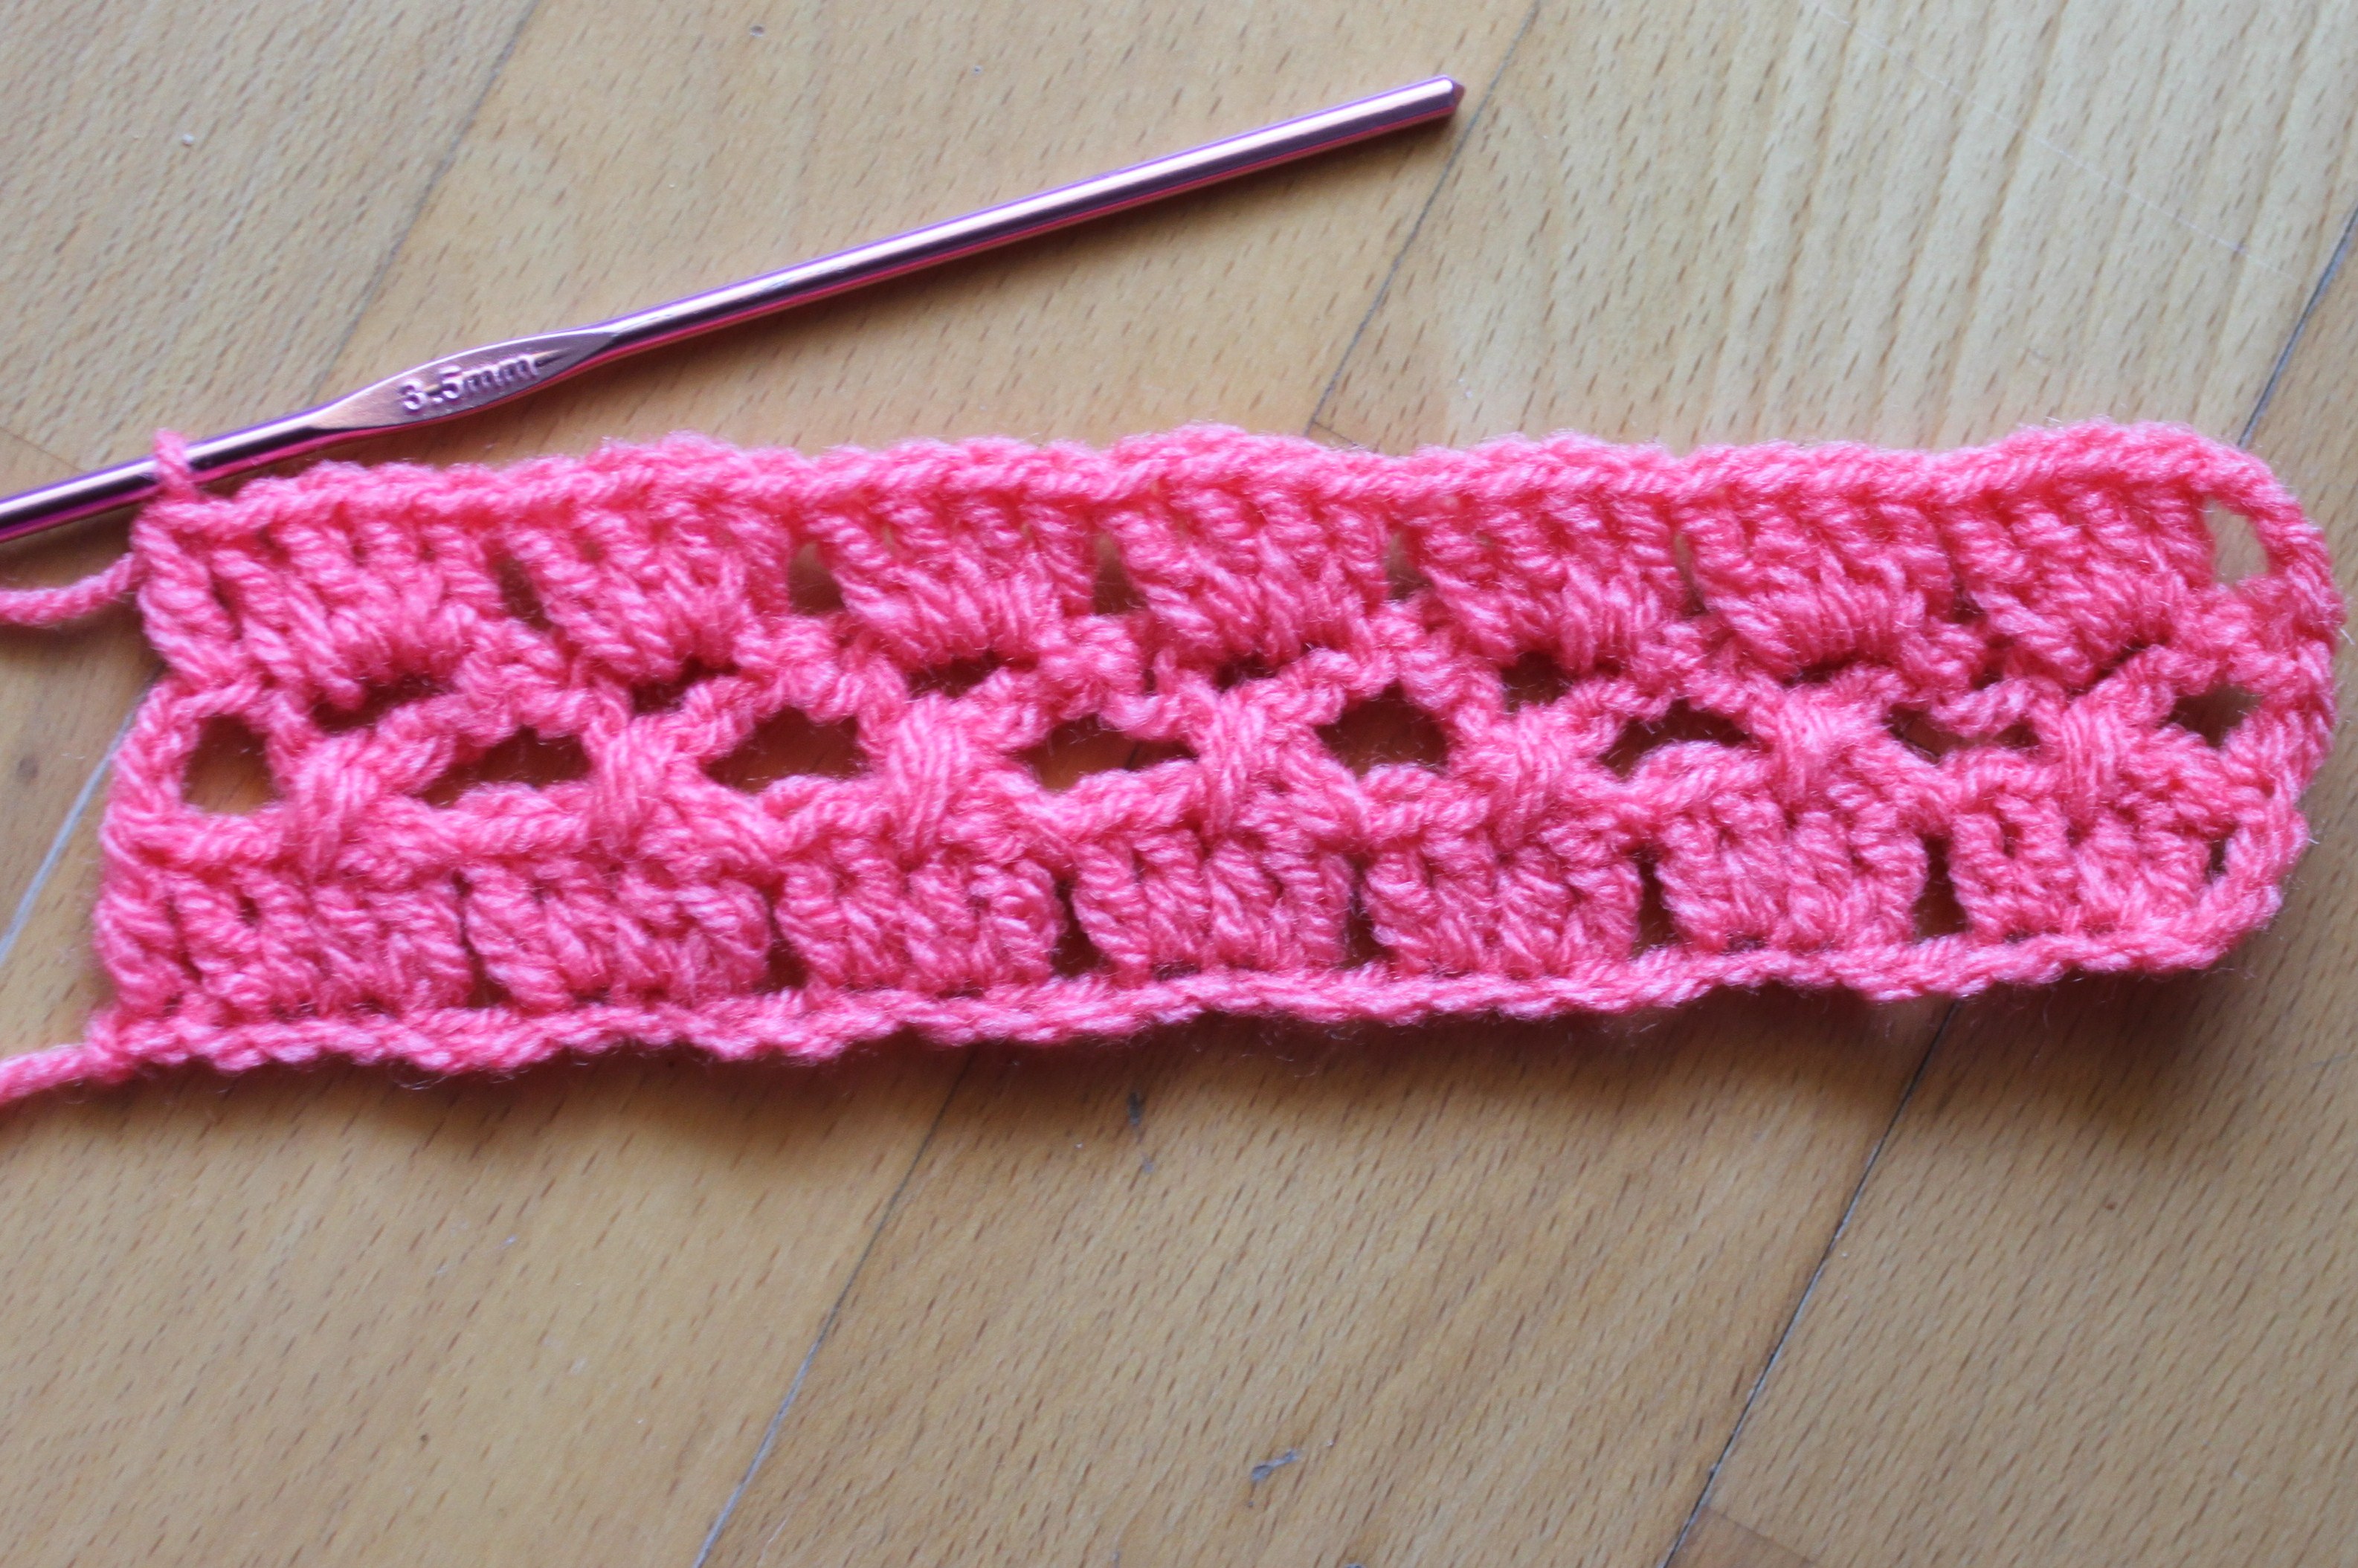
Repeat row 2 and 3 till you reach the required measurement is reached.
Hope the tutorial was useful. Please share your views in the comment box.
Happy crocheting
Tuesday, 30 June 2015
Shell stitch for summer top - 7
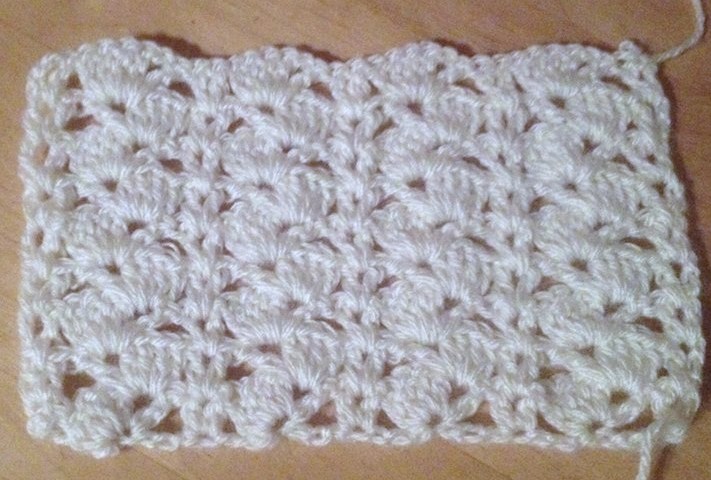
Hi friends here I come with one more new stitch pattern in our summer top stitches series. This is a simple and easy pattern to make and can be used in many projects like summer tops, shawl,scarf, frock, skirt, baby blanket etc, according to your creativity.
Here is a step by step tutorial for this pattern
abbreviations:
Ch – chain
Sc – single crochet
dc – double crochet
Special stitch (4dc , ch1, 1dc) = shell
This pattern is multiples of 8 + 4 chs
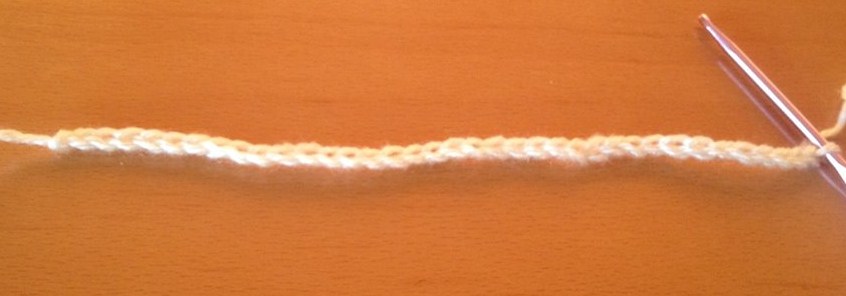
Row 1: dc into the 4th ch from the hook, skip 3 chs and shell into next st, skip 3 chs and 2 dc into next st and continue till the end of the row. Row ends with 2 dc.
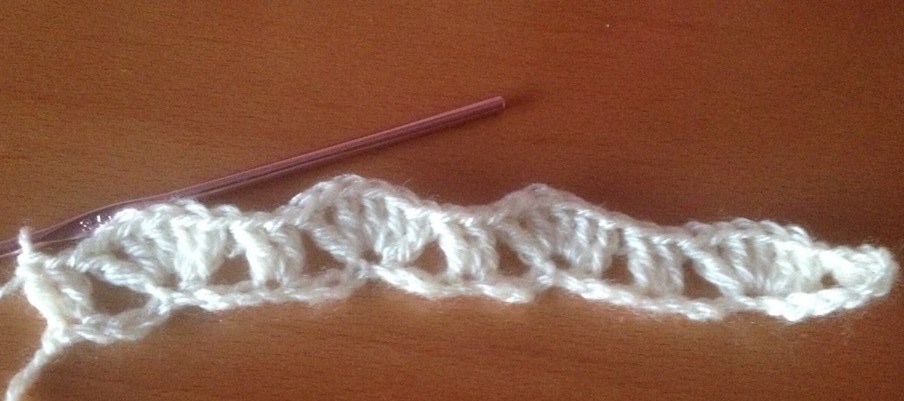
Row 2: ch3 1dc into the space between 2dc of the previous row, shell into the ch 1 space of the previous row shell, 2dc into the space between 2dc of the previous row and continue till the end of the row,
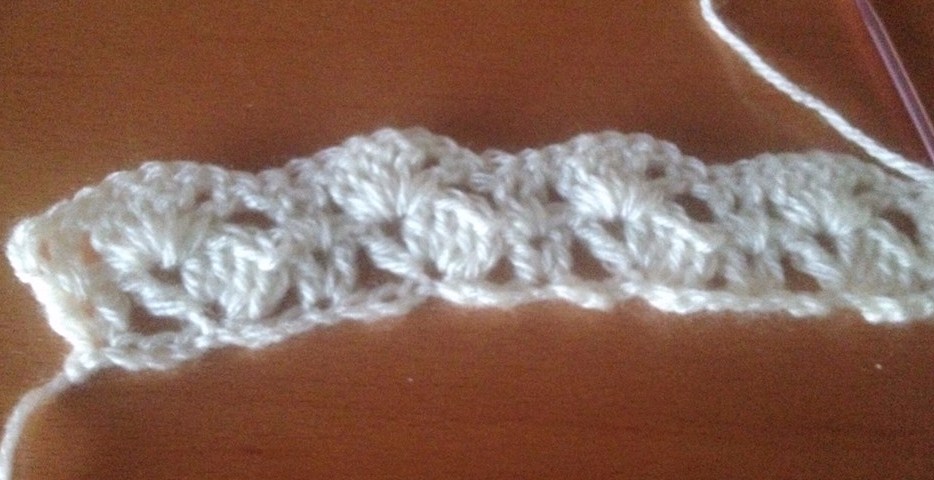
Repeat row 2 till you reach the required measurement.
Hope you enjoyed the tutorial, any queries regarding the pattern feel free to mention in the comment box below.
Please like, comment and share.
Happy crocheting
Sunday, 21 June 2015
Granny top for all ages
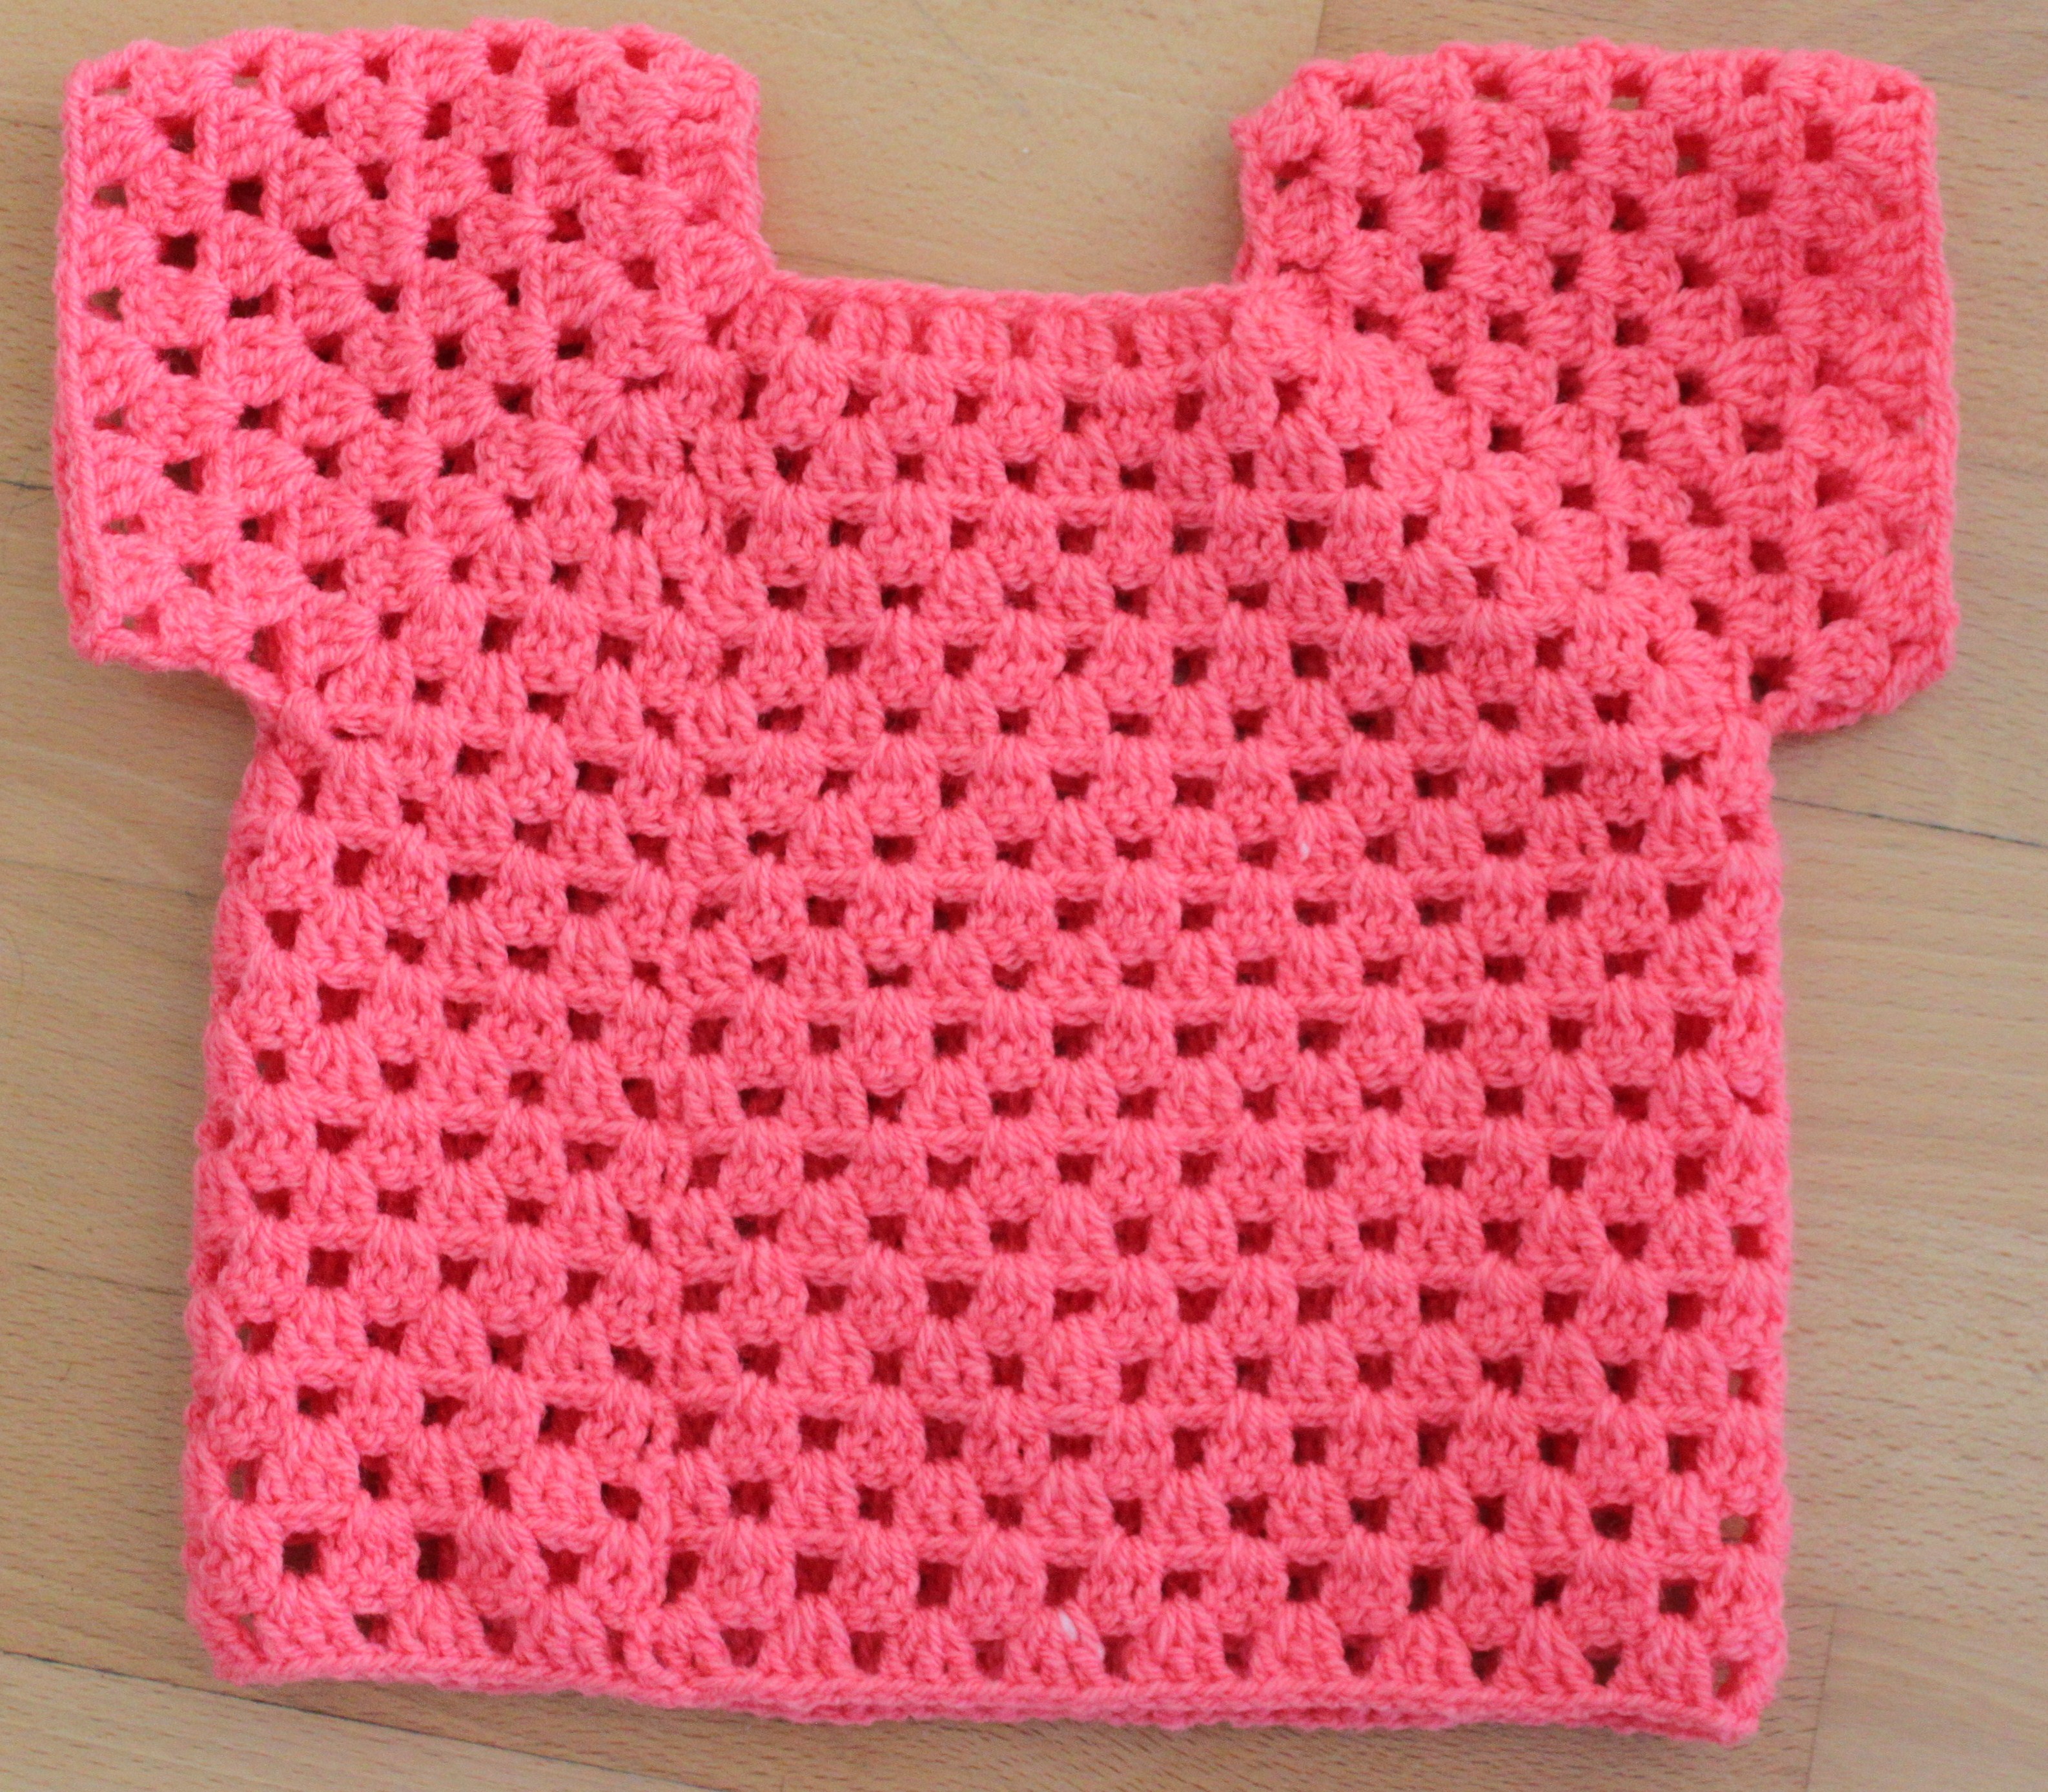
Hi friends today i am here with one more new and exciting tutorial. This is a very simple and easy top to make for all ages. This can be done even by the beginners too. Here in the tutorial i have made a top for my 2 yr old daughter. I have used 3.5mm crochet hook, you can use any yarn and any hook size of your choice.
As i mentioned this pattern is for all ages. Here i am not going to teach you by number counts but by measurements. Hope you will enjoy this pattern.
Take a tee- shirt for neck measurement
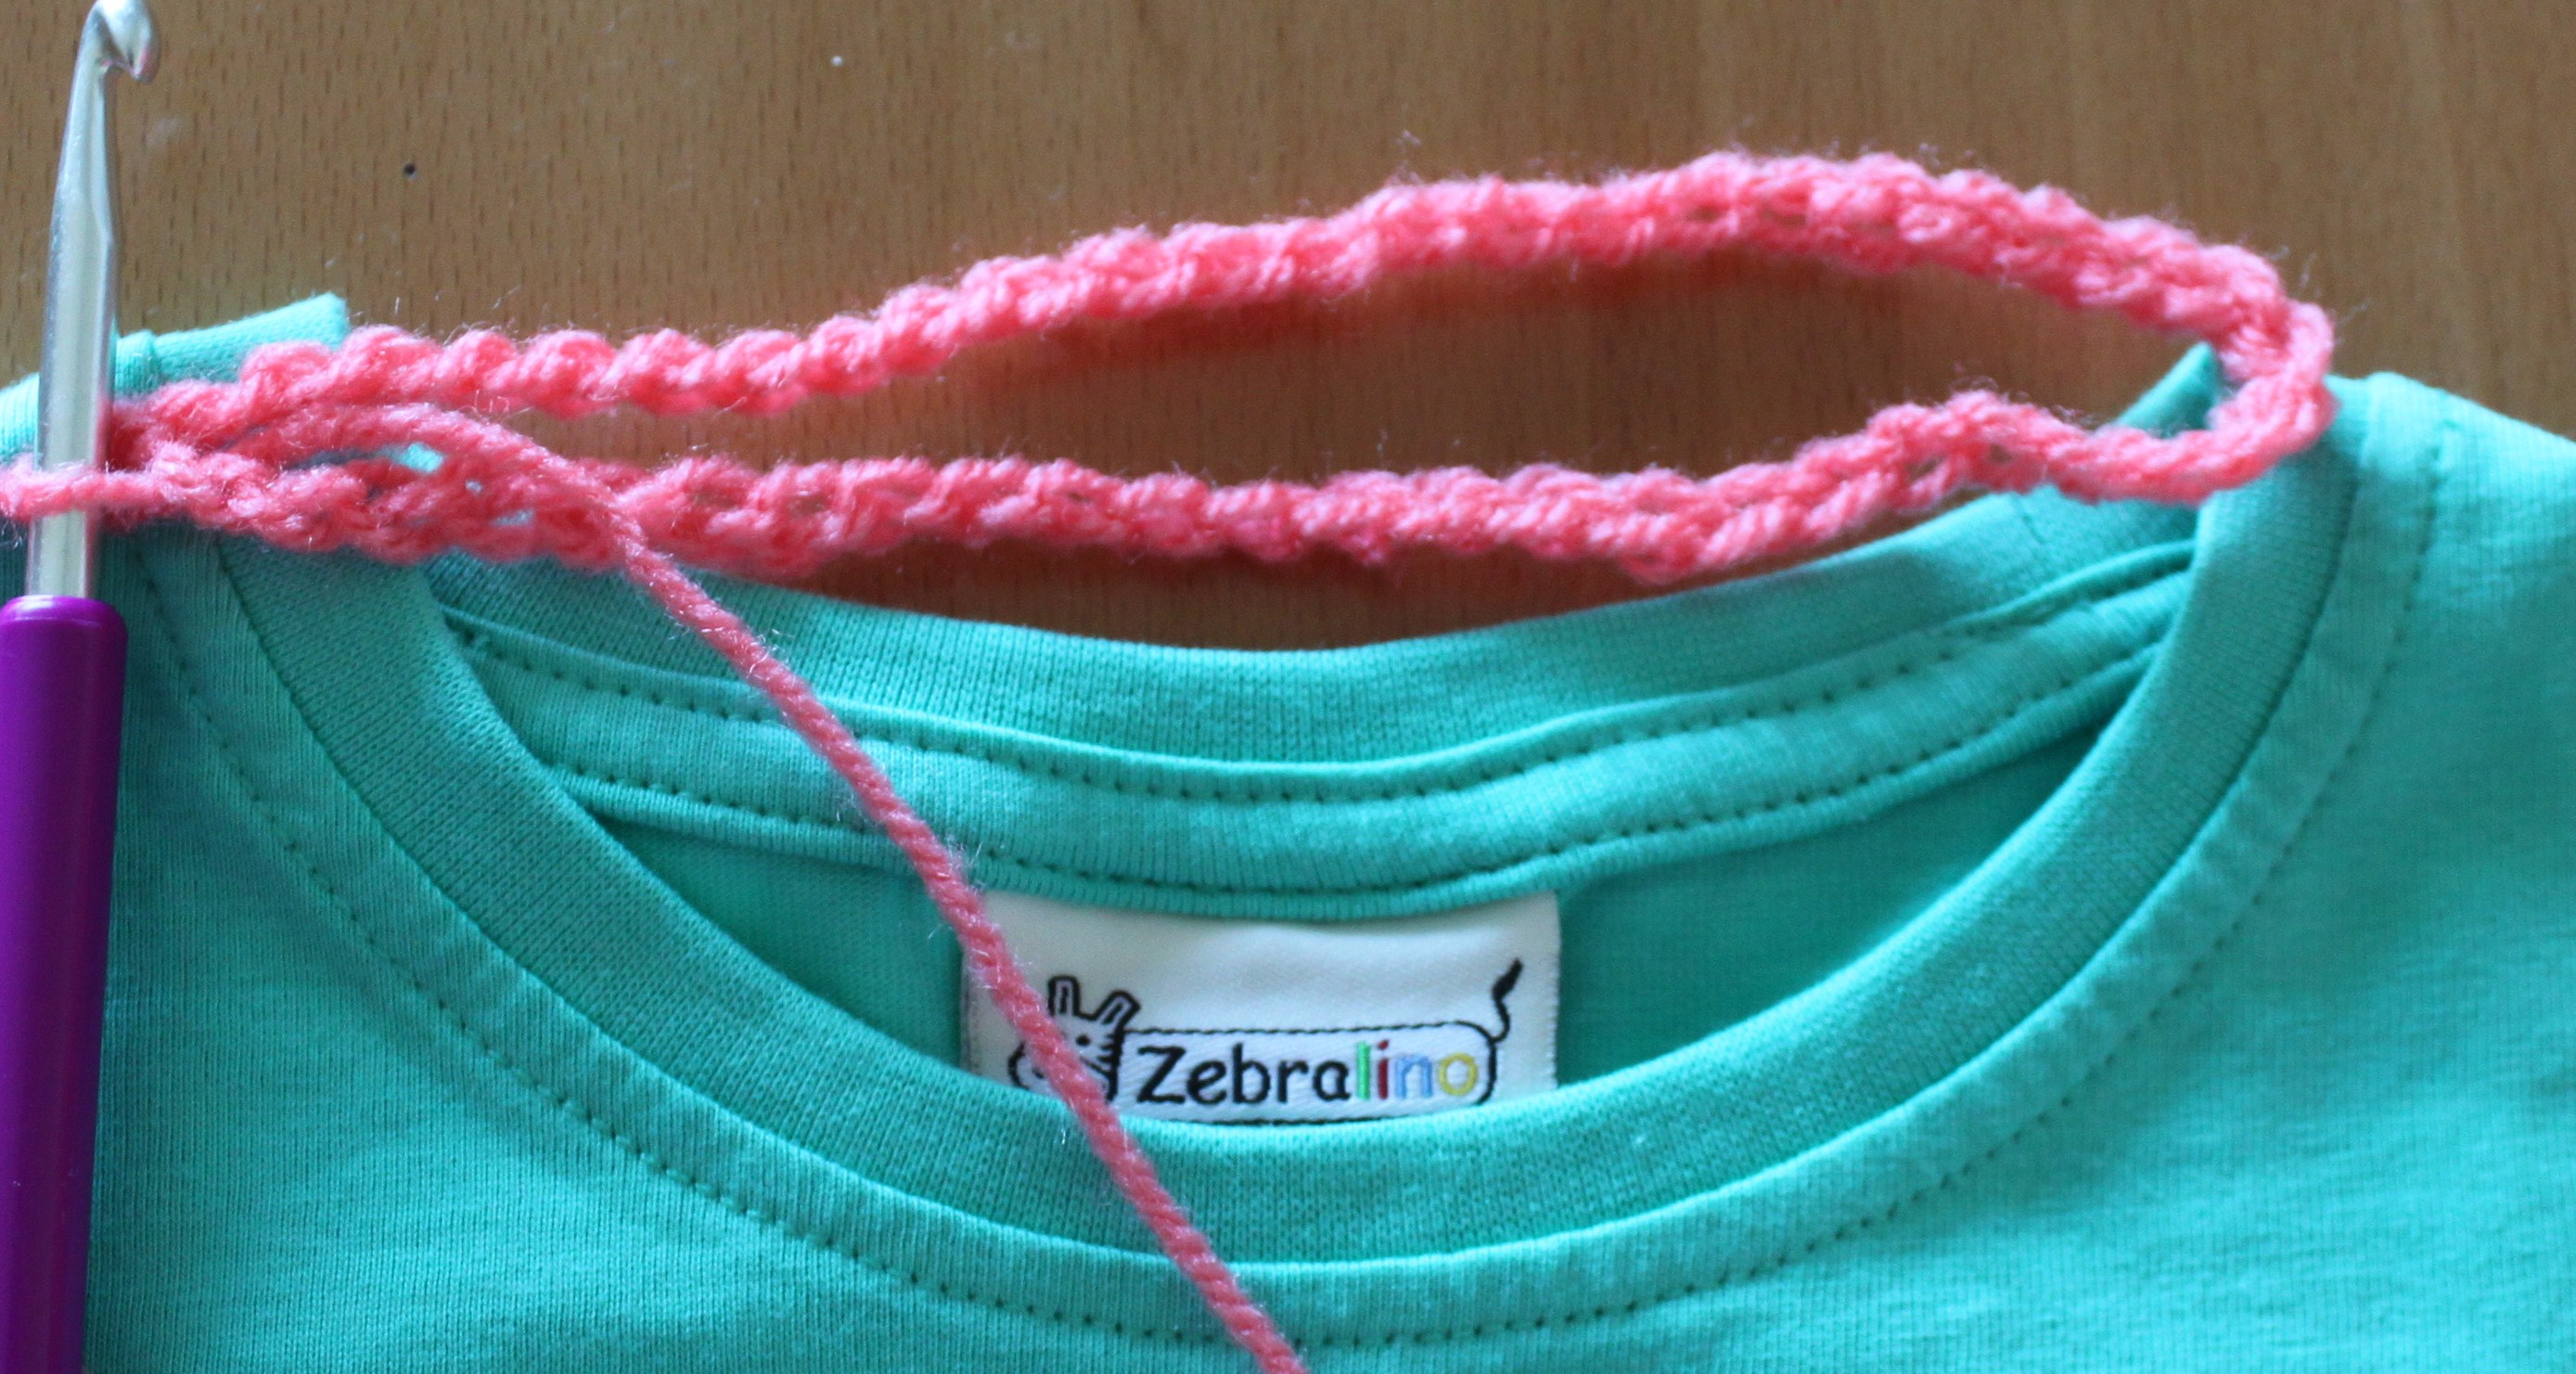
This pattern is multiples of 3 stitches so when you are making a base ch you need to make multiples of 3 and should divide by 4
for example in the demo piece i have done 60 ch it is a multiple of 3 and if we divide by 4 we get 15 equal stitches. As our pattern has 4 corners. make a slip stitch into the 1st ch and form a ring.
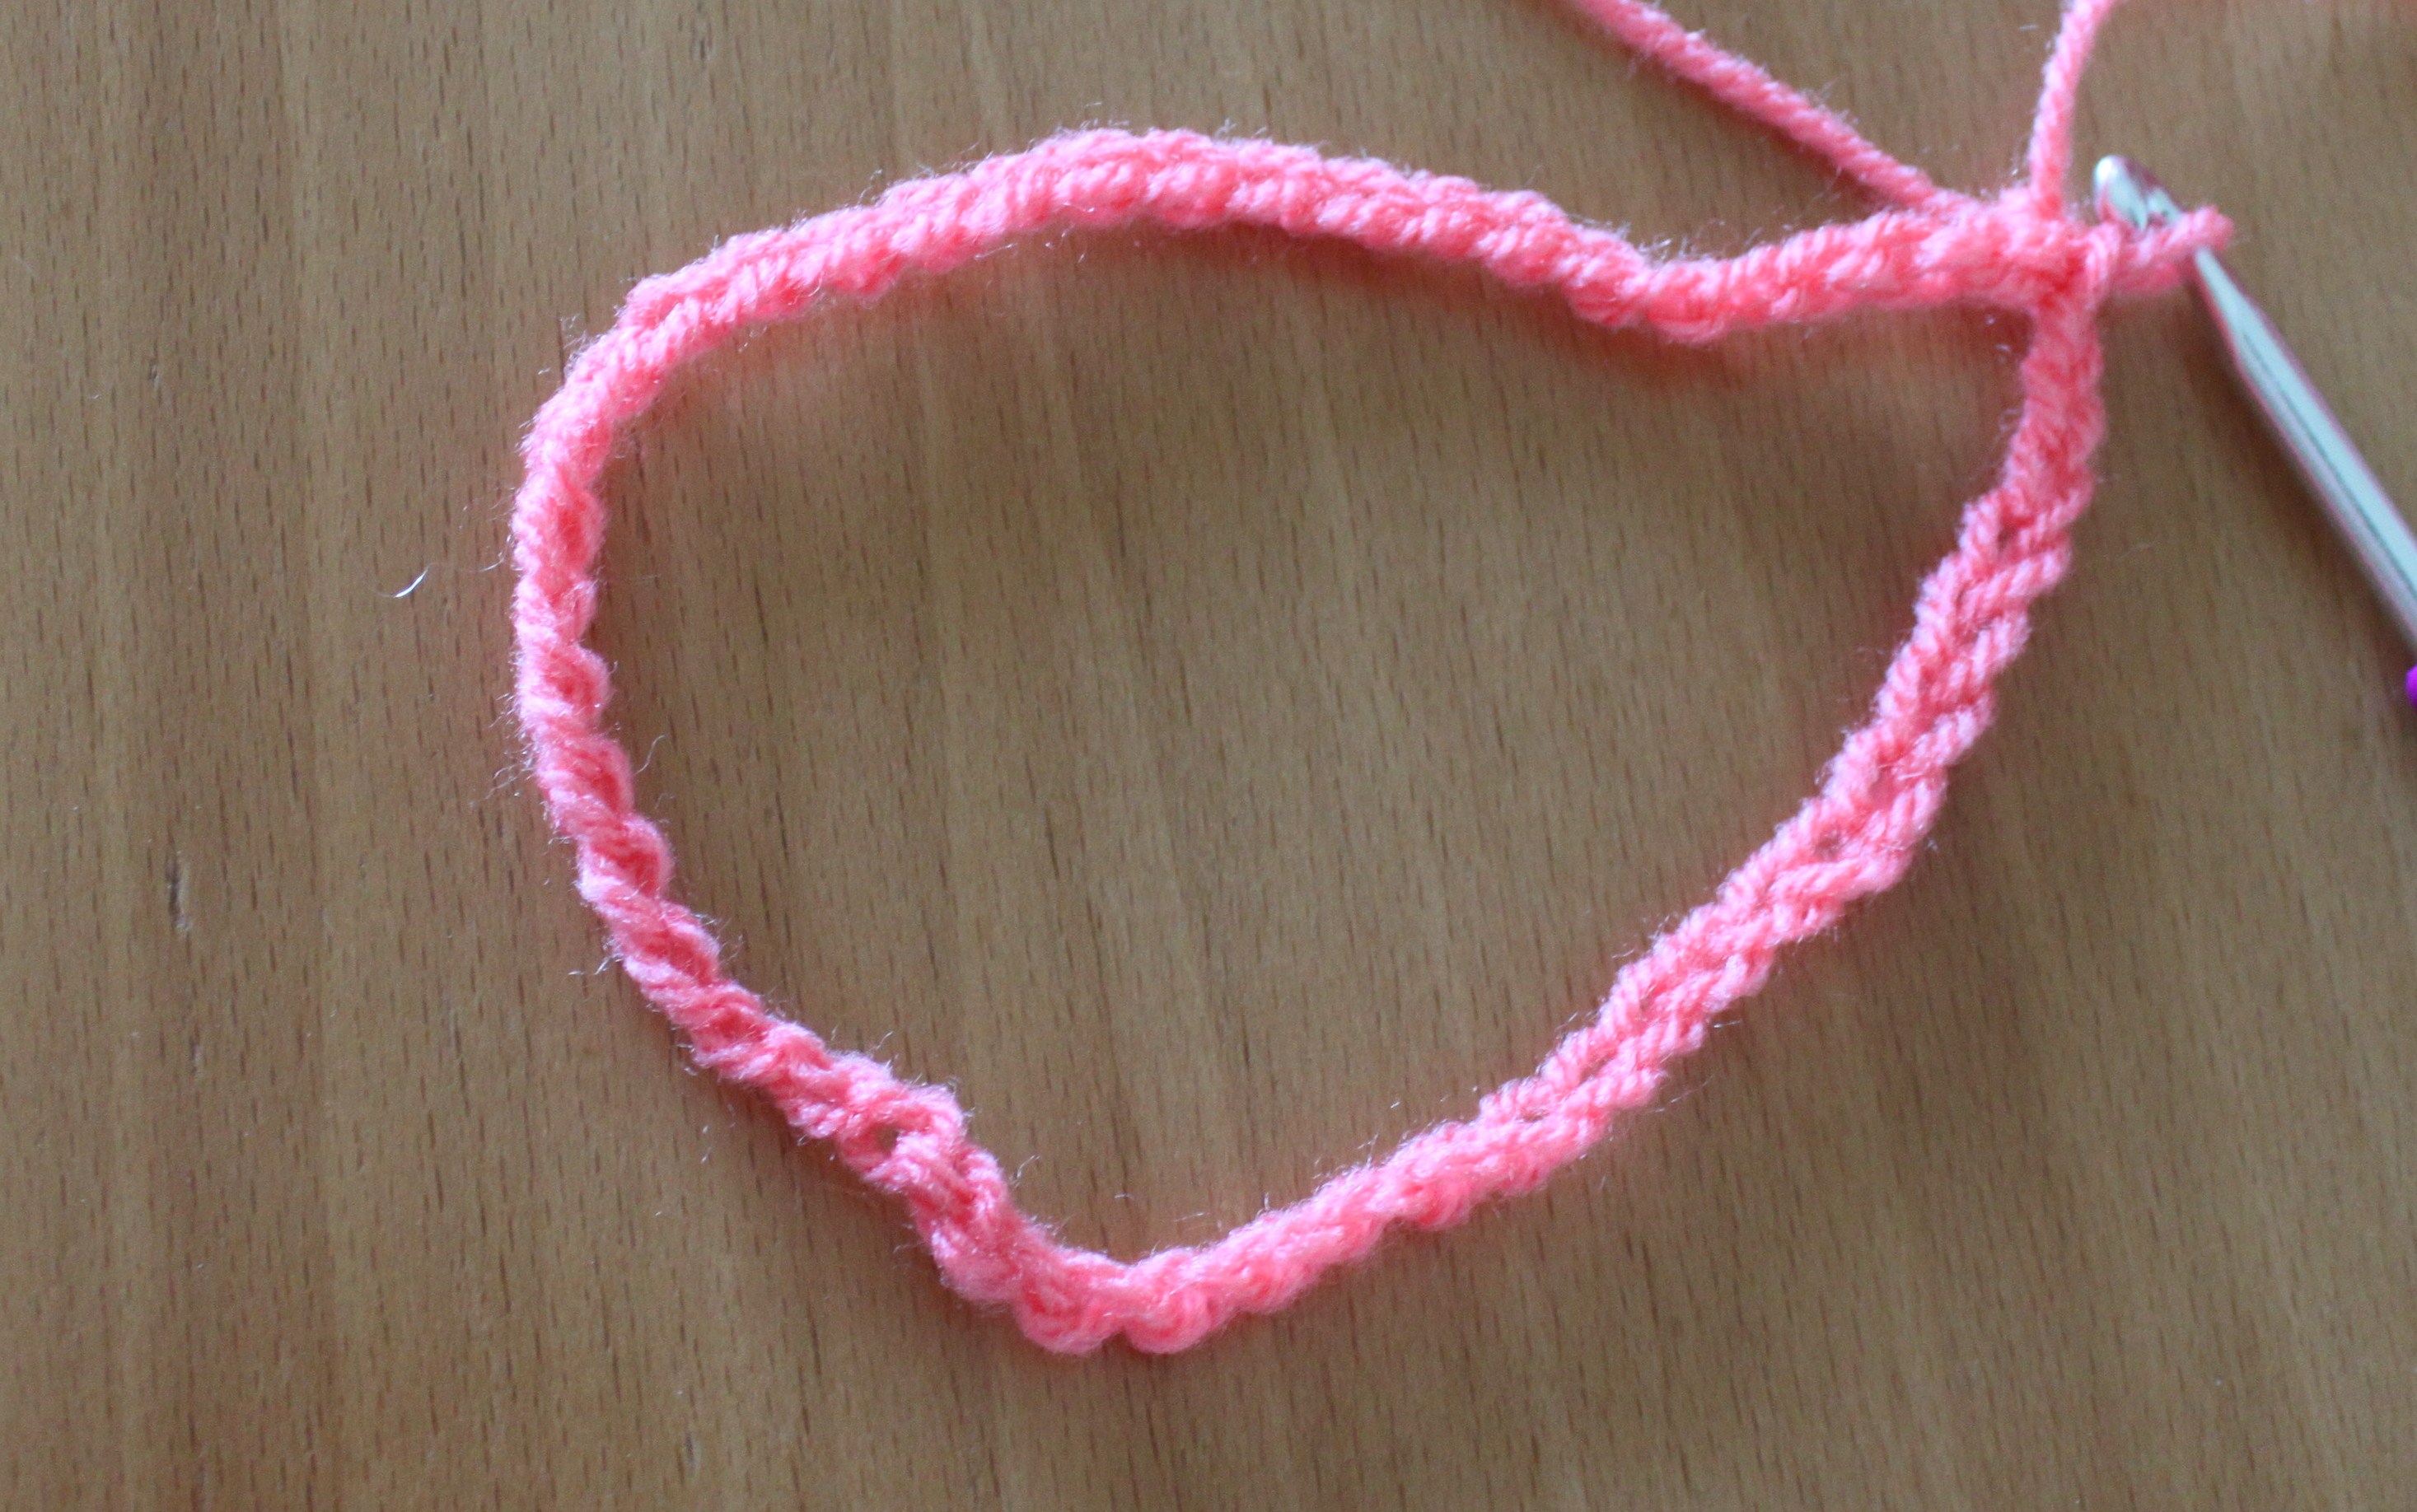
Row 1 : ch3 and 2 dc into the same st, ch 1 skip 2 ch and 3dc into the next st. (in the demo pattern i will consider the 15th st as 1st corner st) . work pattern till 15 th ch. into the 15th ch 3dc ch2 3dc. skip 2 ch and 3dc into the next ch. leaving the 1st 3dc count the 3dc set or shell till the first corner. every side we should make the same no. of shells.and into the 1st st of the row work 3dc, ch2 and join with a slip st into the 3rd ch of the beginning st.
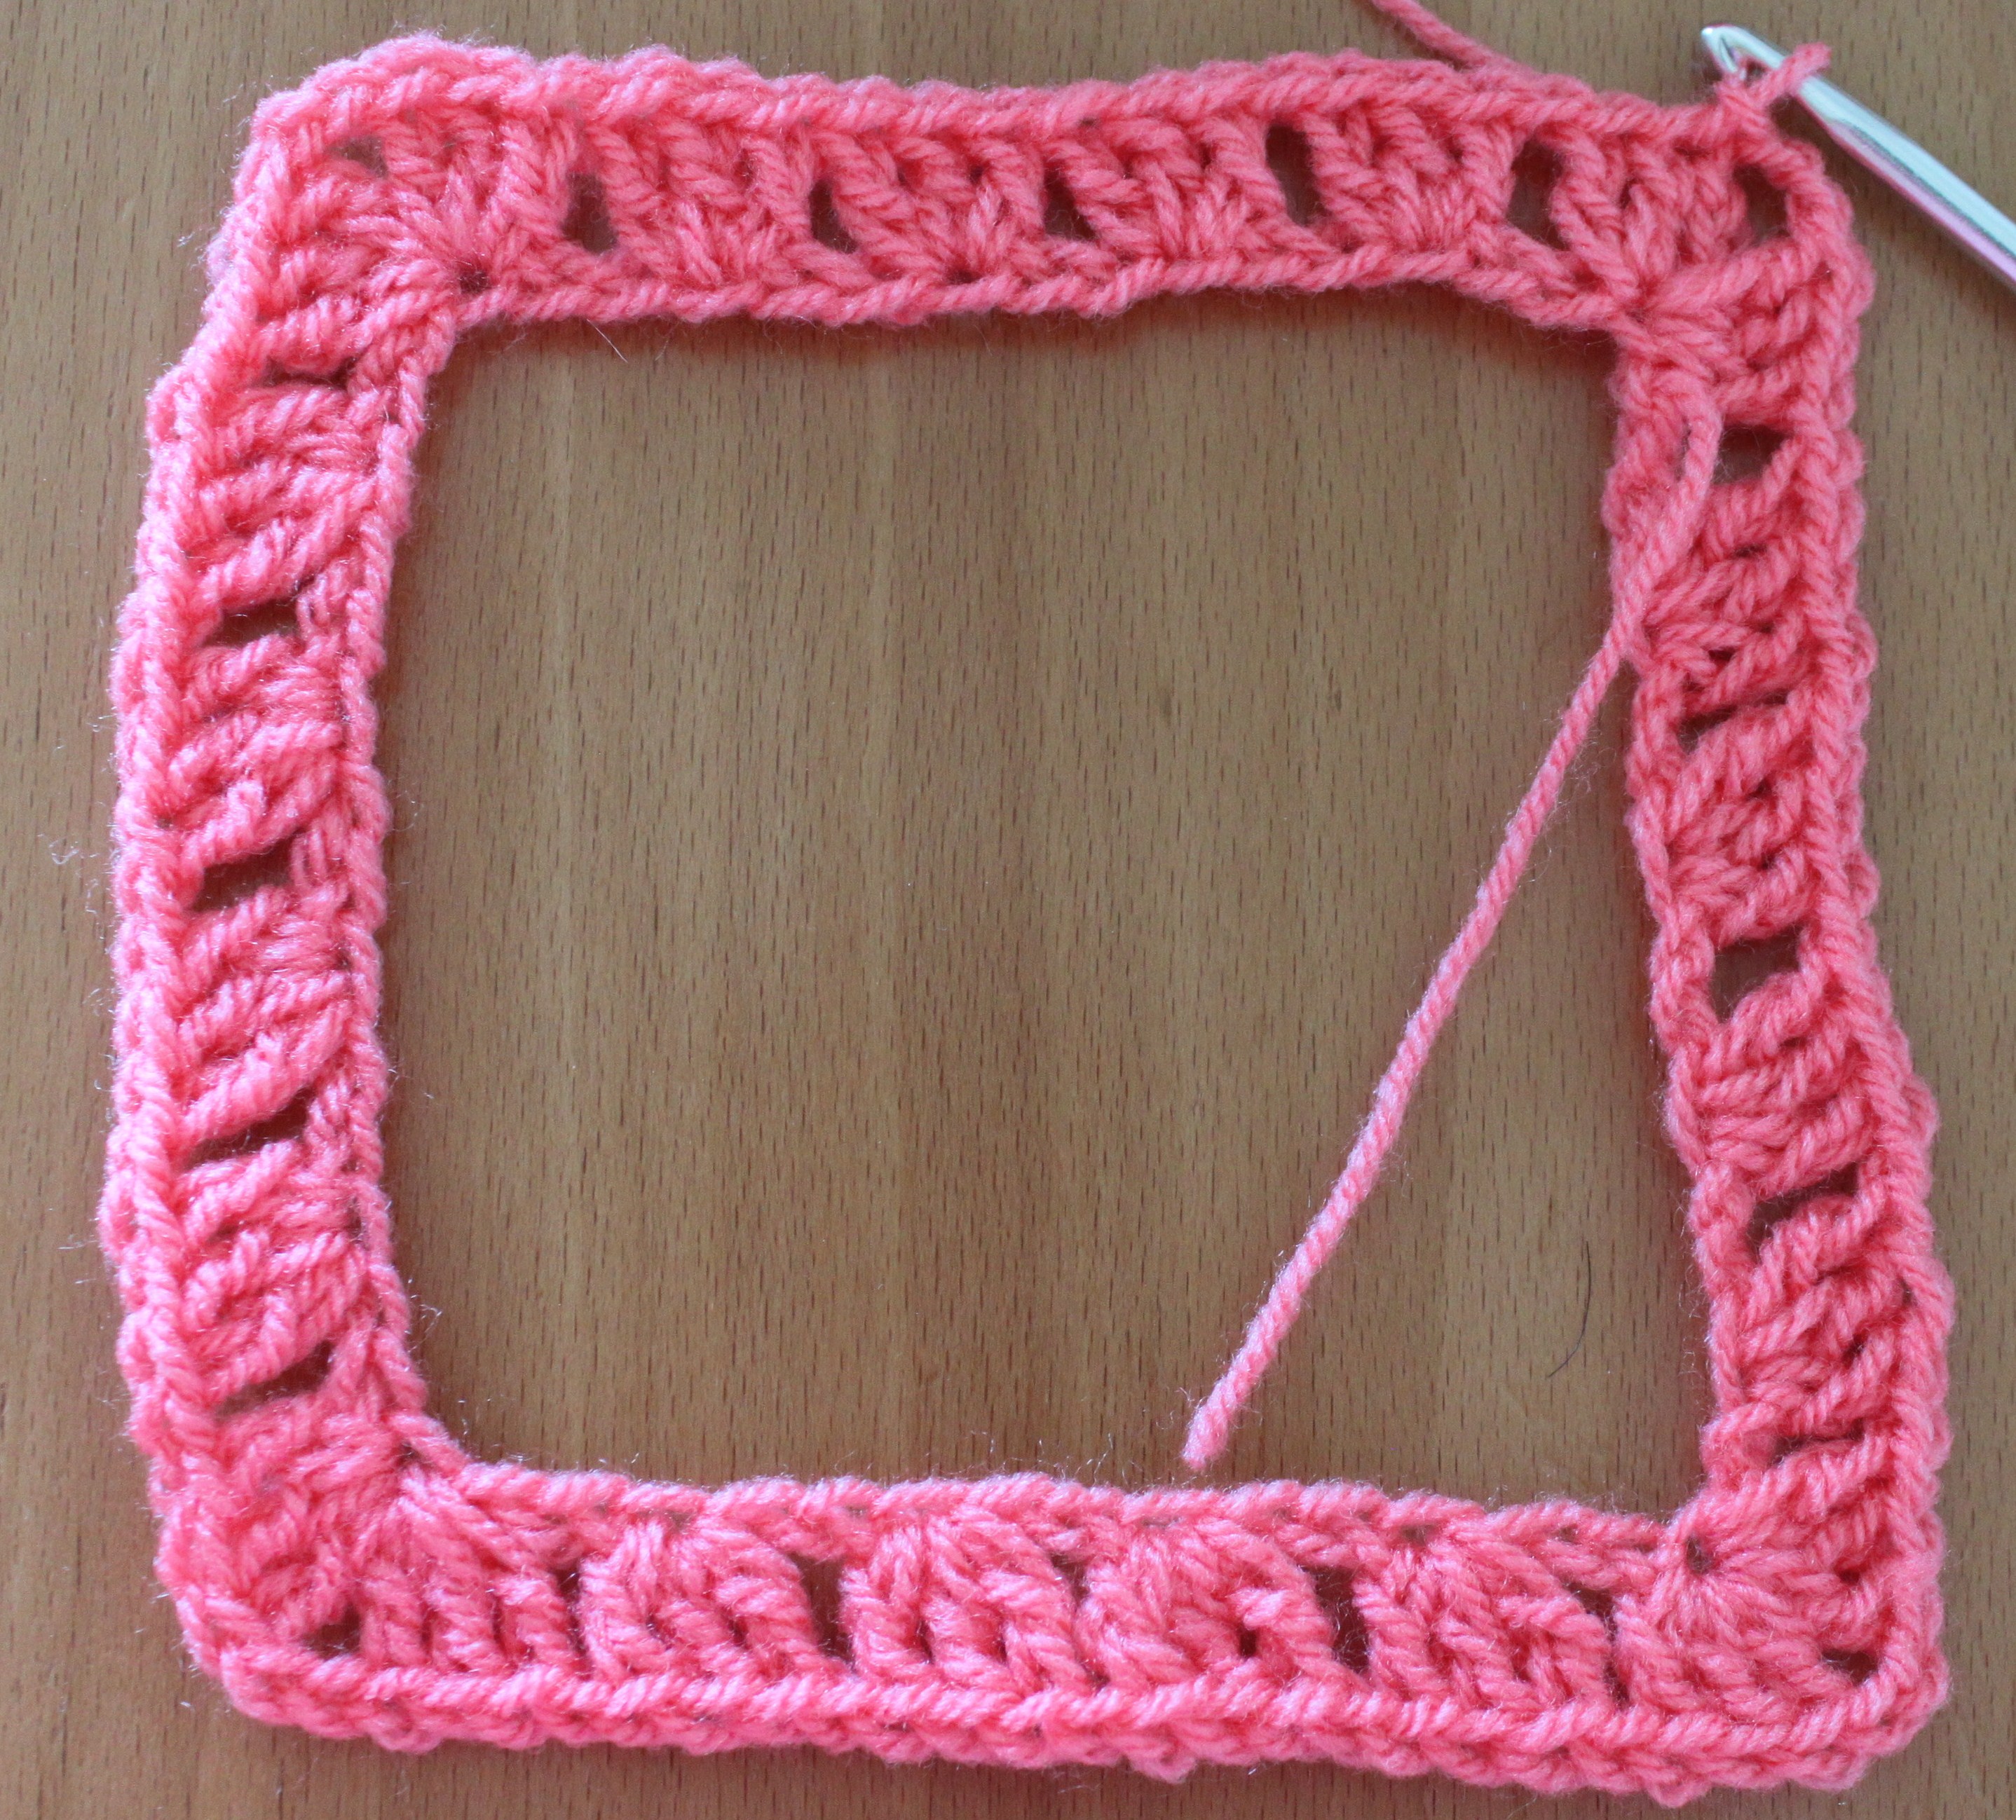
Row 2: ch3 turn the work and 2dc into the same ch1 space, ch1 3dc into the next ch1 space till the corner ,into the corner ch2 space work 3dc-ch2-3dc., till the row ends and join with a sl st.
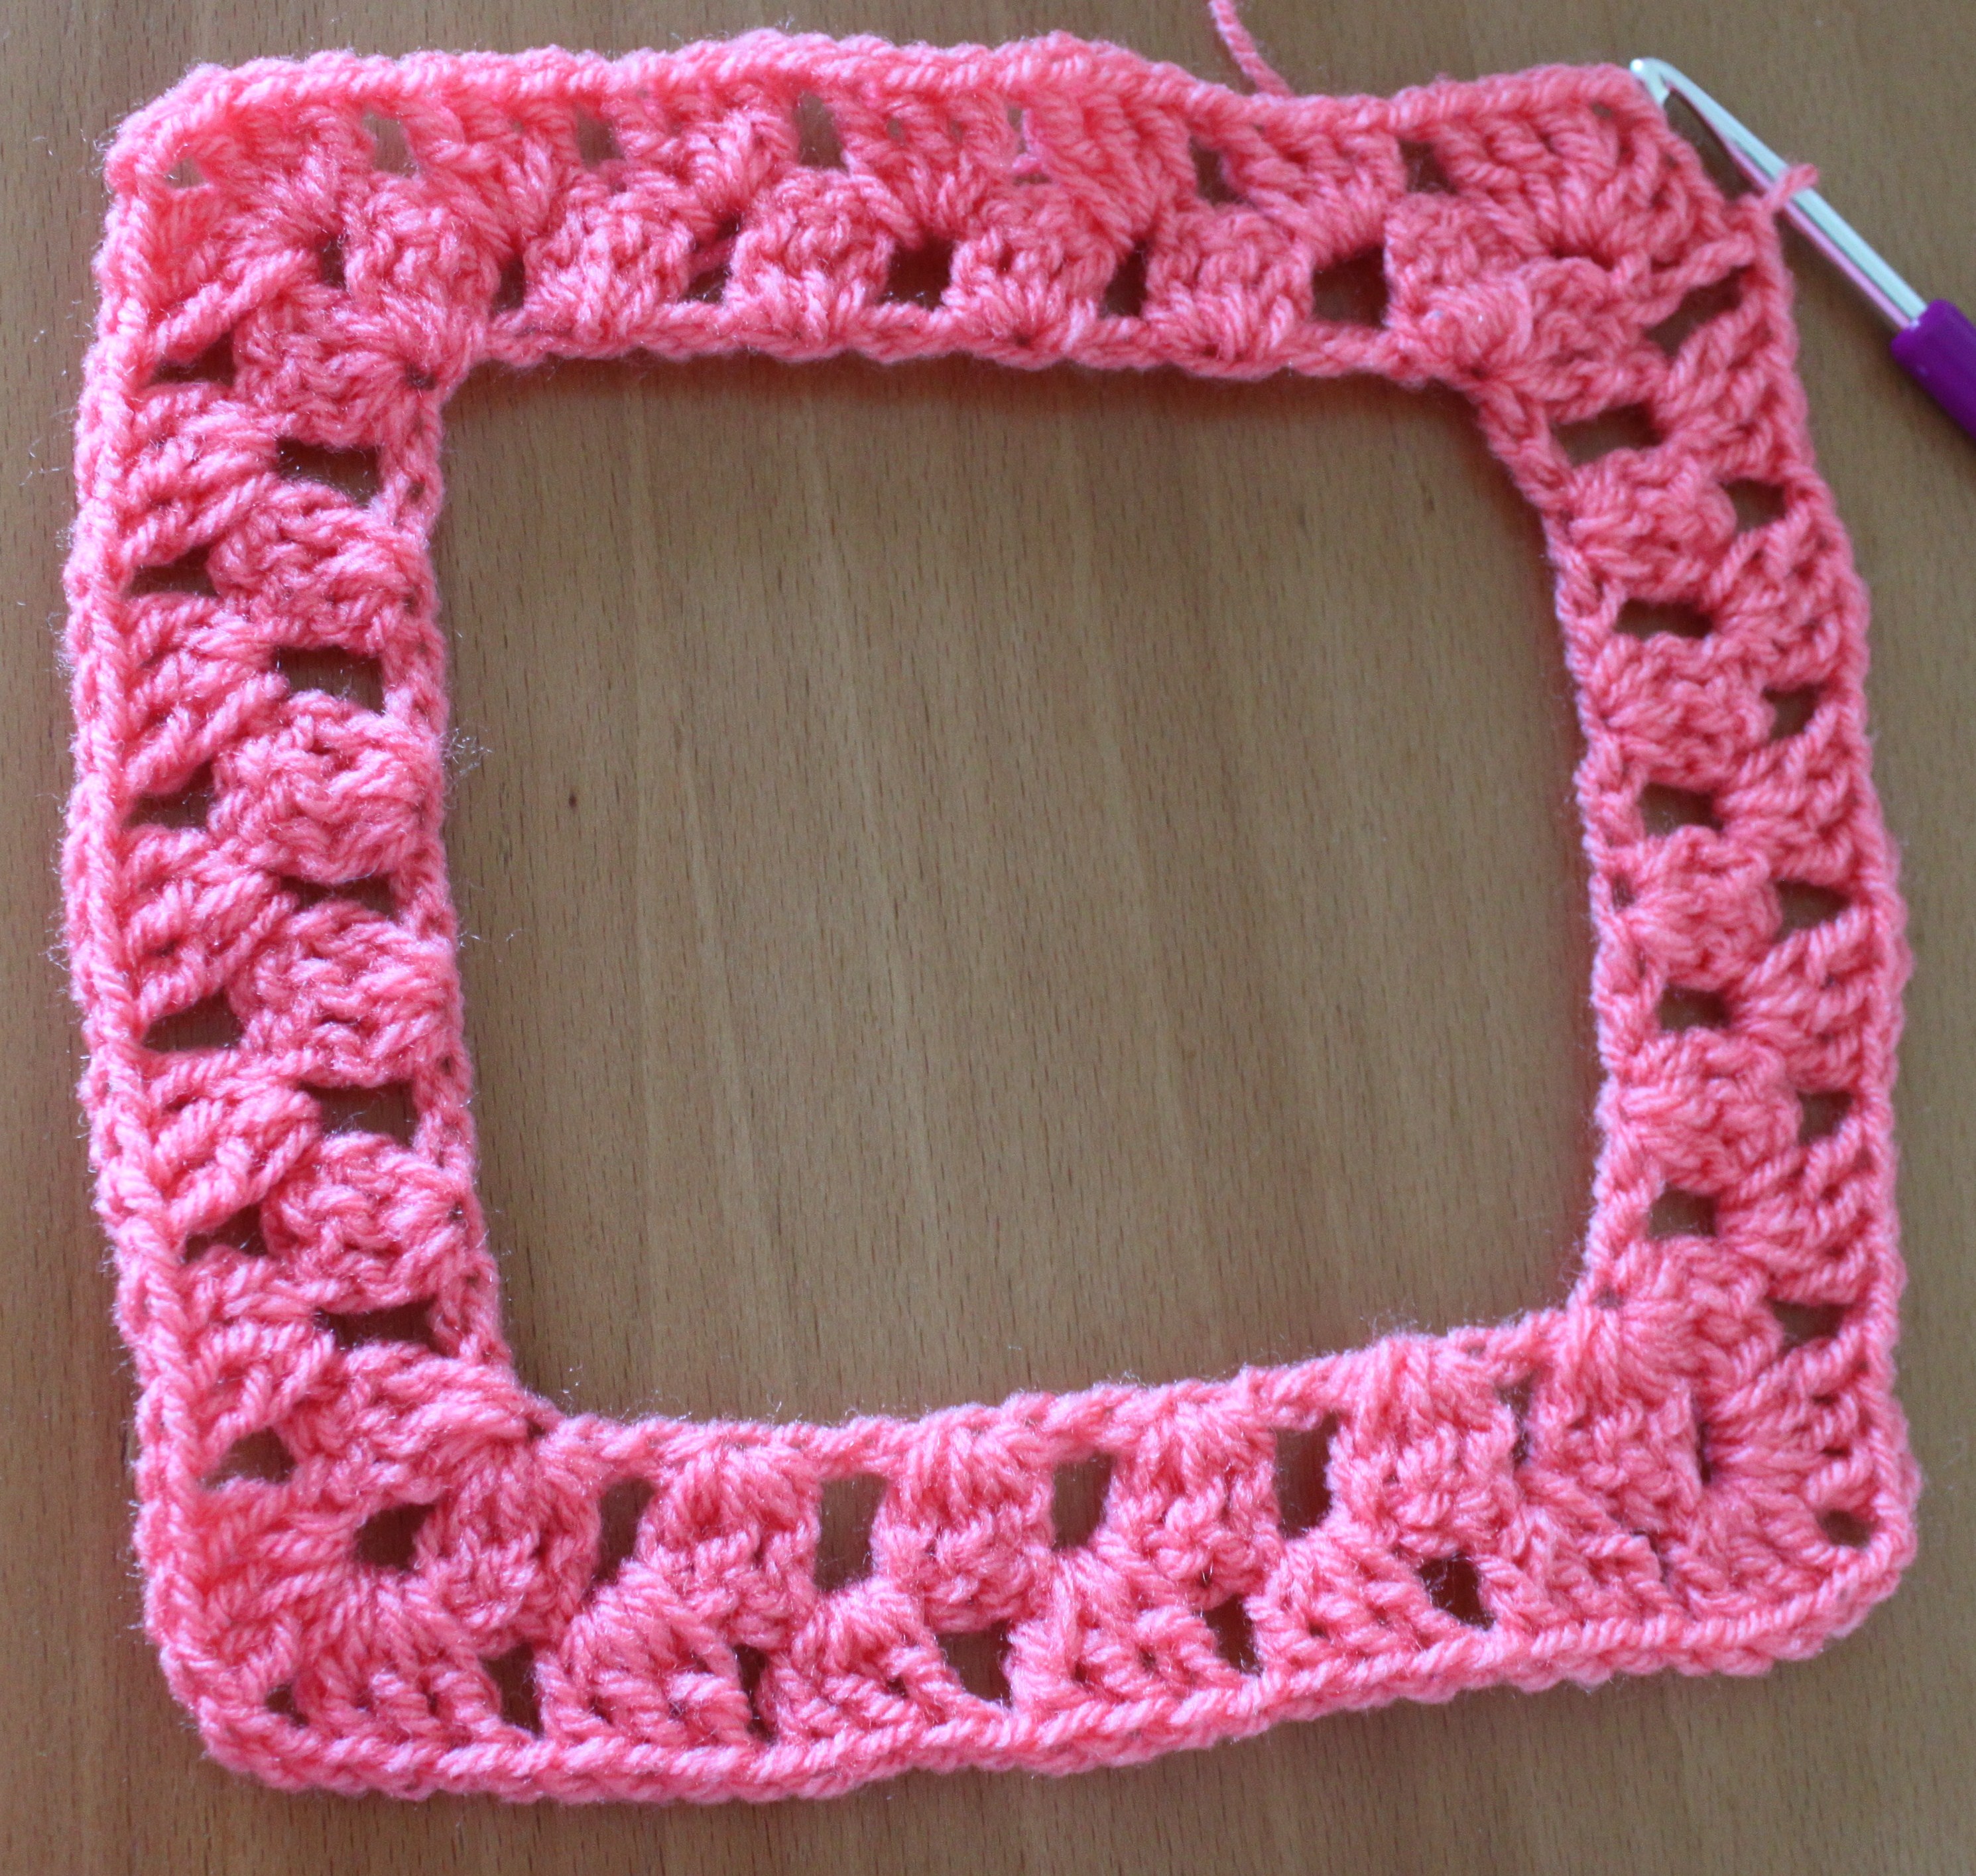
Repeat row 2 till you reach the required measurement. For the demo piece i have done 7 rows. (make as many rows as required to fit your shoulder measurement and chest measurement)
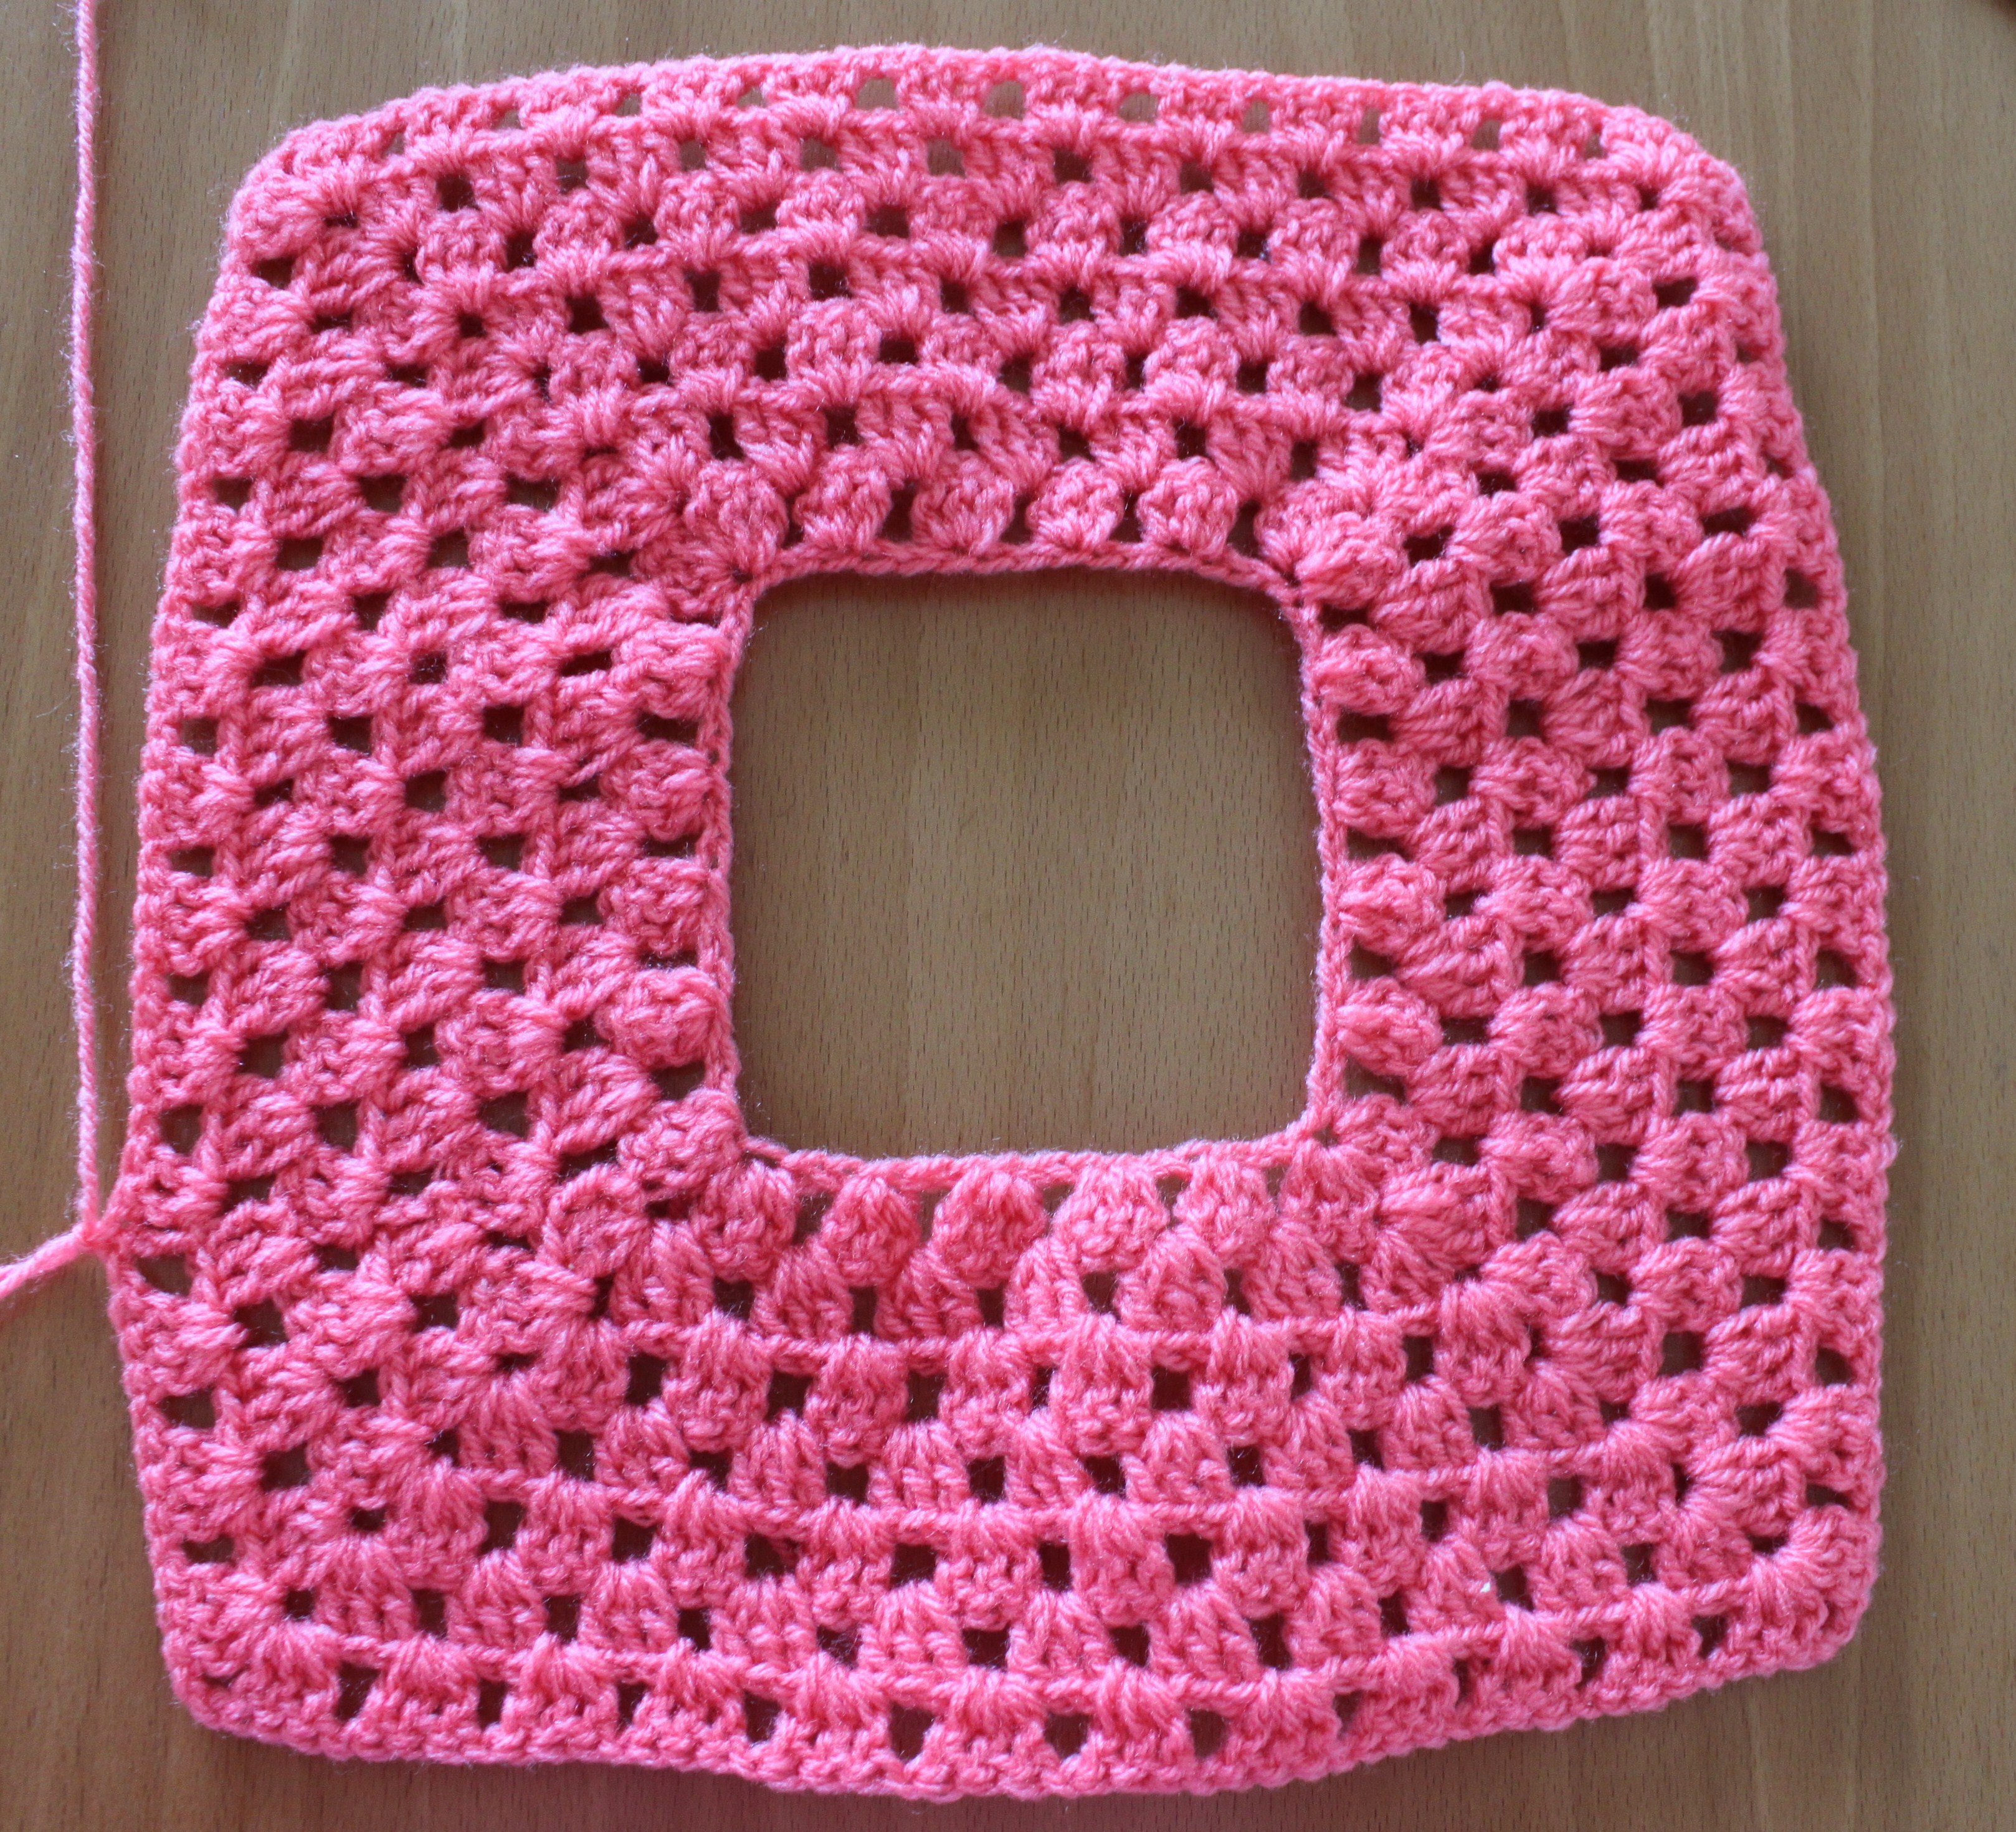
this is how it looks when you fold it into half.
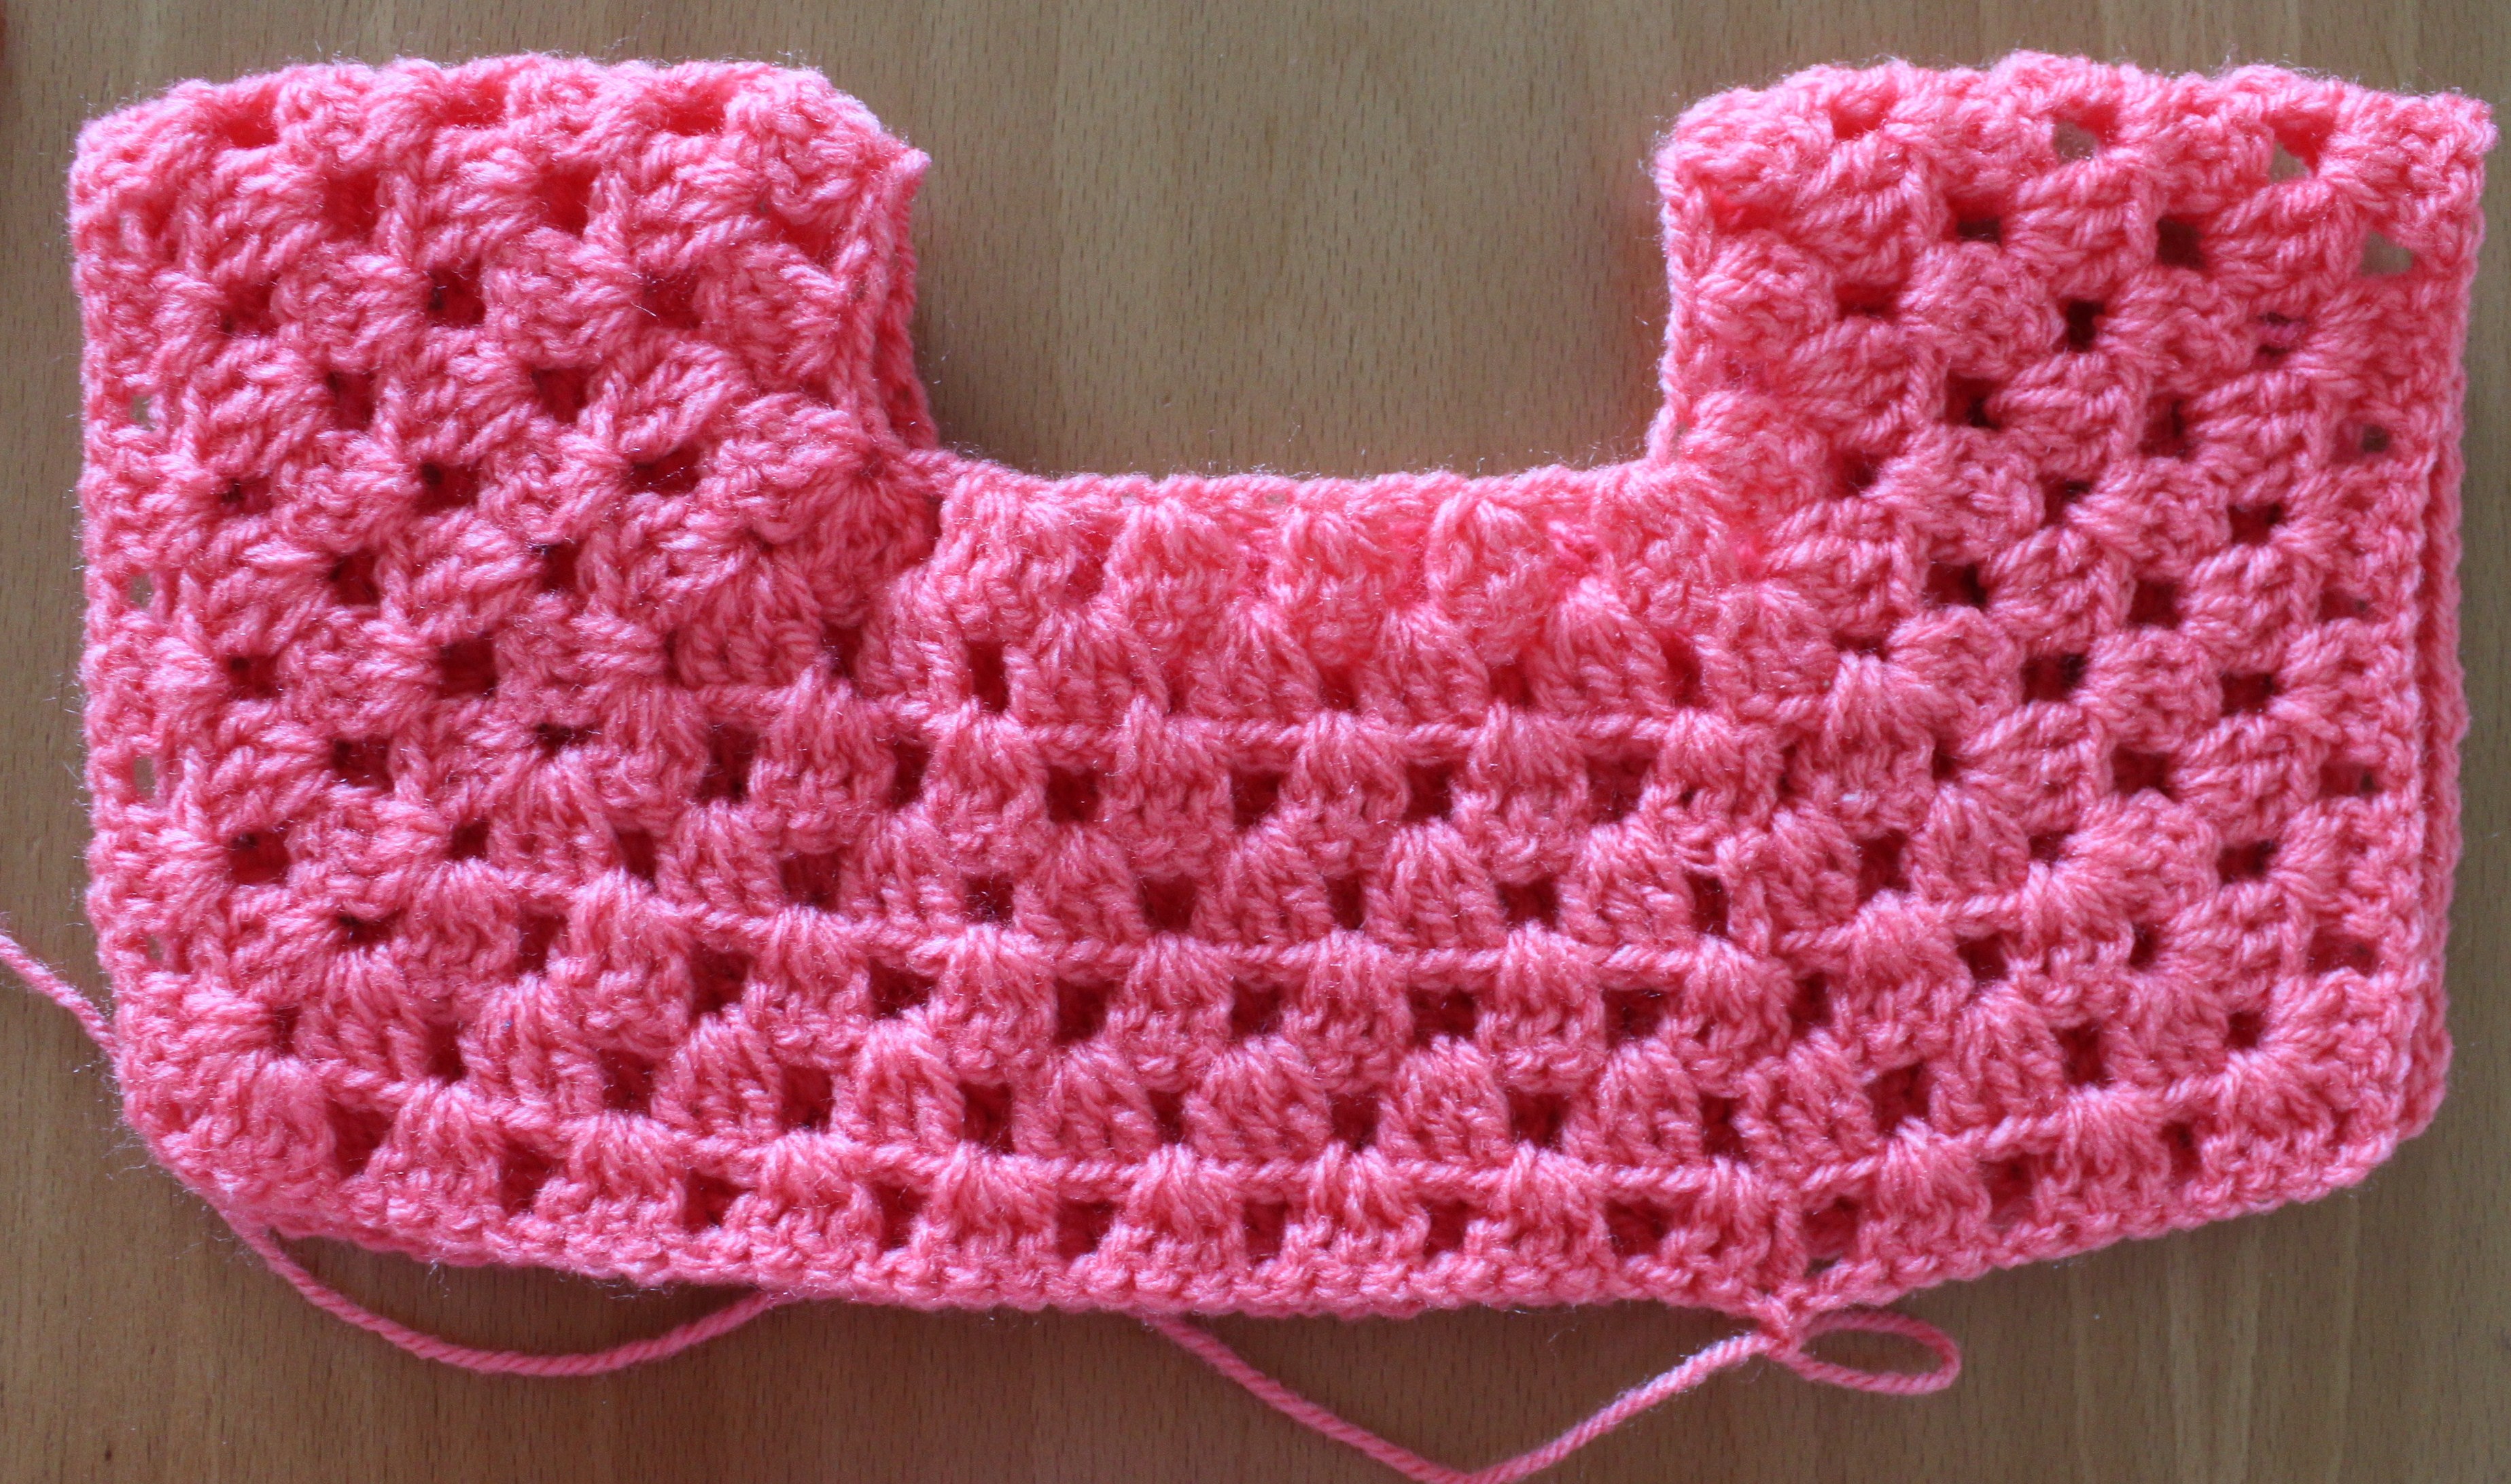
Now we should continue making the body part. make one more row and join the edges as shown in the picture below.
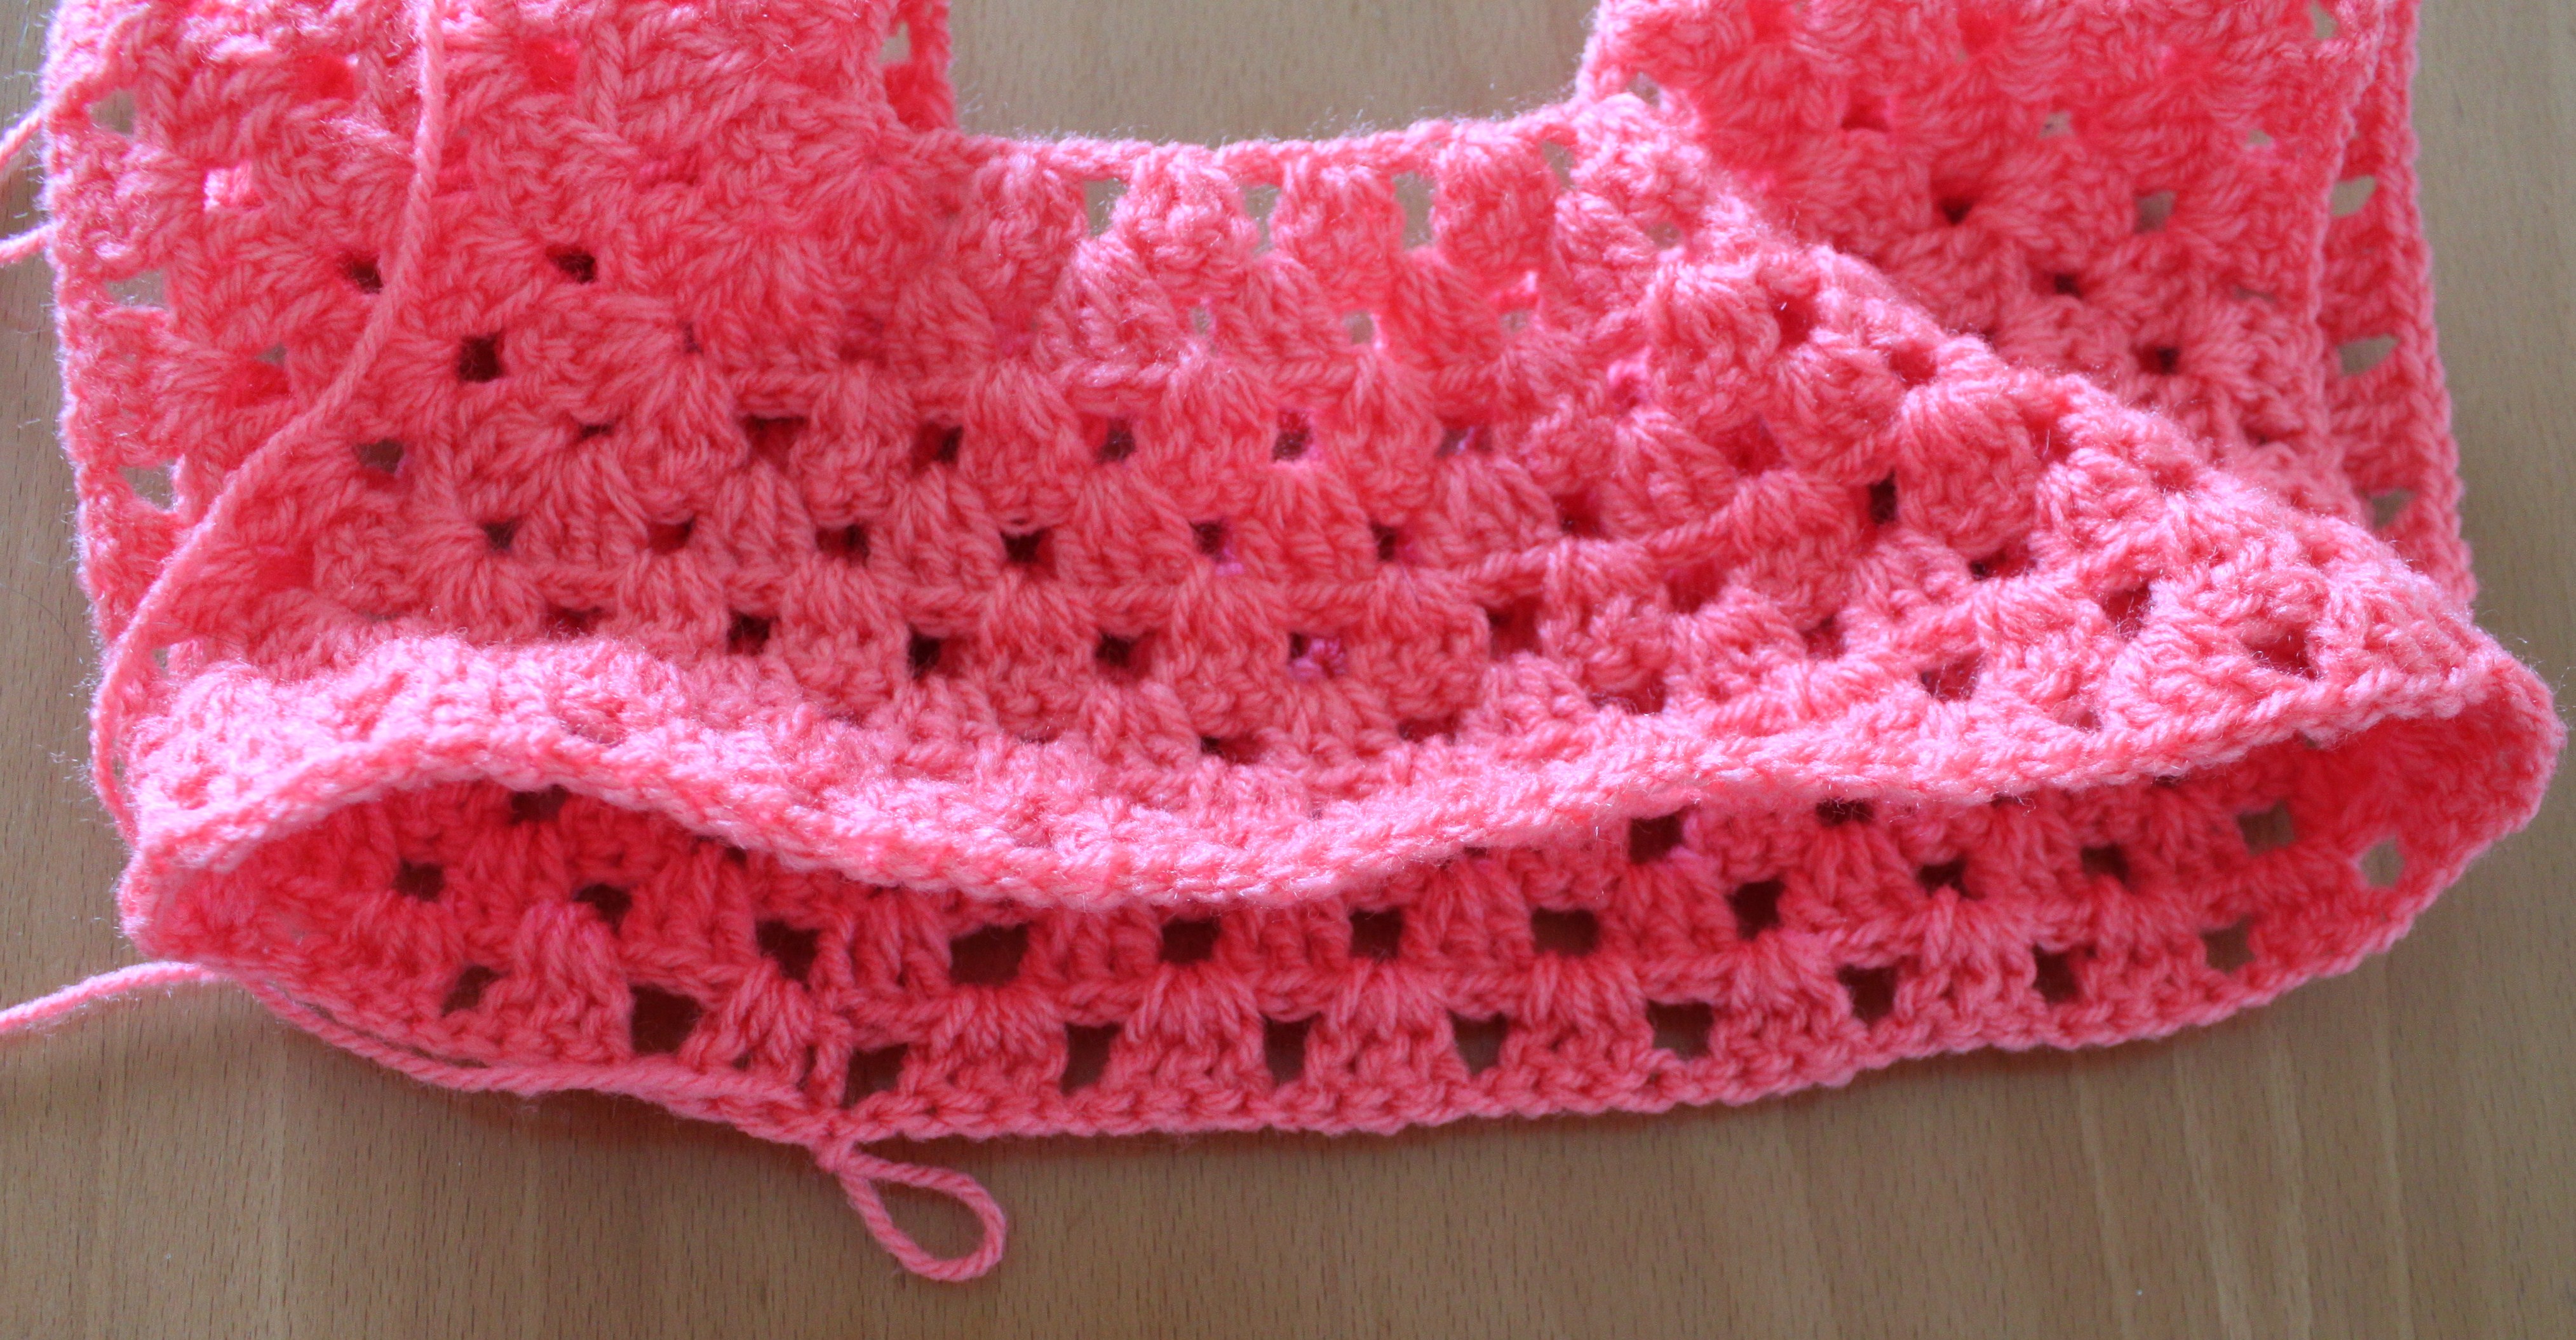
make as many rows as required to reach the desired measurement. Here i have made 14 rows.
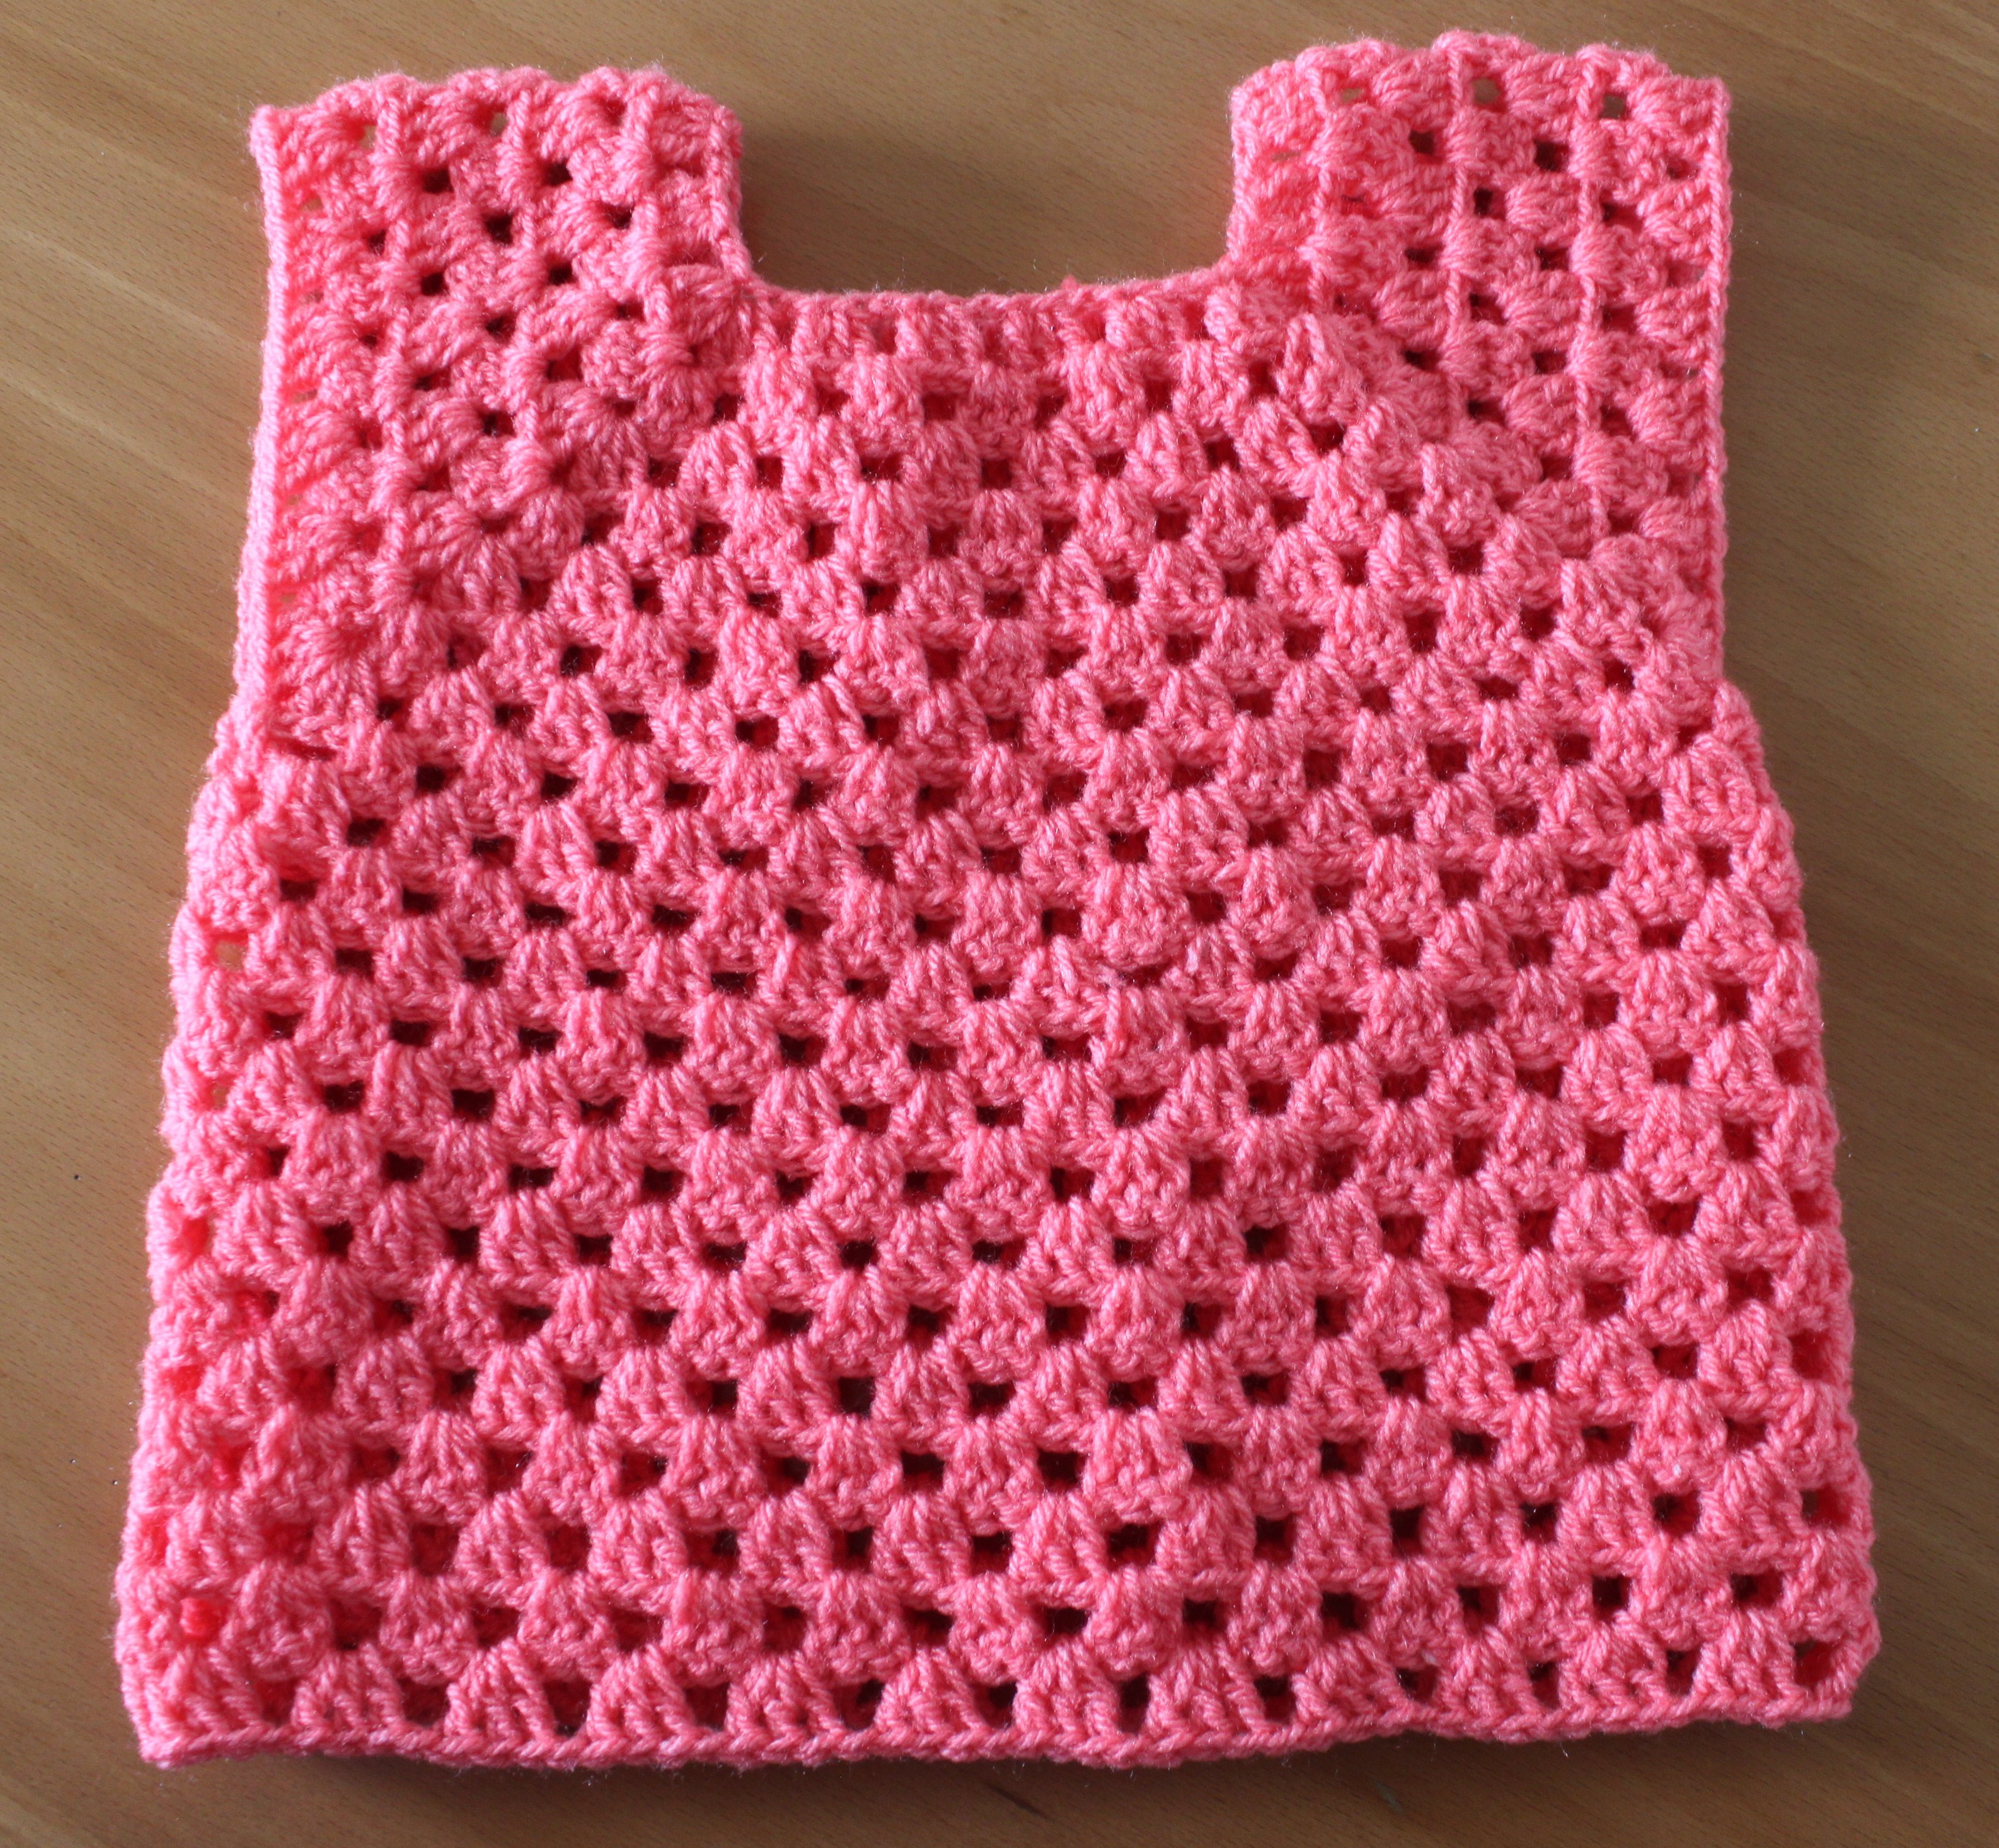
If you want a sleaveless top then you can stop here by fastening off. Or you can join the sleeves by adding a new yarn. I have made 3 rows for sleeves.
Hope the tutorial was helpful. If you have any doubts pls mention in the comment box below. Please like, comment and share .
Happy Crocheting
Subscribe to:
Posts (Atom)